Photographing a hamburger in an appealing and appetizing way requires attention to detail, proper lighting, composition, and food styling. Here’s a step-by-step guide to help you create mouthwatering hamburger images.
1. Gather the Ingredients and Props
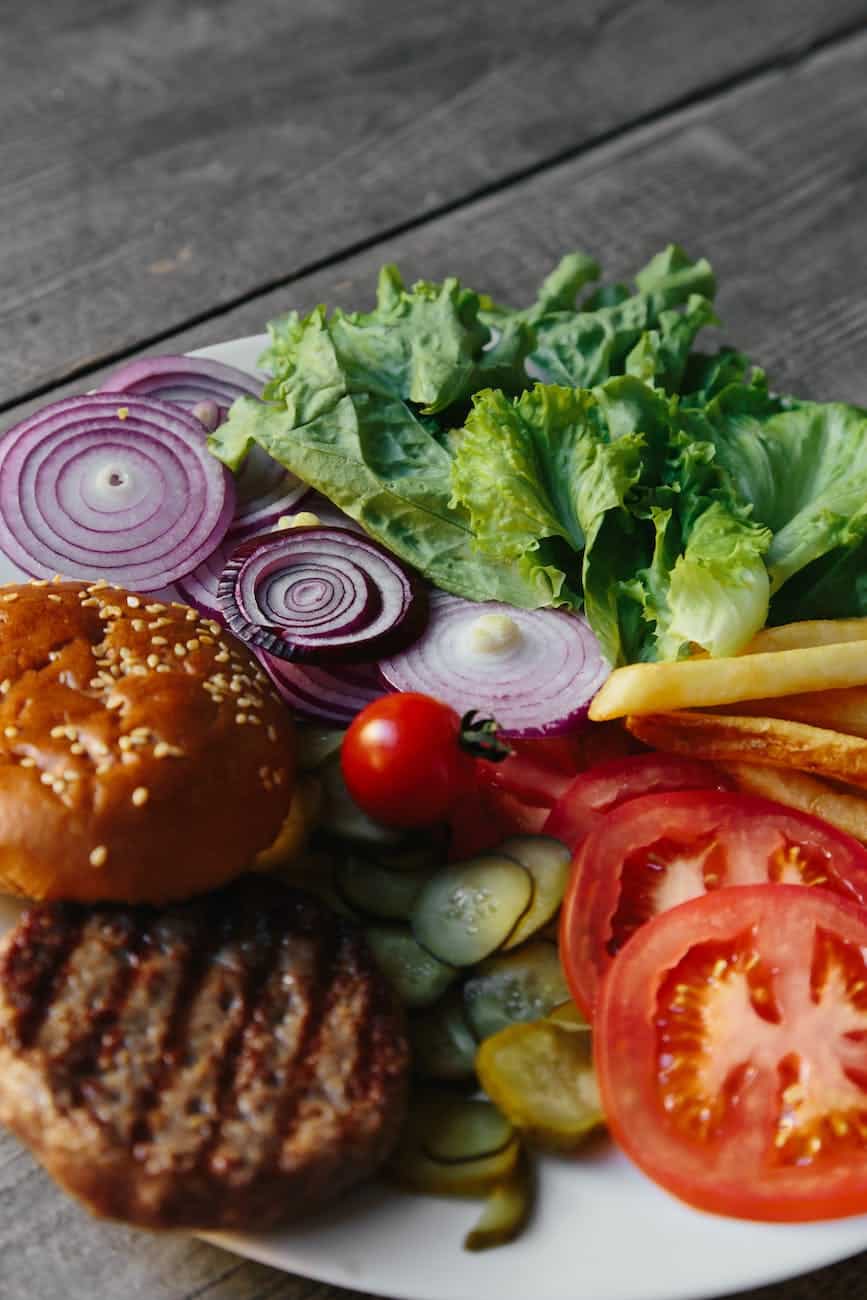
Before you photograph hamburgers, collect all the necessary ingredients for the burger, including the bun, patty, toppings, condiments, and any additional garnishes. Prepare any props or utensils that will complement the burger and add visual interest to the composition.
2. Food Styling and Preparation
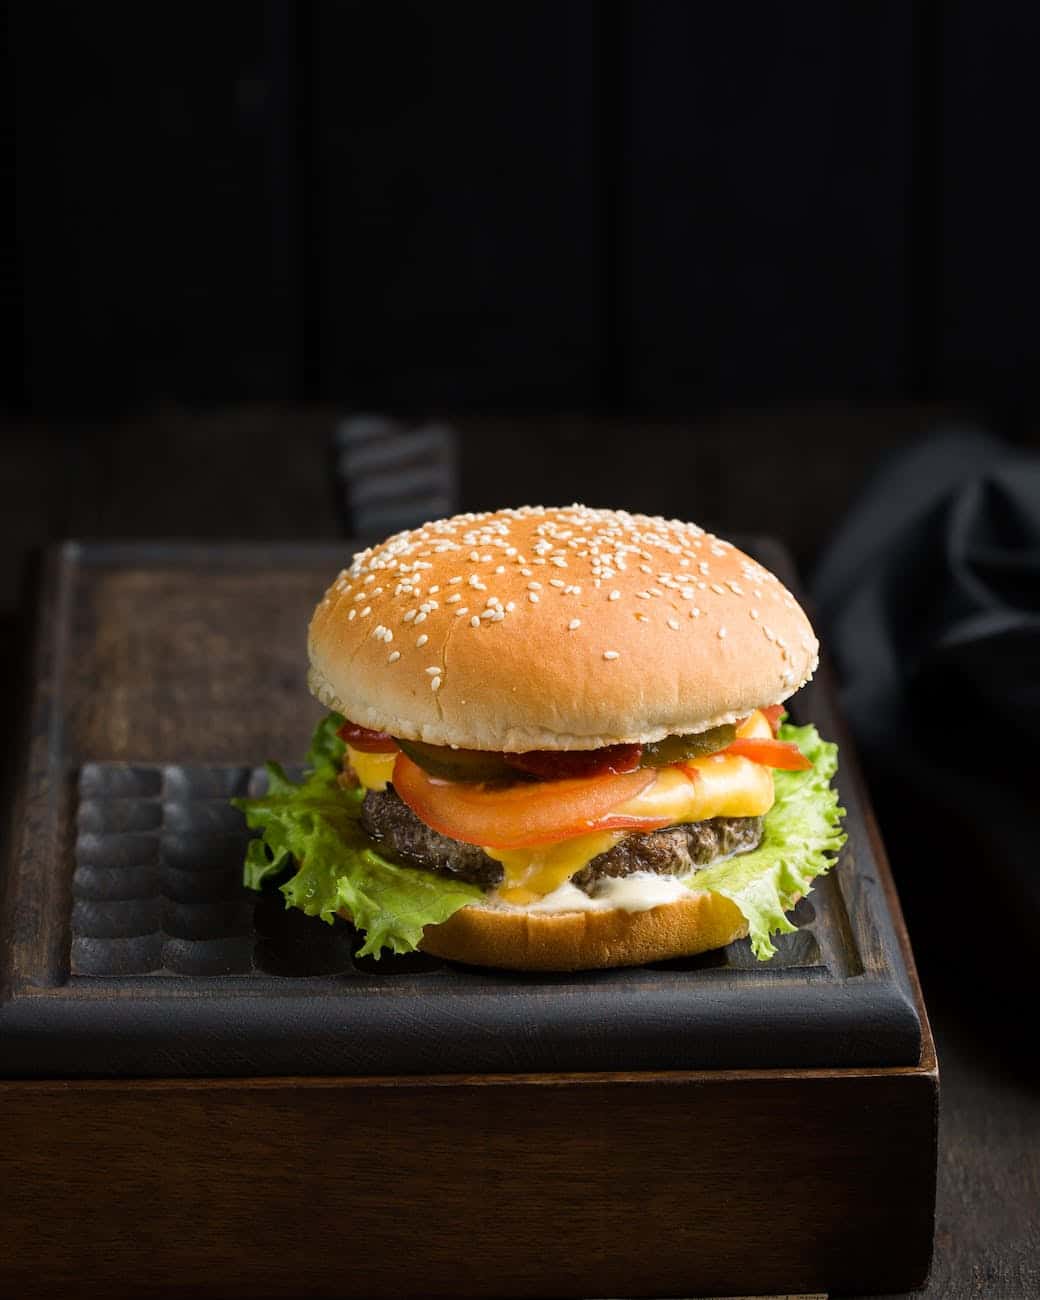
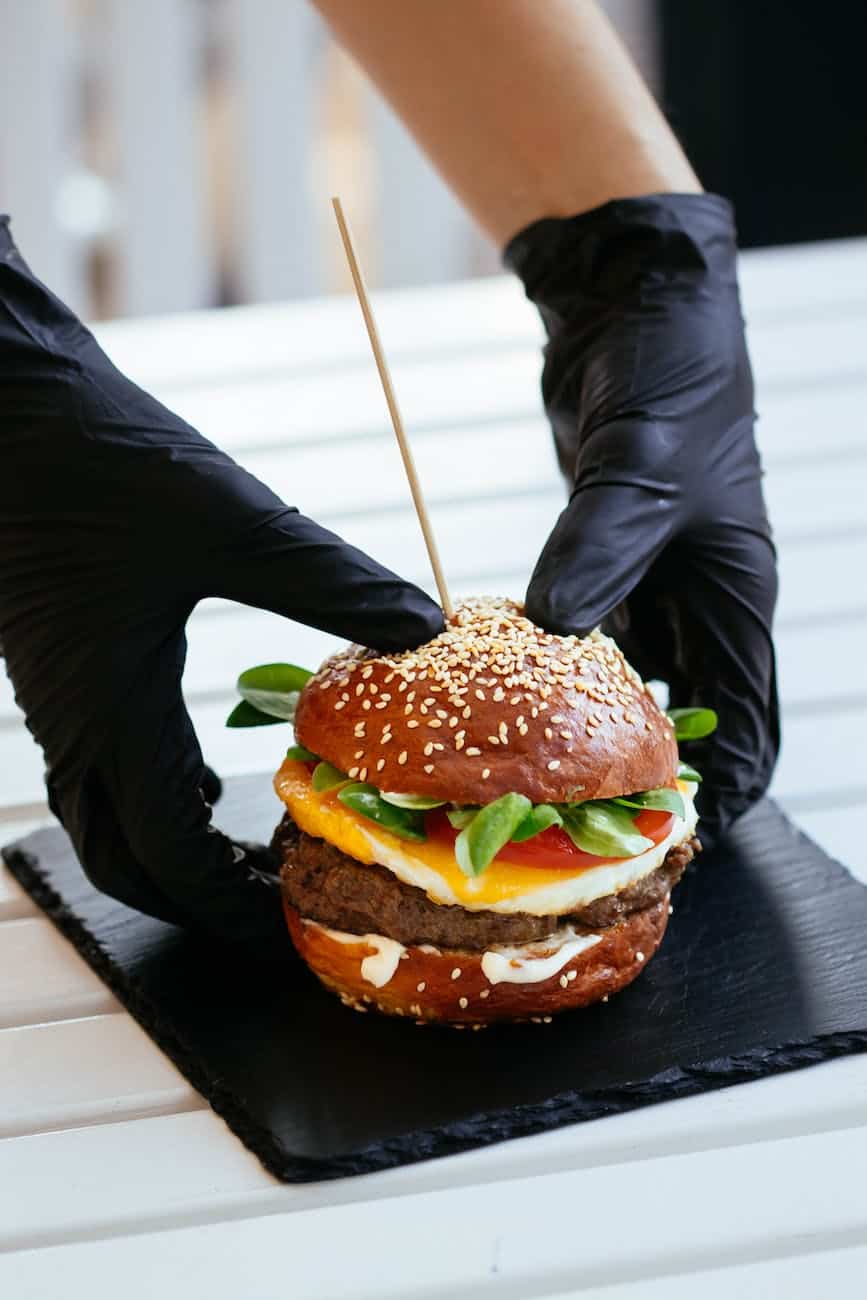
Assemble the burger carefully, ensuring each ingredient is well-placed and visible. Pay attention to the arrangement of toppings, textures, and colors. Use toothpicks or skewers to secure the layers if needed. Consider adding fresh ingredients or vibrant garnishes to enhance the visual appeal.
3. Choose the Right Background and Surface
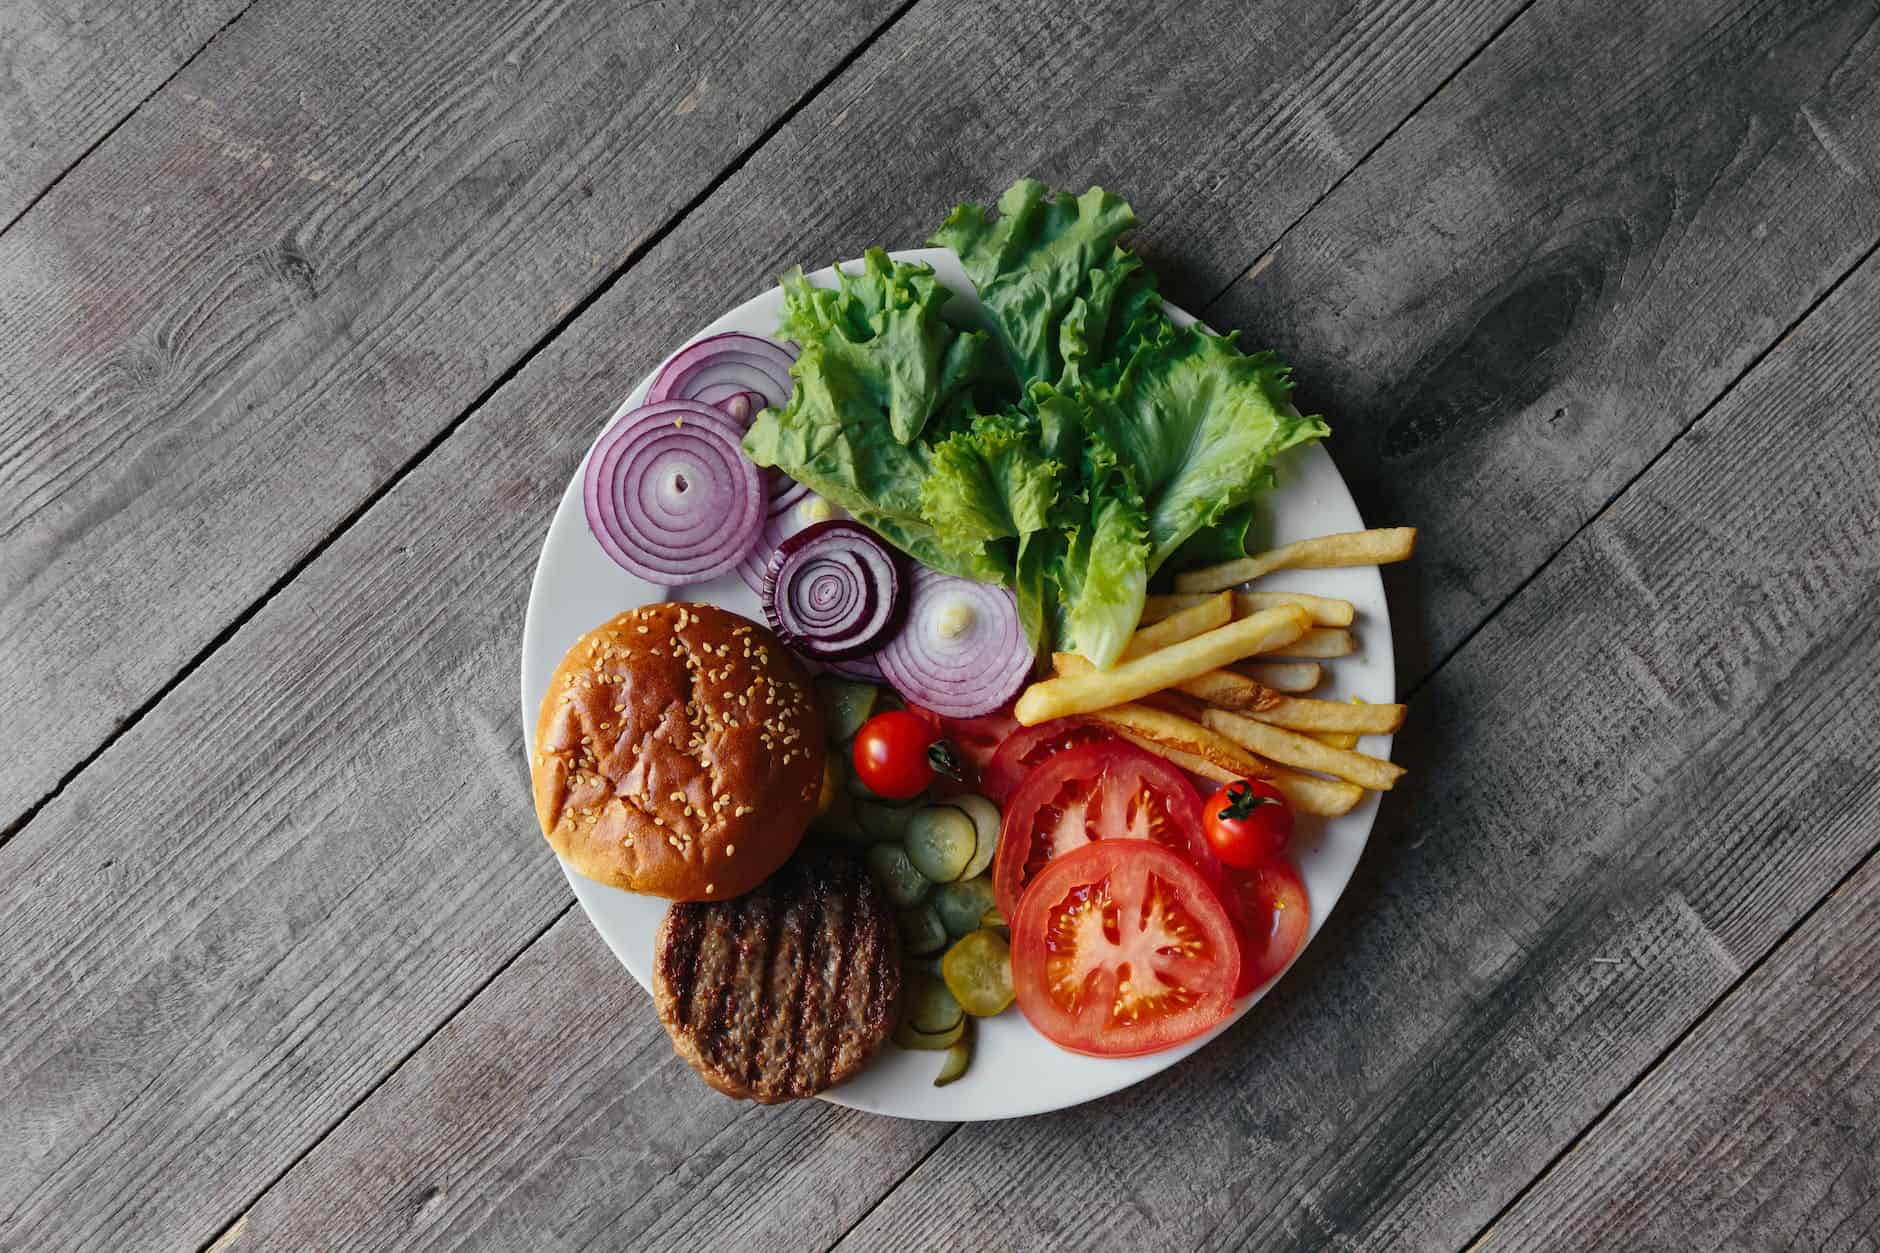
Select a suitable background that complements the burger and helps it stand out. Consider using surfaces like rustic wooden boards, slate, or clean white plates to create contrast and showcase the burger effectively.
4. Set Up Lighting
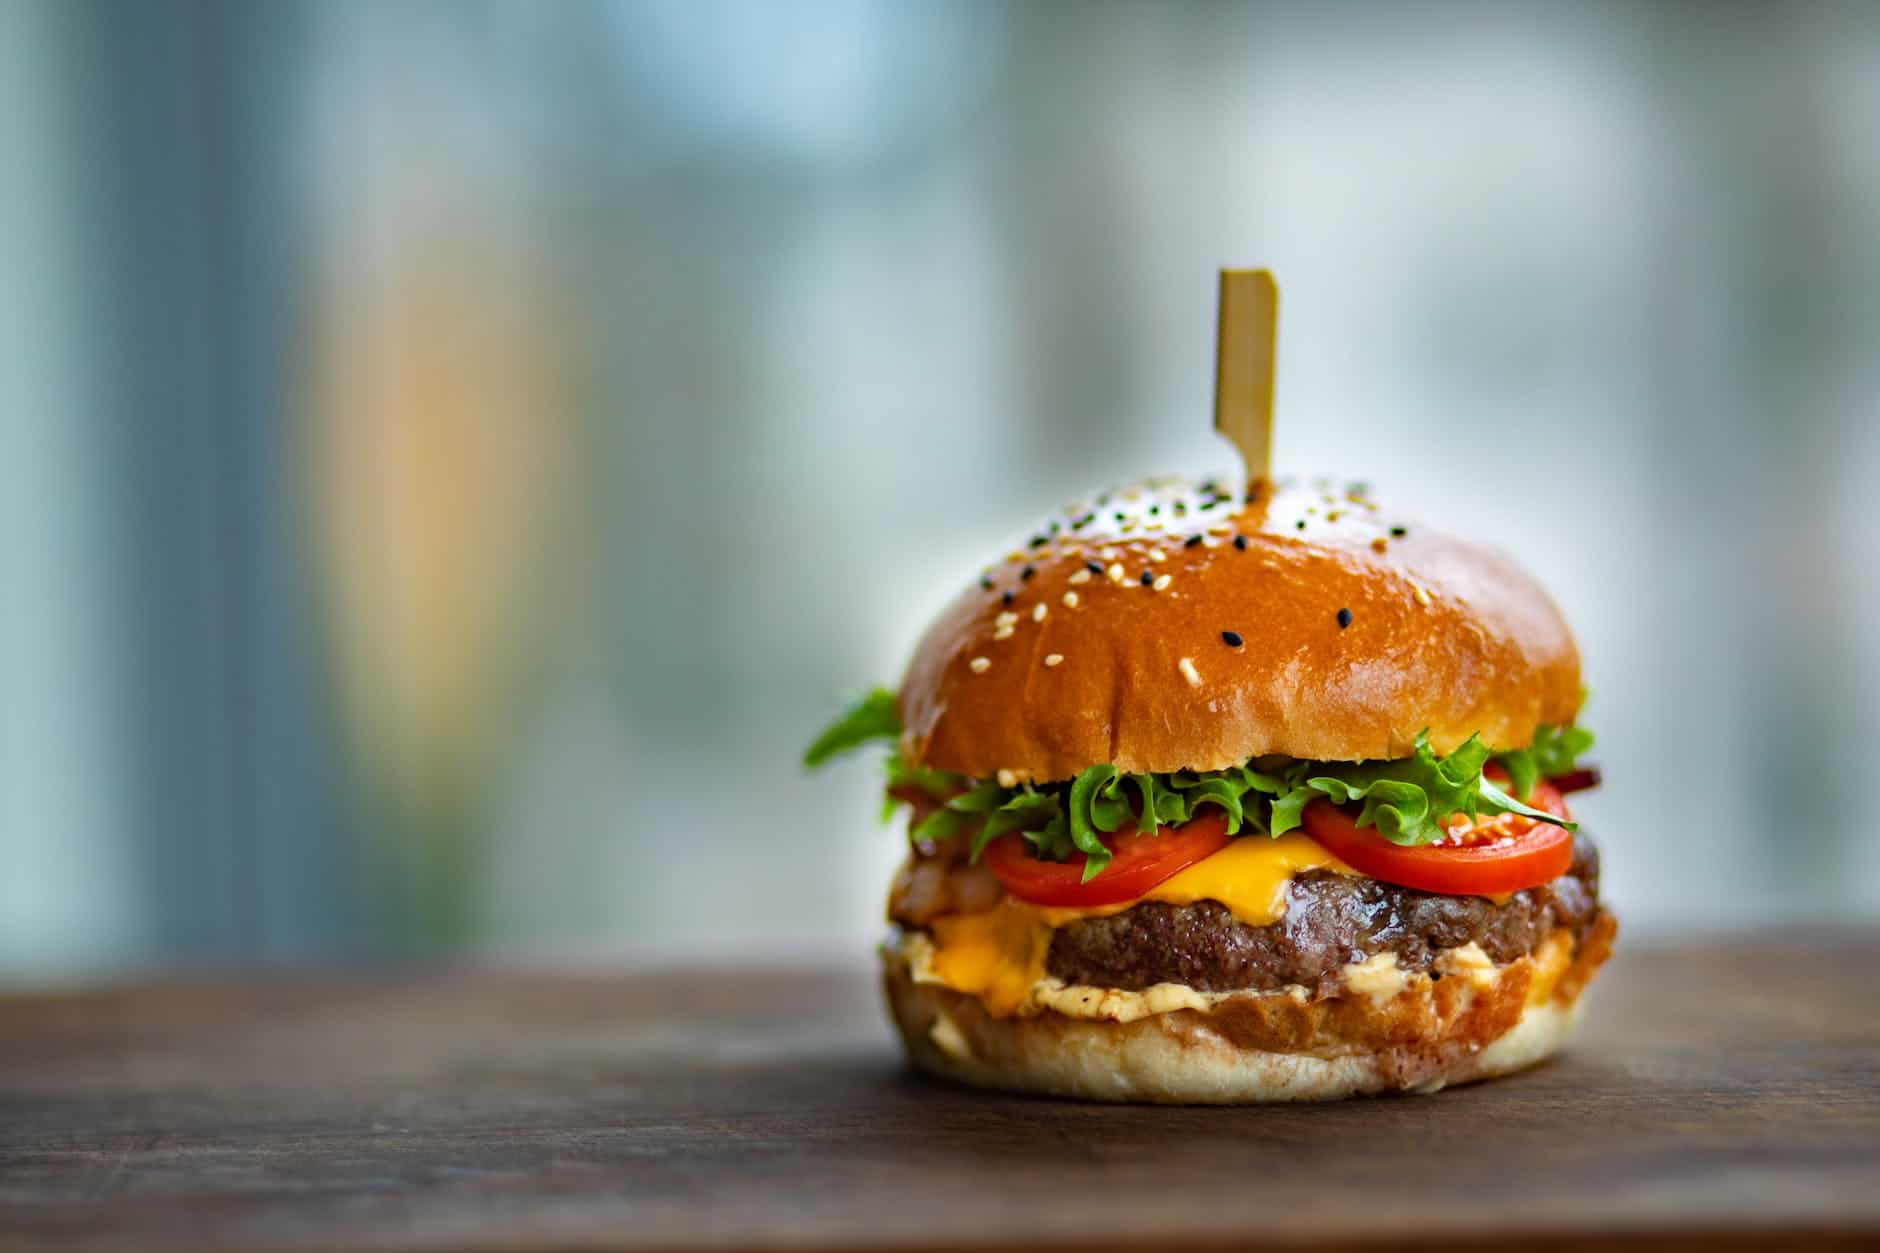
Choose the lighting setup that best suits the desired mood and style. Natural light is often preferred for food photography, as it provides a soft and flattering illumination. Set up near a window or use diffusers to soften harsh light if necessary. Alternatively, experiment with artificial lighting setups, such as diffused strobes or continuous lights, to achieve a desired effect.
5. Composition and Angle
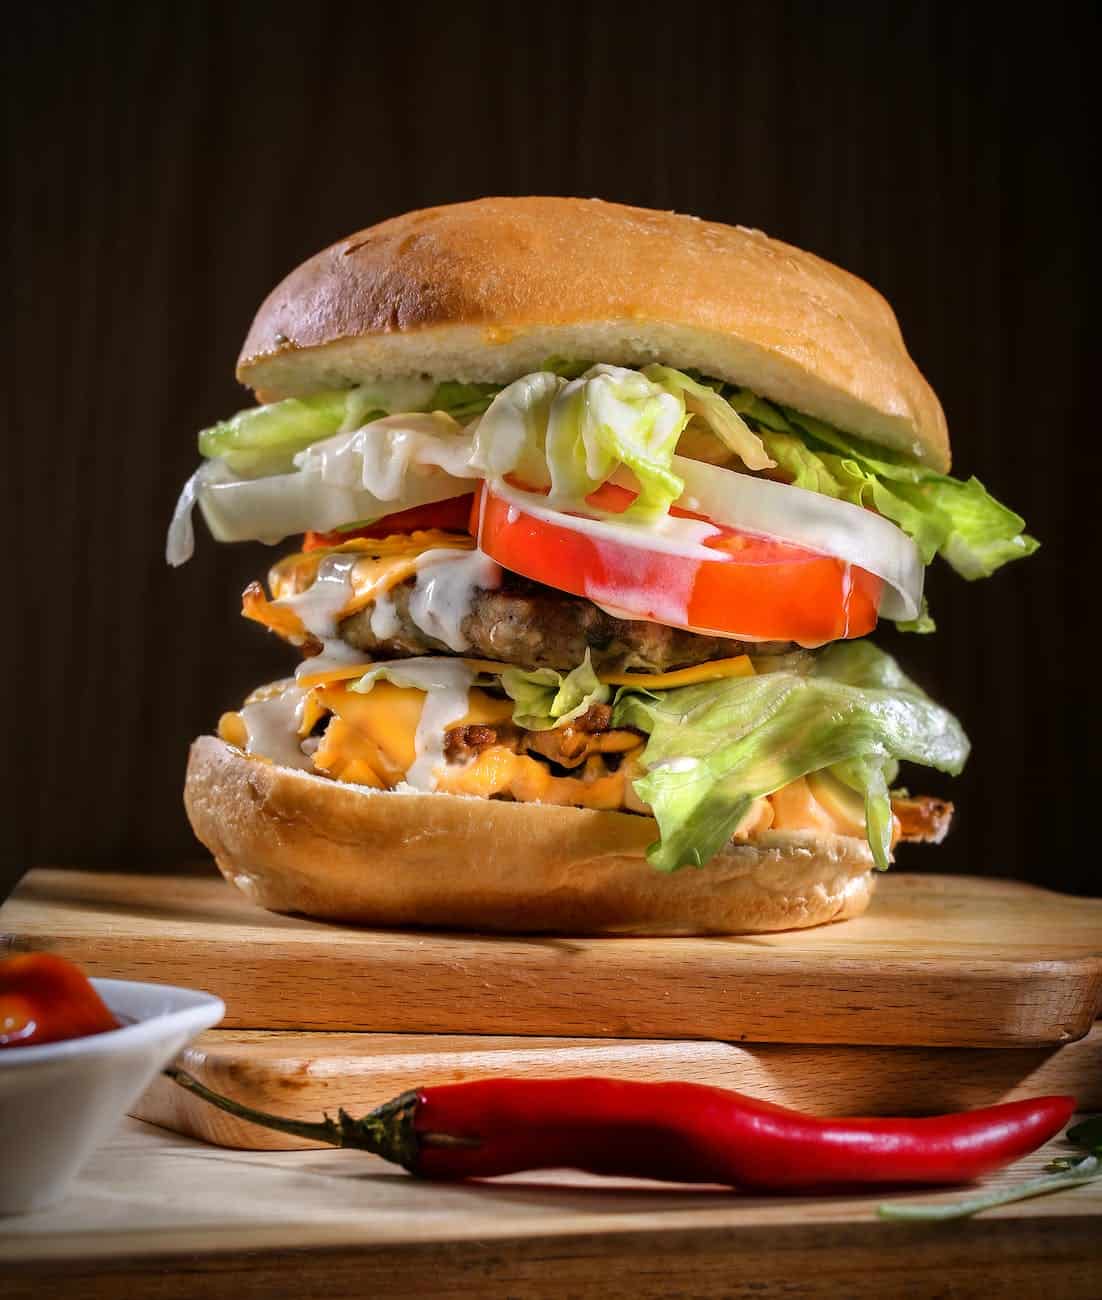
Experiment with different angles and compositions to find the most visually appealing shot. Consider shooting from a head-on perspective to showcase the layers of the burger. Capture close-up shots to emphasize the textures and details. Try different framing options, such as vertical or horizontal orientations, to see what works best for the composition.
6. Props and Styling
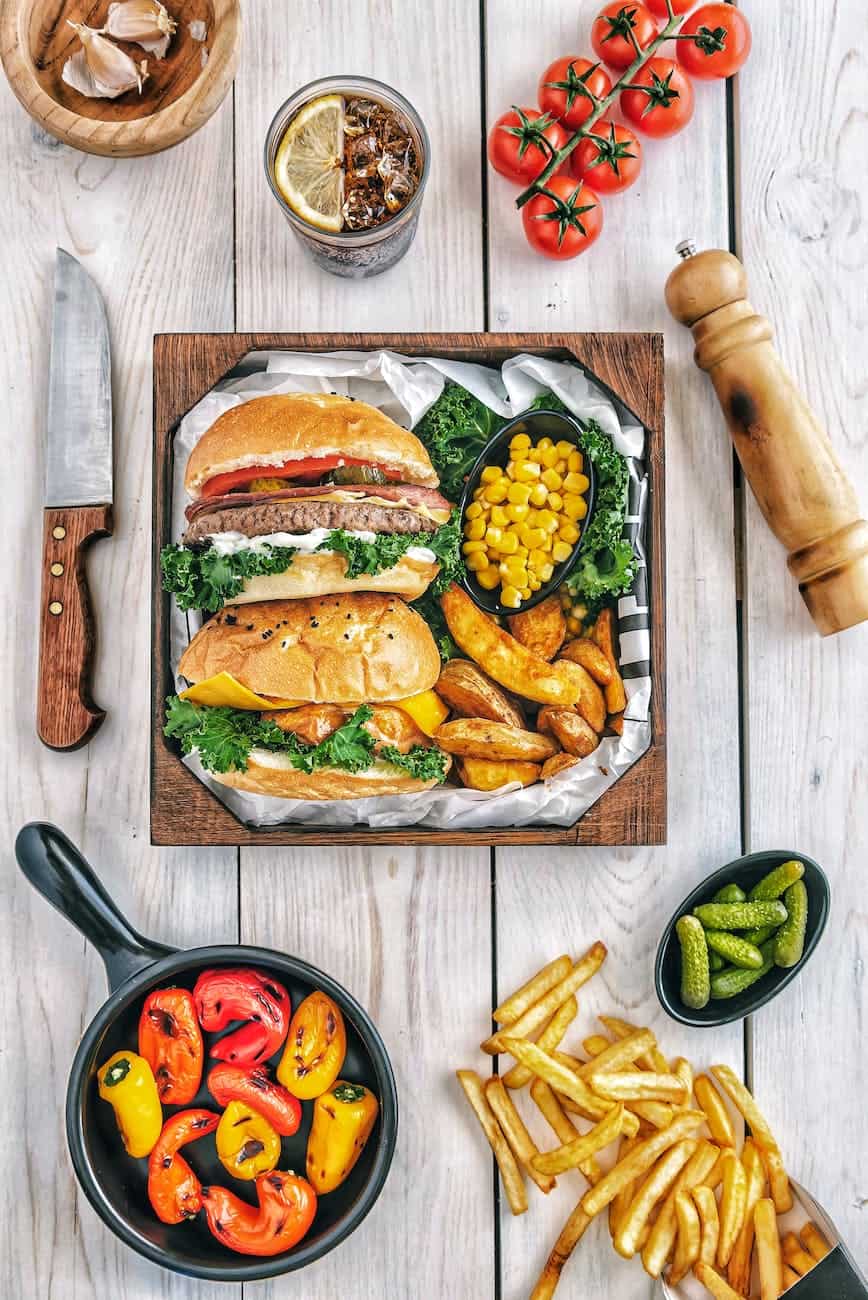
Enhance the visual appeal of the burger by adding props that complement the theme or style. This could include condiment bottles, side dishes, napkins, or utensils. Use these props strategically to create a balanced composition and add visual interest to the shot.
7. Focus and Depth of Field
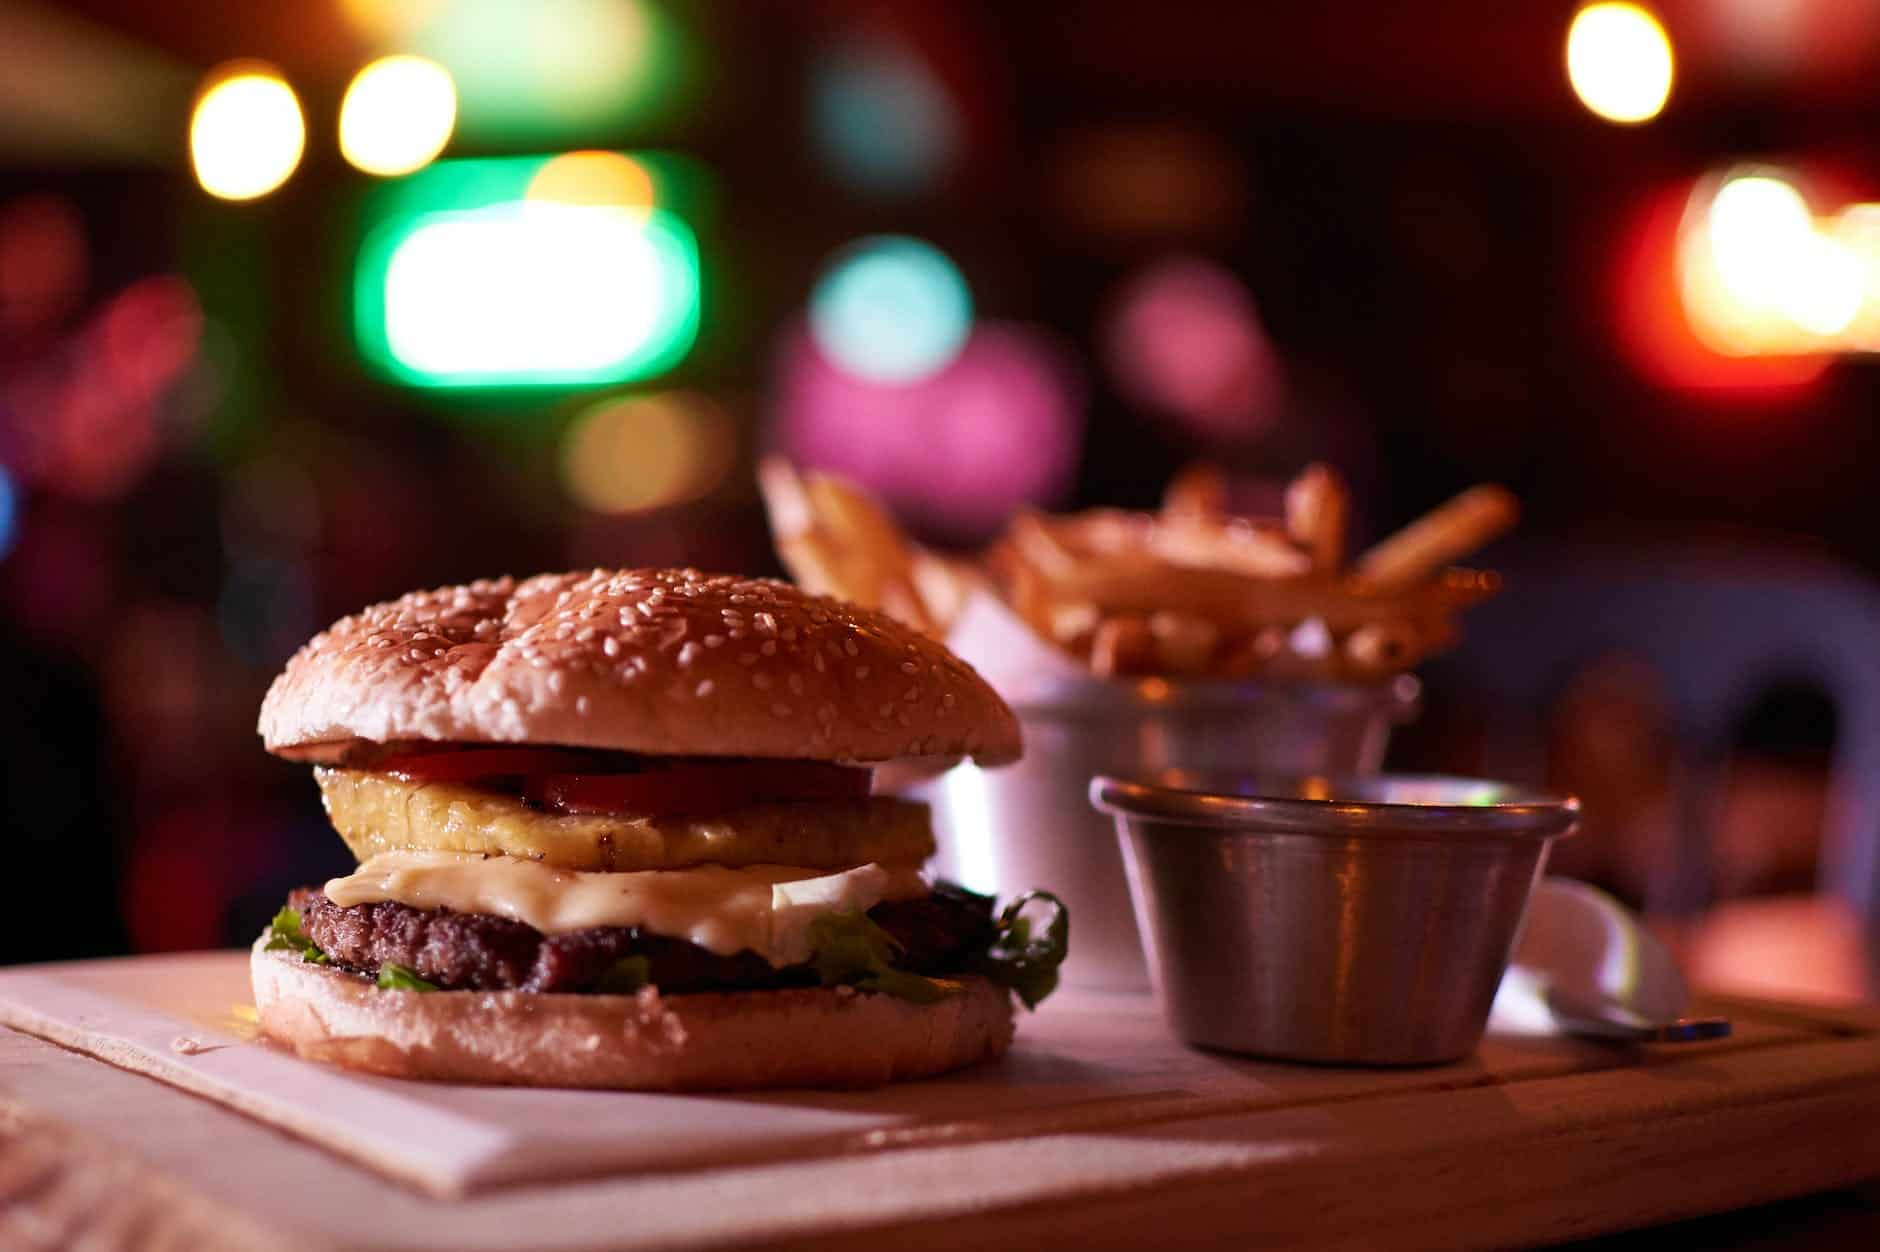
Pay attention to the focus and depth of field to highlight the burger’s details while creating a pleasing background blur. Use a wide aperture (lower f-stop number) to achieve a shallow depth of field, keeping the burger in sharp focus while blurring the background slightly.
8. Adjust White Balance
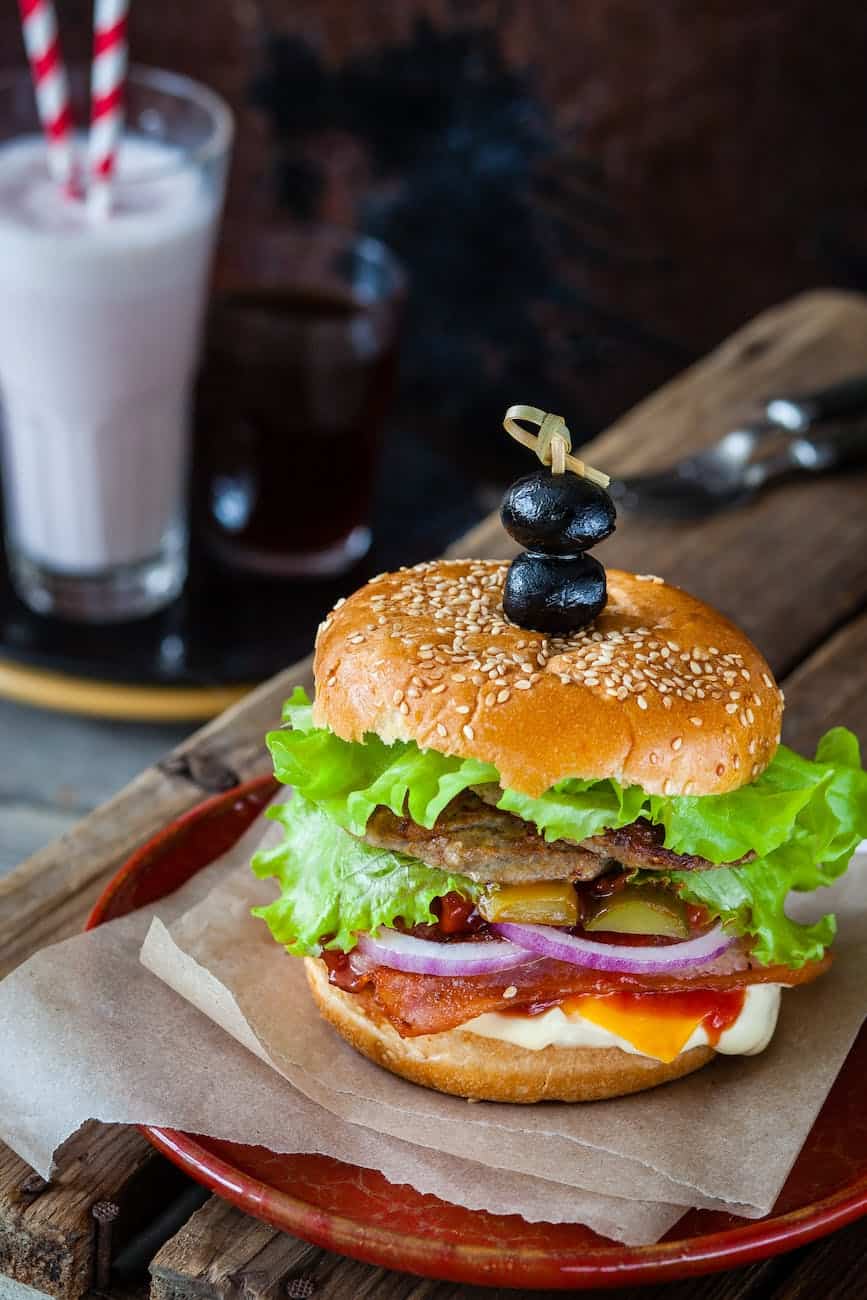
Ensure accurate colors by adjusting the white balance settings on your camera or during post-processing. Aim to capture the burger’s true colors, from the bun to the toppings, to make the image more appetizing.
9. Post-Processing

After capturing the images, fine-tune them using photo editing software. Adjust the exposure, contrast, and color balance if needed. Enhance the details, sharpen the image, and remove any distractions or imperfections.
10. Experiment and Refine
Practice, experiment, and refine your techniques over time. Pay attention to feedback and learn from your own experiences to continually improve your hamburger photography skills. Develop a consistent style and approach that represents your unique vision as a food photographer.
Remember, patience, attention to detail, and creativity are key when photographing hamburgers. Don’t be afraid to experiment and try different approaches to find the style that best captures the essence of the burger and makes it irresistible to viewers.
0 Comments