
5 Product Photography Tips
Product photography is crucial for businesses who want to showcase their items in an attractive and professional manner, especially in e-commerce. These 5 product photography tips will help you enhance your product photography.
Lighting is Key
Good lighting can make or break your product photos. Natural light works well for some products, but you might need artificial lighting to create or remove shadows and highlight the product’s details. Back when I was just starting out, I used a lightbox for smaller items to achieve even, diffused lighting.

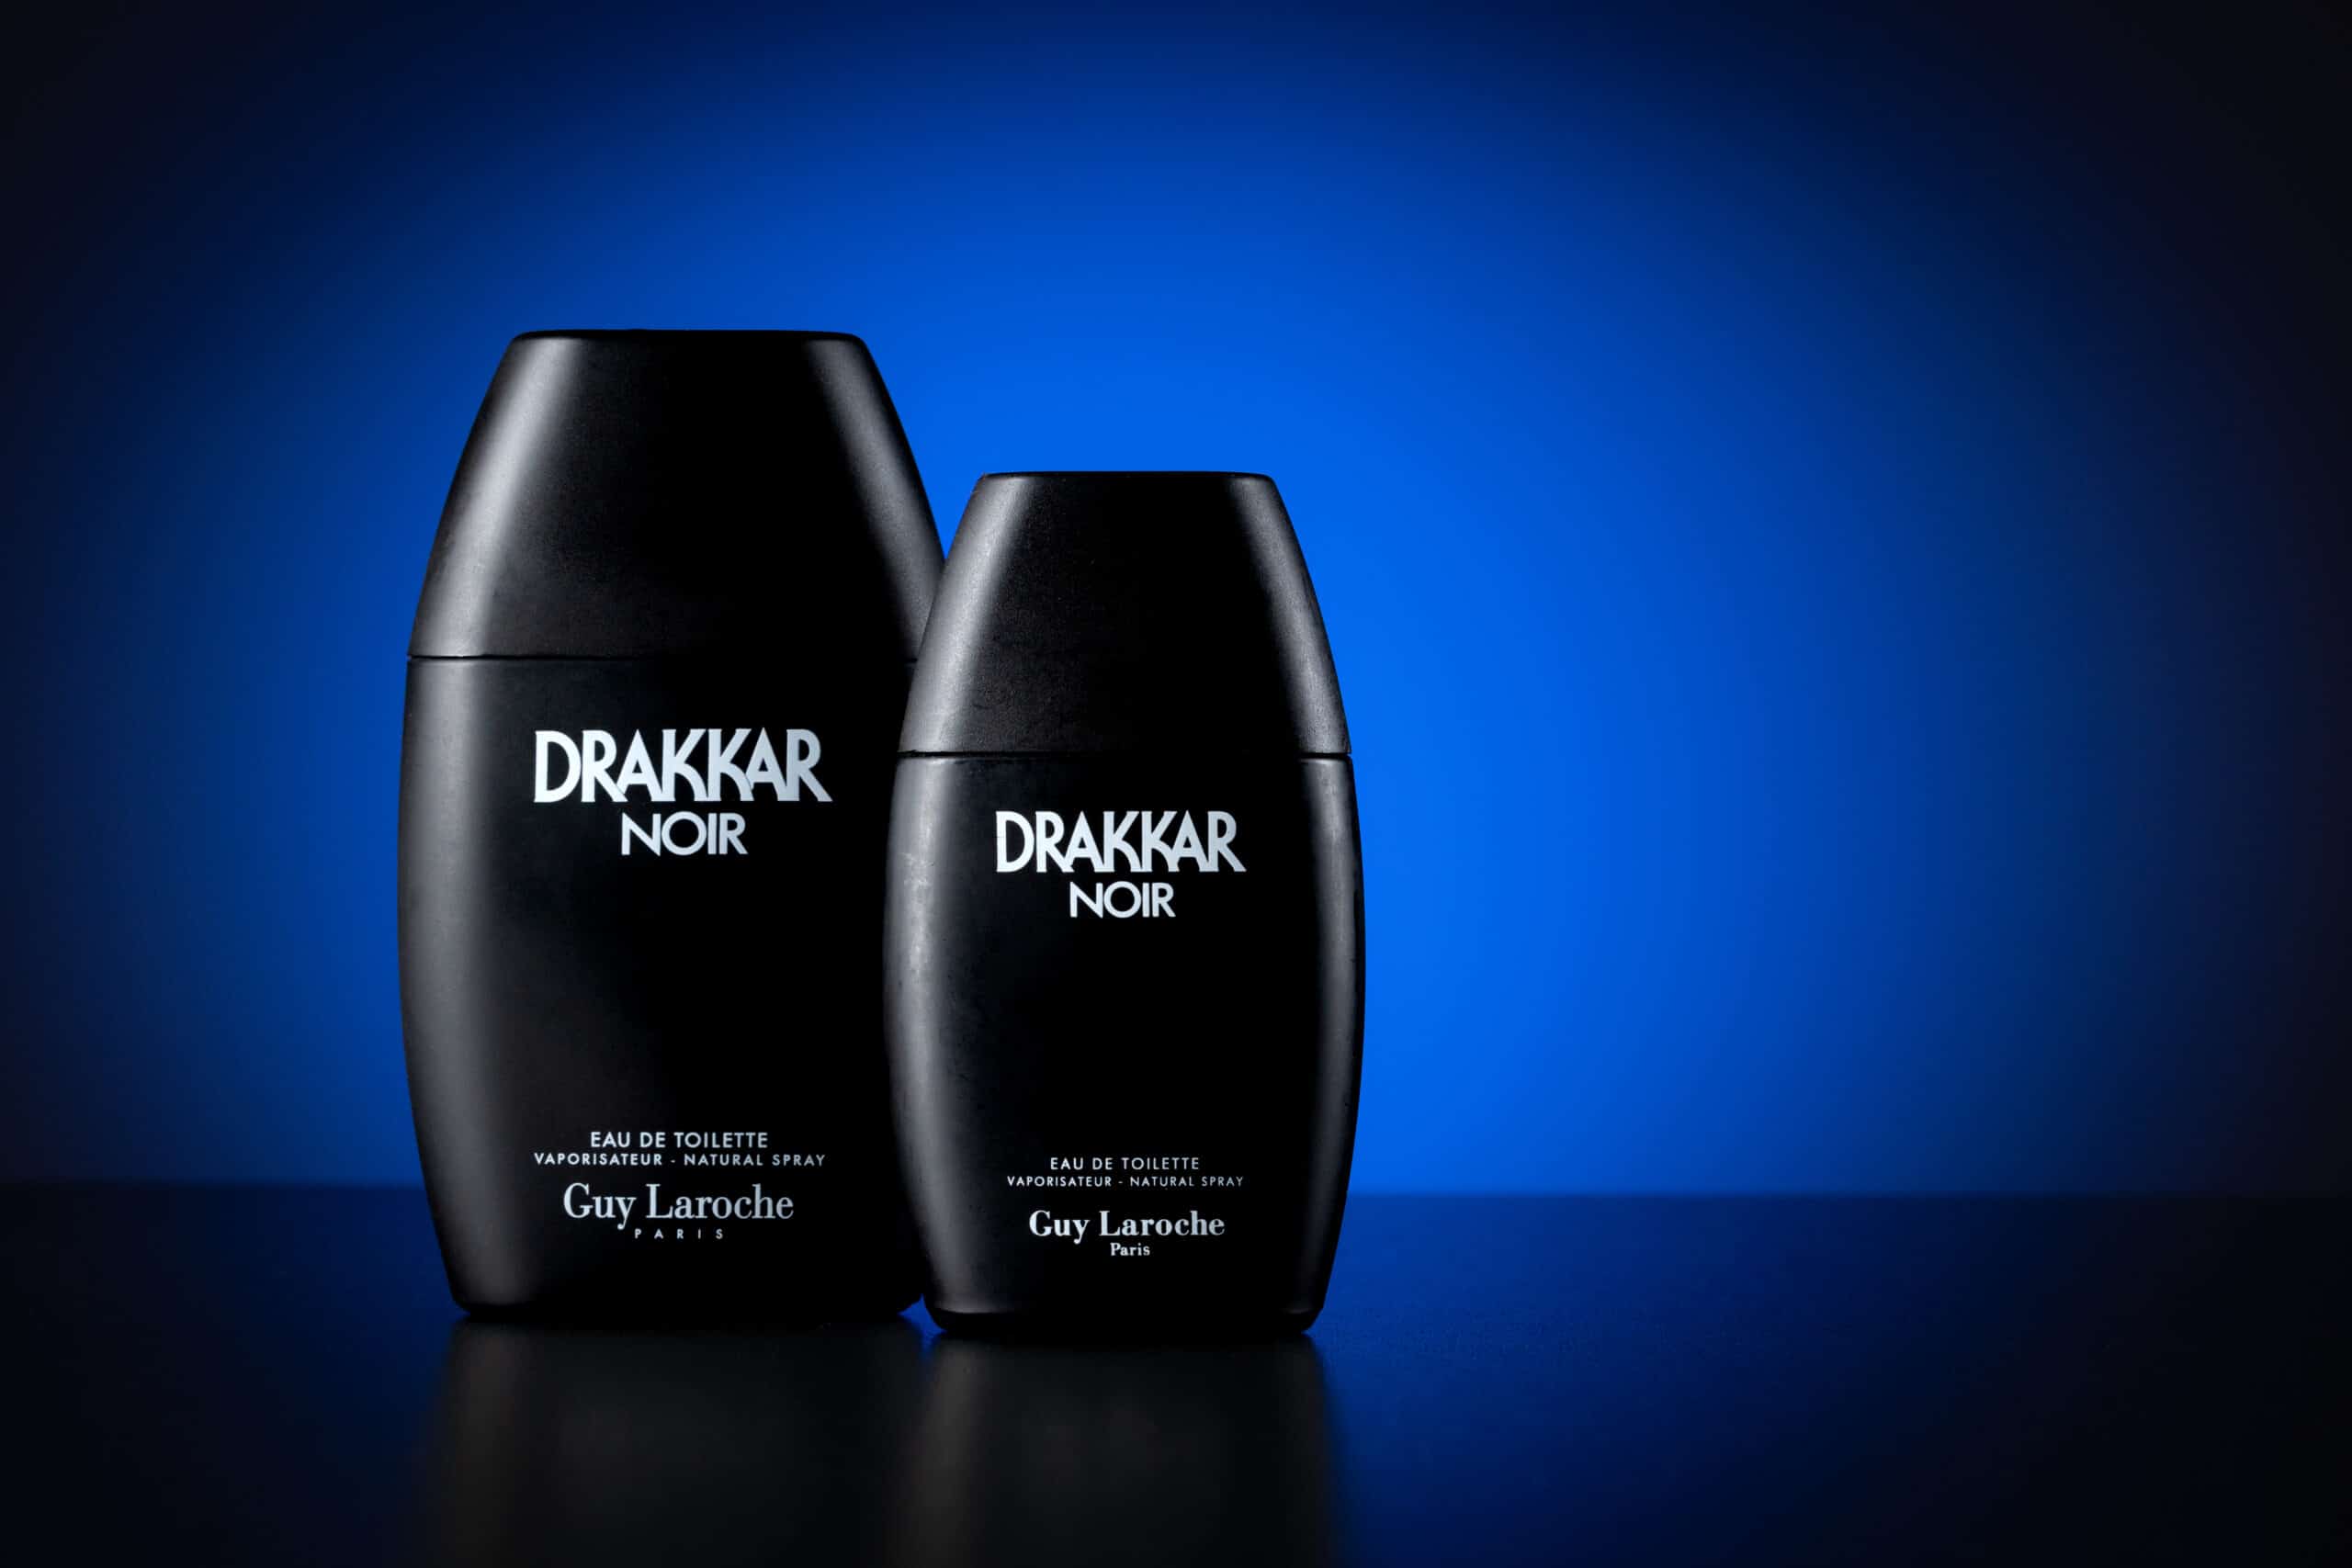
For this photo of some old cologne bottles, I used three studio strobes, or flash lights. One on the left, one on the right, and one for the backdrop. I used strip boxes for the left and right lights. Notice how the light reflects off the bottles as a dull sheen. The bottles have a matte finish to them, and they aren’t highly polished and reflective. If they had been shiny bottles, I’d have had to further modify my lights by adding diffusion paper to prevent a harsh glare reflection.
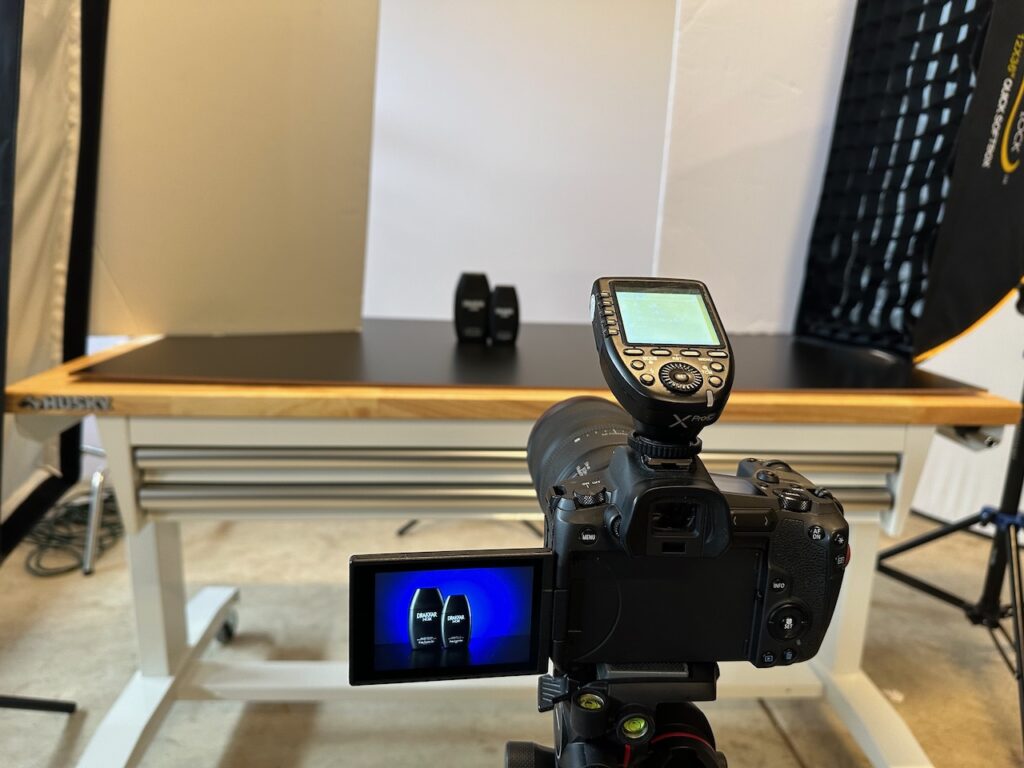
For the light in the background, I simply placed a blue gel over the flash, and positioned it to make a nice gradient ball of light on the wall behind the products. To prevent light spill from my strip boxes, I put foam boards next to each, to help the blue ball of light maintain its rich color, and not get washed out.
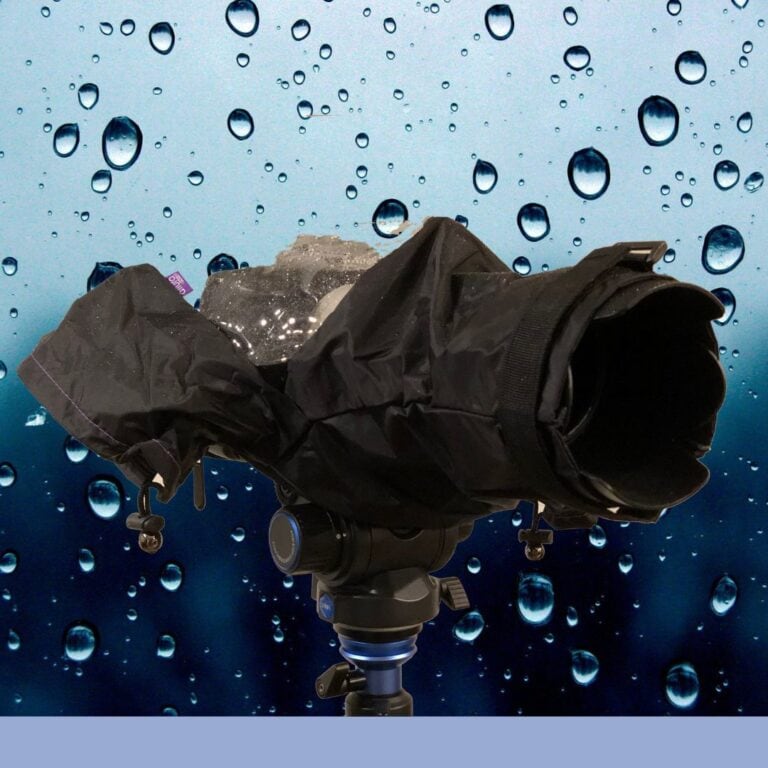
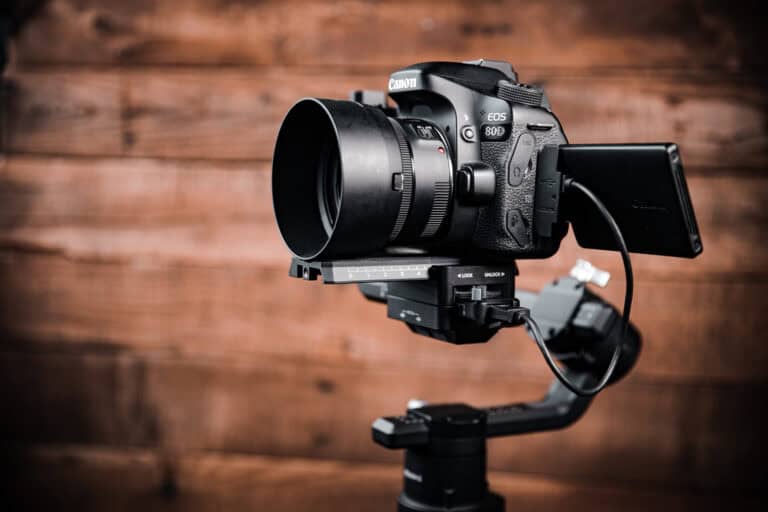
Use a Tripod
Stability is essential for sharp, clear images. A tripod eliminates camera shake, especially in low-light conditions or when using slow shutter speeds. Tripods enable you to maintain consistent framing and angles across different shots of the same product. The make and model of the tripod you use doesn’t matter. What matters is how sturdy it is.
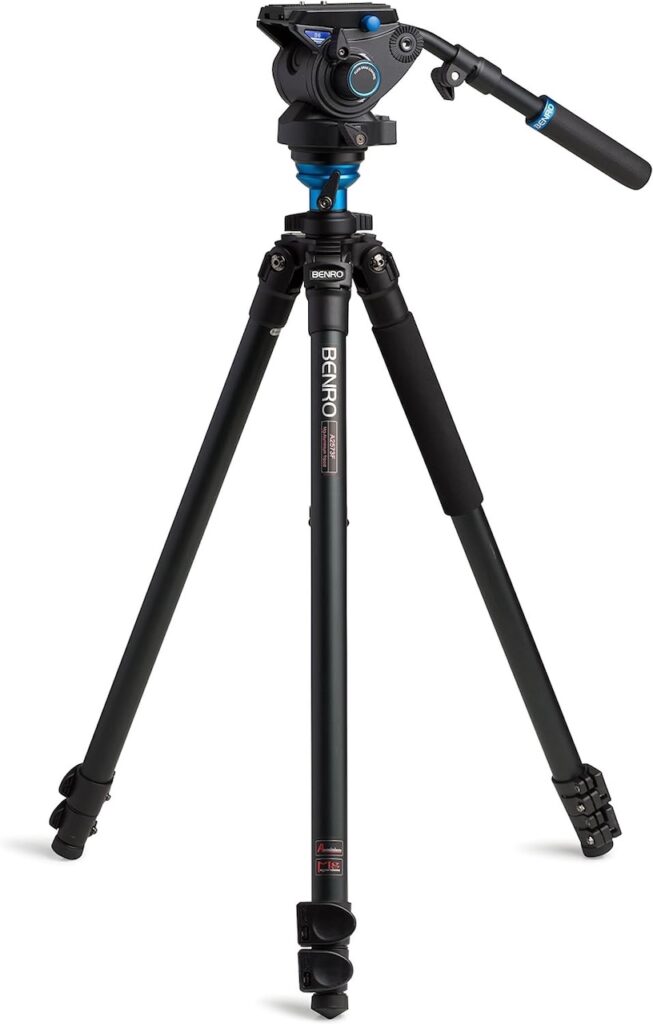
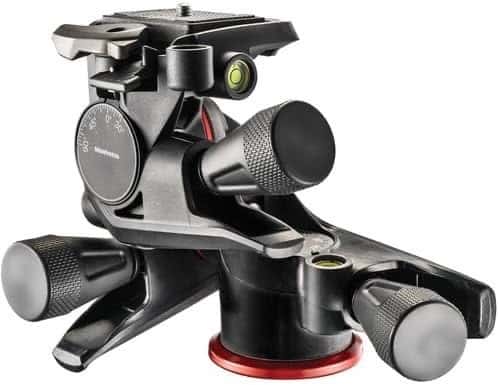
As a general rule, if you buy a cheap plastic $20 tripod, you’ll probably get cheap plastic results. My camera and lens combo costs around $3,000 dollars. Would you trust your expensive equipment to some cheap, flimsy tripod? I personally use a Benro tripod with a Manfrotto 3-way adjustable head. Is it perfect? Nope. (I’m saving up for a salon stand). But do I trust it? Yep. My setup has never failed me.
Click here to read my post about my Benro tripod.
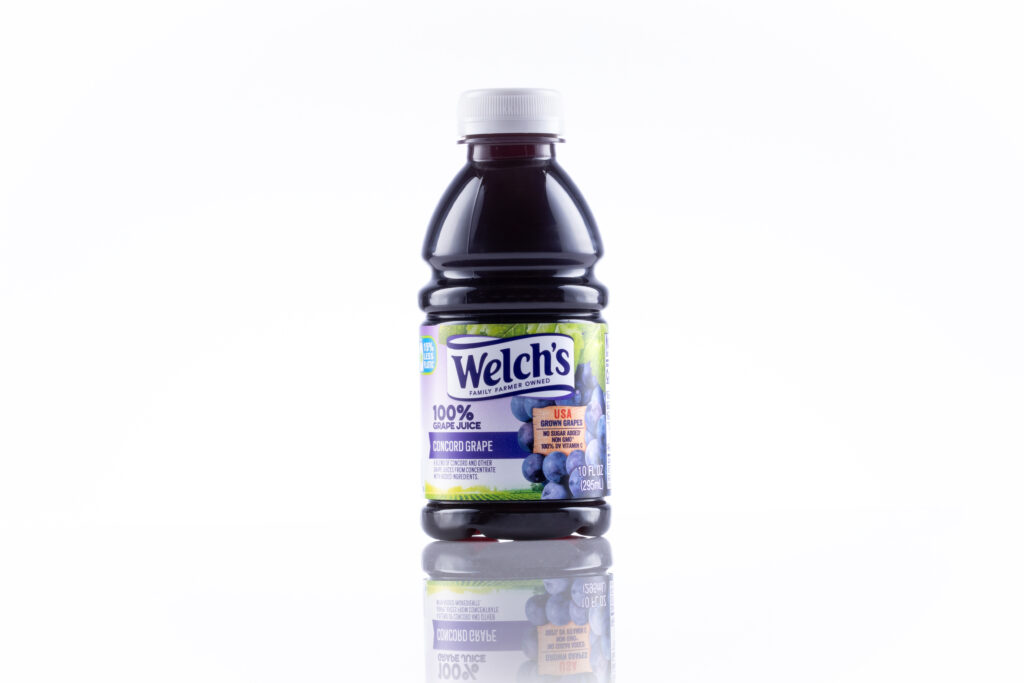
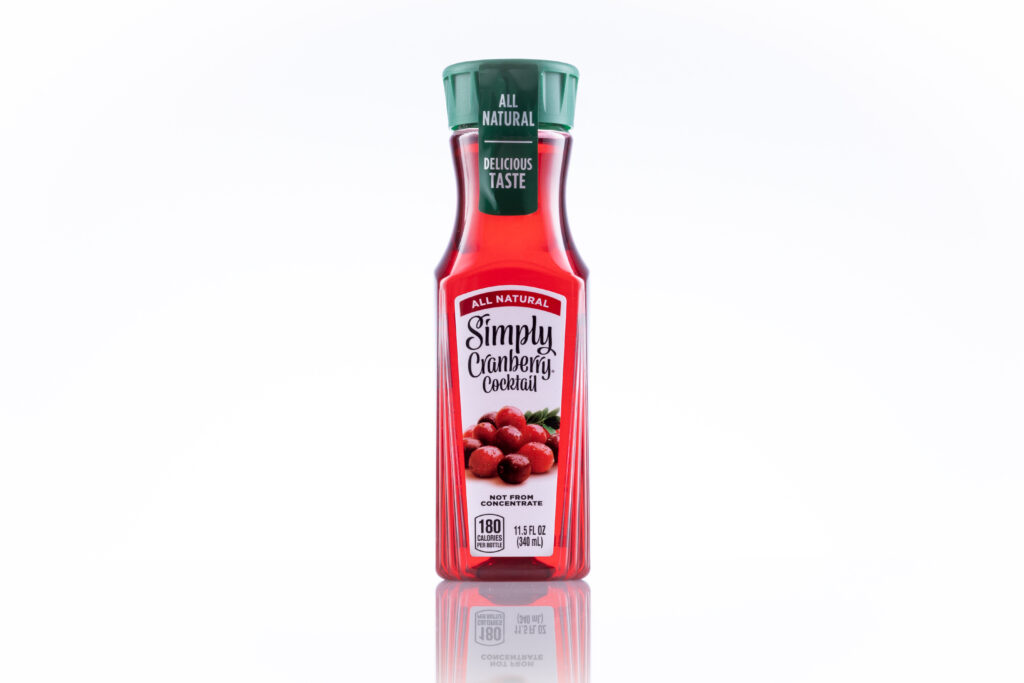
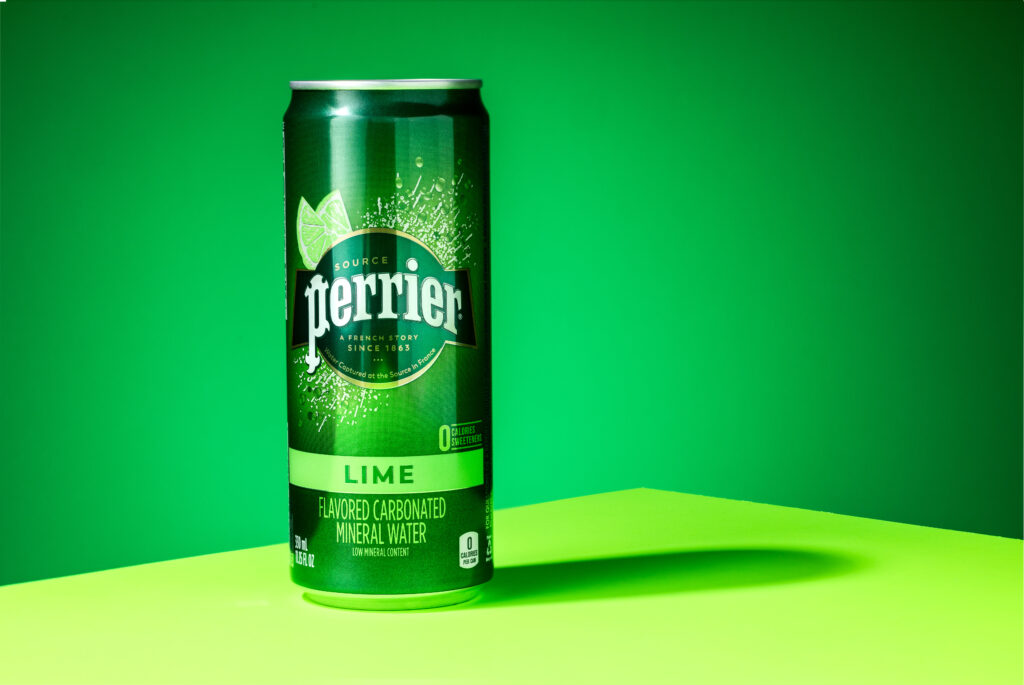
White or Neutral Backgrounds
A plain, neutral background helps your viewer focus their attention on the product without distractions. White is a popular choice because it reflects light well and simplifies the process of editing the images to have a clean, consistent look across your product line.
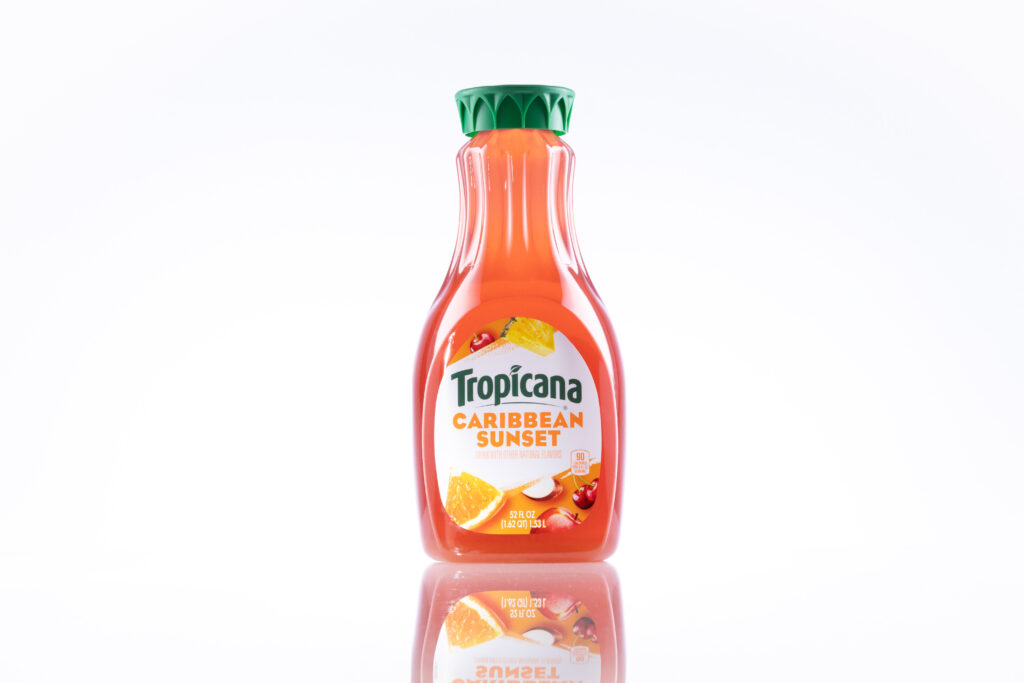
For this pack shot, I used four lights. Left and right lights to create crisp white reflections, a background light, and a small snoot light for the label. I used strip boxes and pop-up reflectors on the left and right. The surface was a sheet of white plexiglass (or perspex).
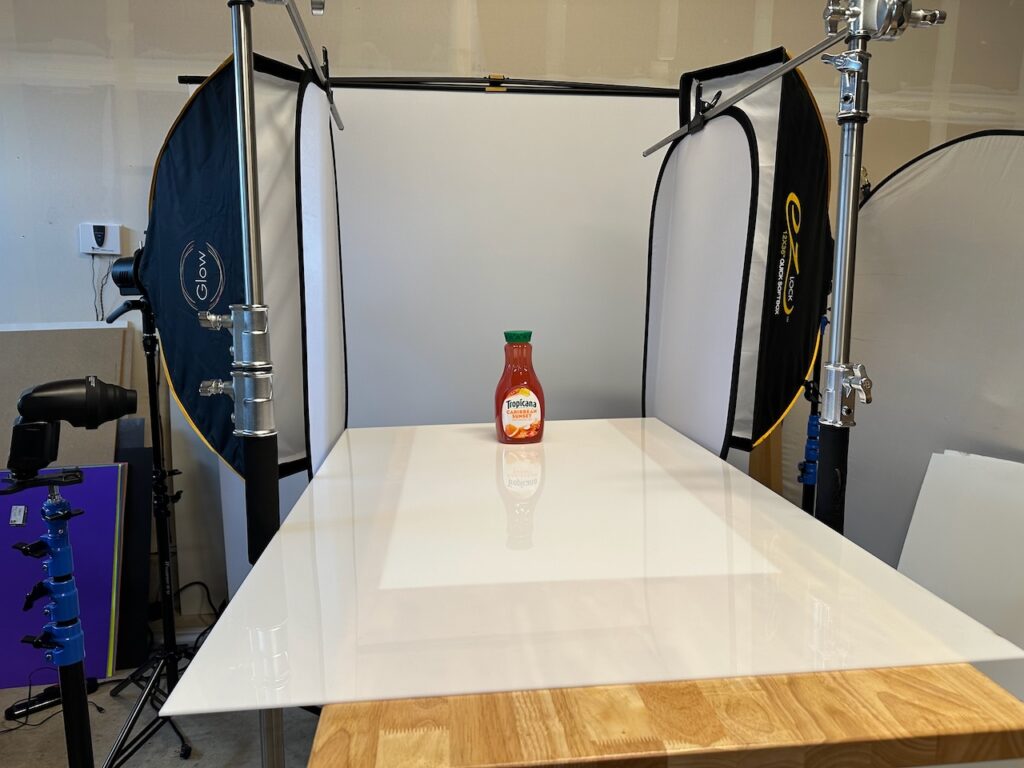
With this setup, I can quickly make lots of pack shots without having to change settings.

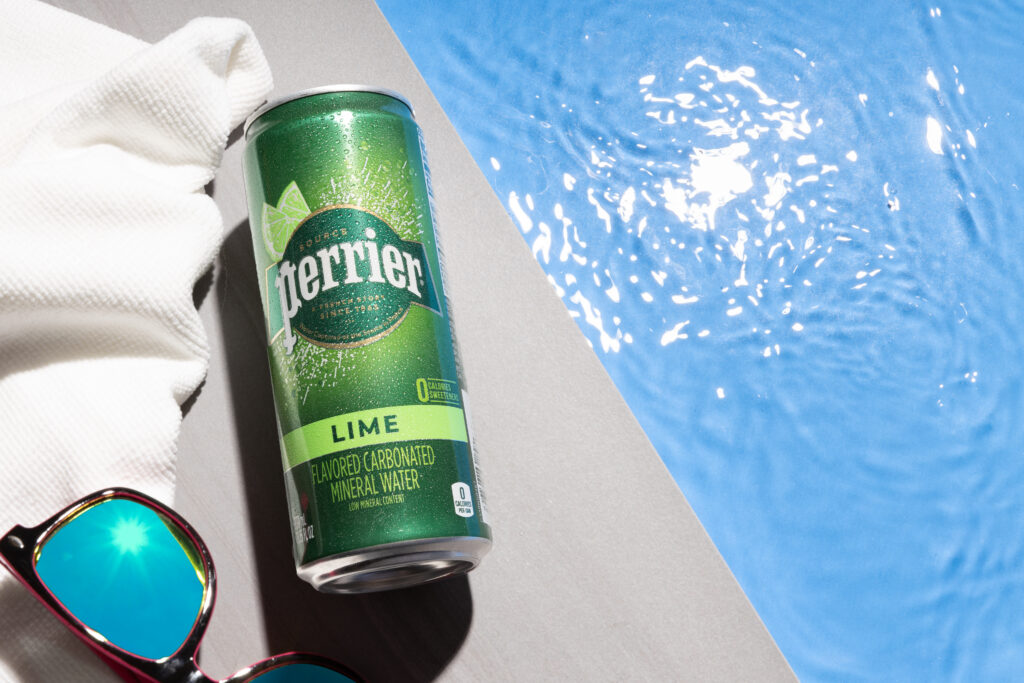
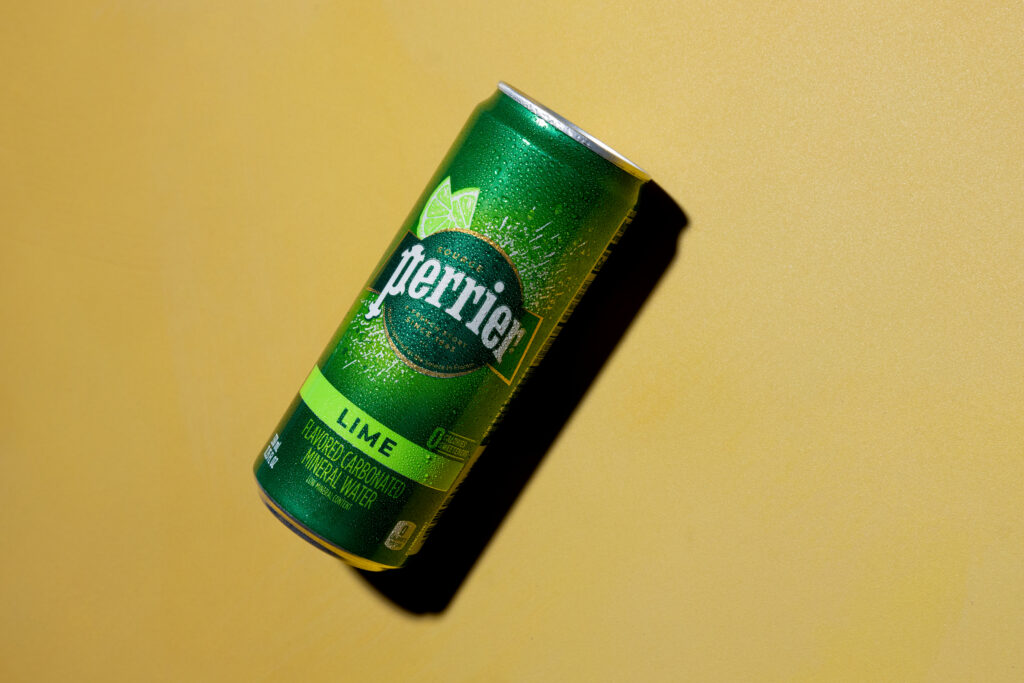
Multiple Angles and Details
Customers want to see products from multiple angles to give them a better idea what they’re buying. Include close-ups to highlight important features or quality craftsmanship. Maybe provide photos of the product in use. Variety helps provide a better sense of the product, which reduces hesitation for buyers.
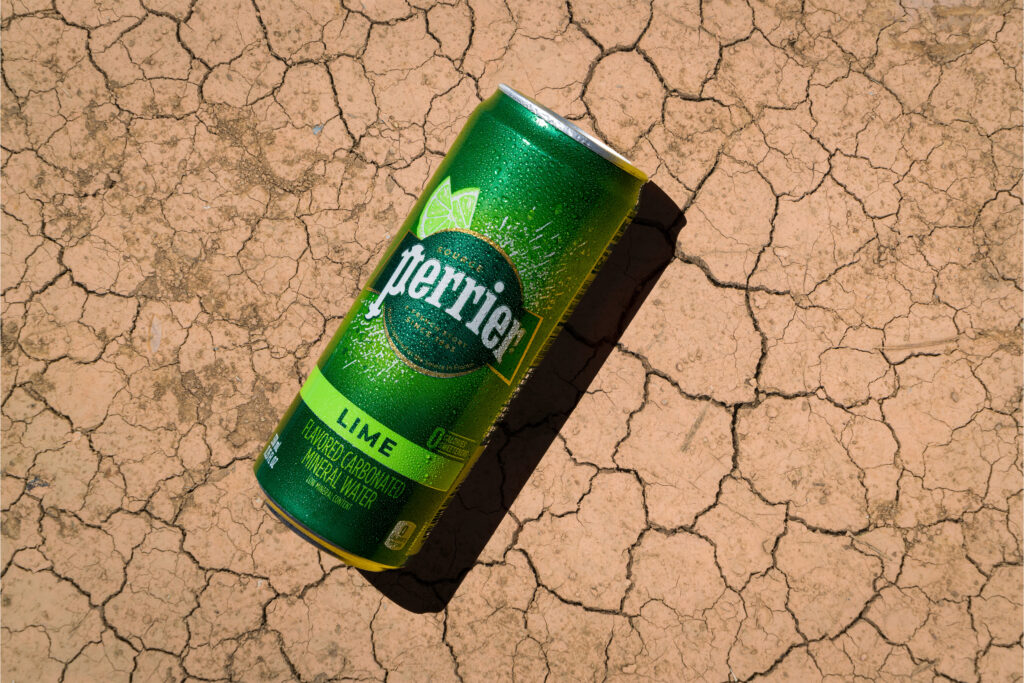
In addition to angles and details, I like to create different scenes for products. If I can’t make a scene (like the desert photo below), I take a photo, and use Photoshop to put the product in a new scene.
Post-Processing
Basic photo editing significantly improves the quality of your product images. Adjust exposure, crop for better composition, and color correct to make your photos more appealing. Remember to keep edits consistent across all images for a professional appearance.

I use Adobe Lightroom for basic photo edits, and Photoshop for more complicated stuff. Some people use Capture One–and I’m sure there’s lots of other photo editing software people use. The point is to find an app that works for you, and get to know it. Post processing is as important as your camera and lights. Edits can change the whole vibe of your photos into what you envisioned.
Summary
Remember these 5 product photography tips when you create your product photos, and you’ll be on your way to creating awesome product photos!
- Lighting is Key
- Use a Tripod
- White or Neutral Backgrounds
- Multiple Angles and Details
- Post-Processing
What kinds of product photography do you create? Drop a comment below and let us know!


Lighting, tripod stability, white backgrounds, capturing multiple angles, and post-processing are crucial in creating stunning product images.
Absolutely! Thanks Biju! Well said.