5 Food Photography Basics Every Beginner Must Know
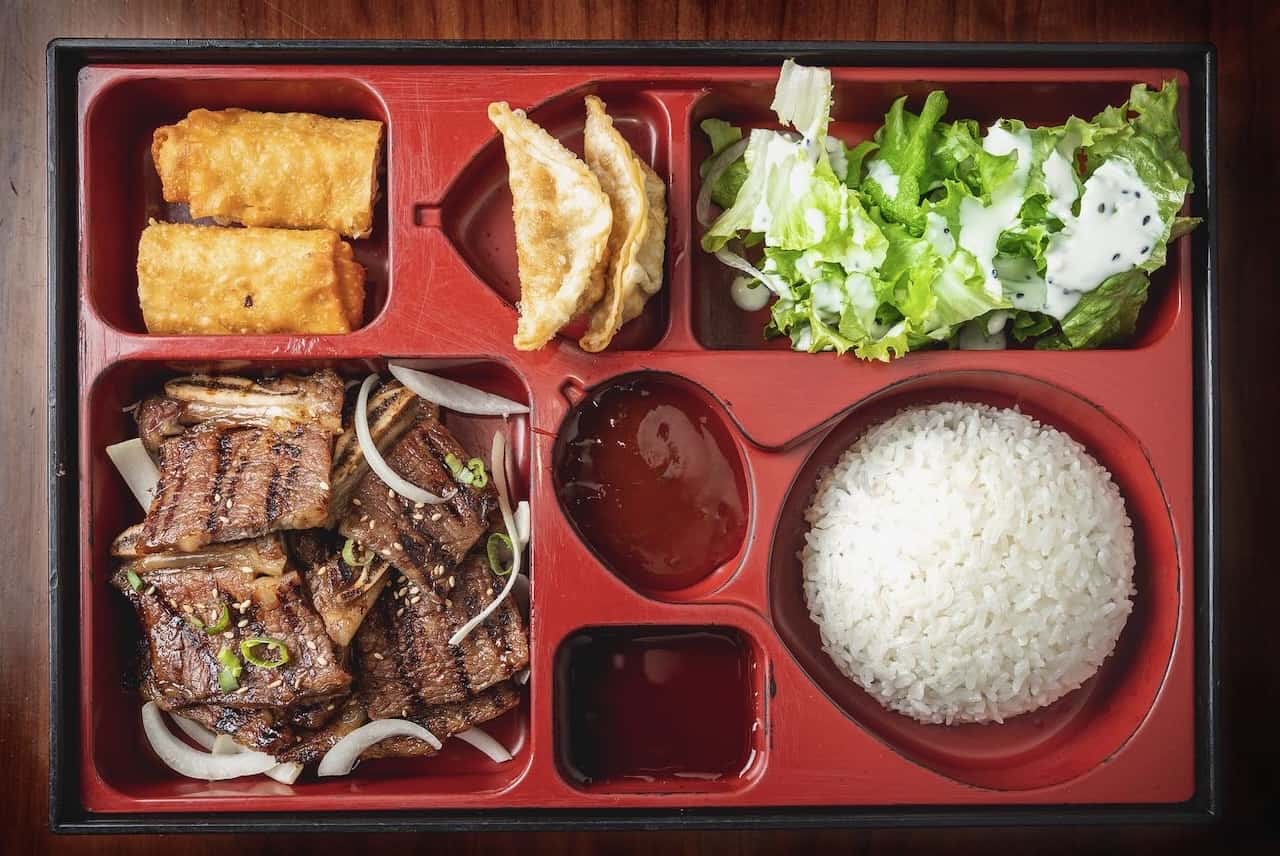
Some of my first food photography gigs were creating images for local restaurant DoorDash menus. It wasn’t glamorous. It didn’t pay well, at all. I loved the experience because I got to meet some really cool restaurant owners. I photographed (and sometimes ate) some phenomenal food, and learned how to photograph on location. As the months went by, I settled into a process that worked for me. These 5 food photography basics were my approach to DoorDash menu photography all those years ago.
LIGHT
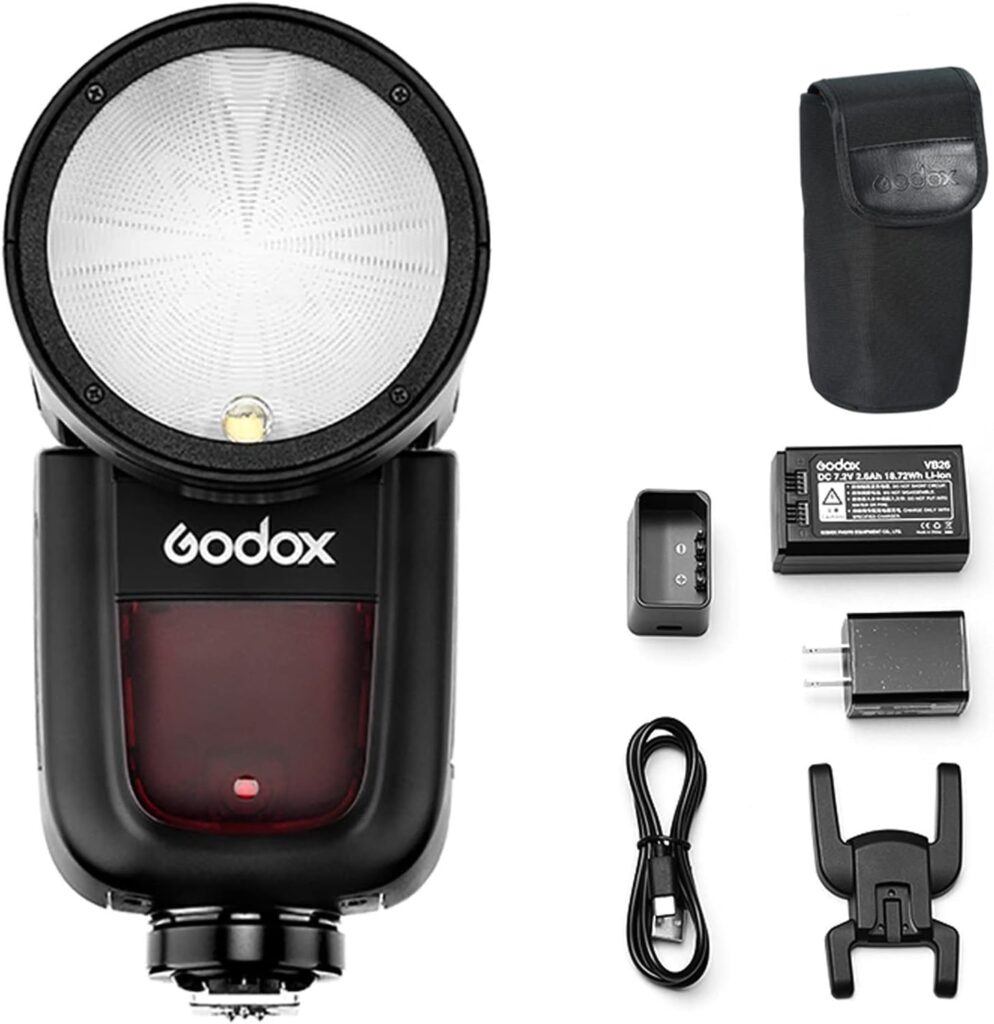
First and foremost, I highly recommend you get a speed light or battery powered studio strobe. I started with a Godox V1-C. Most restaurants are dark, so a speed light works well to illuminate a dish of food.
Why the Godox V1-C? Why not a much cheaper speed light? Because I listened to a YouTuber who said it was better. And I believed him. Now–that’s not to say the V1-C is a “bad” speedlight–it isn’t. It’s great. But, you can definitely achieve the same results I did with a less expensive model.
What About Natural Light?
Some people swear by natural, window light. That works, but…you can’t control the weather, clouds, changing light as the sun sets, etc. Artificial light makes for consistent results and reduces my stress, since I don’t have to worry about environmental factors I can’t control.
My “Basic” Light Setup
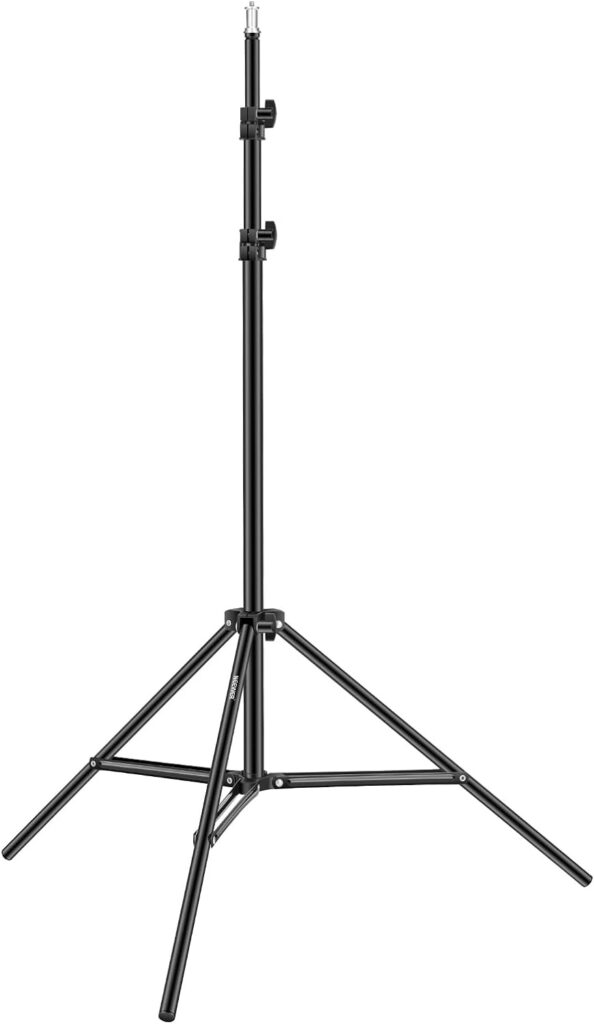
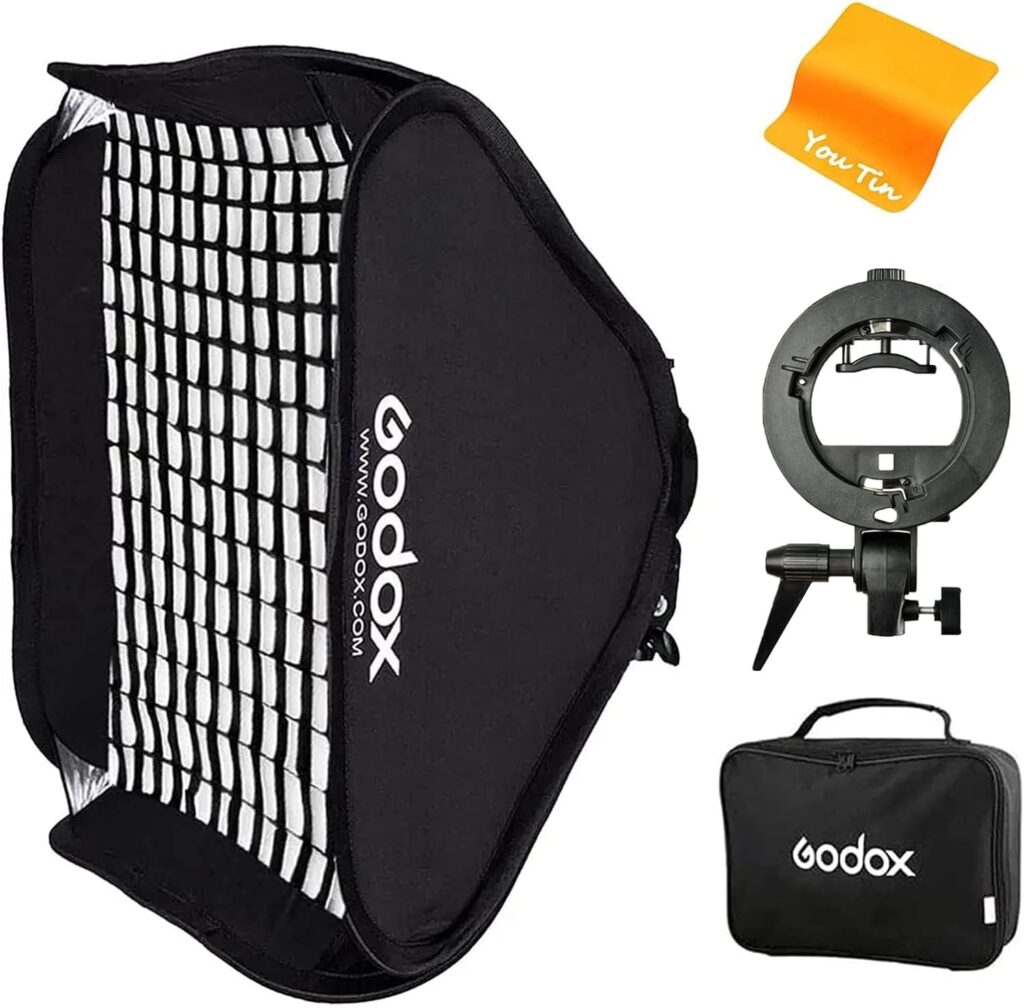
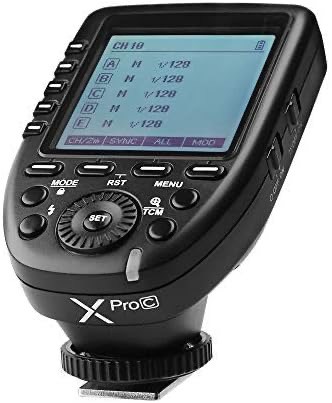
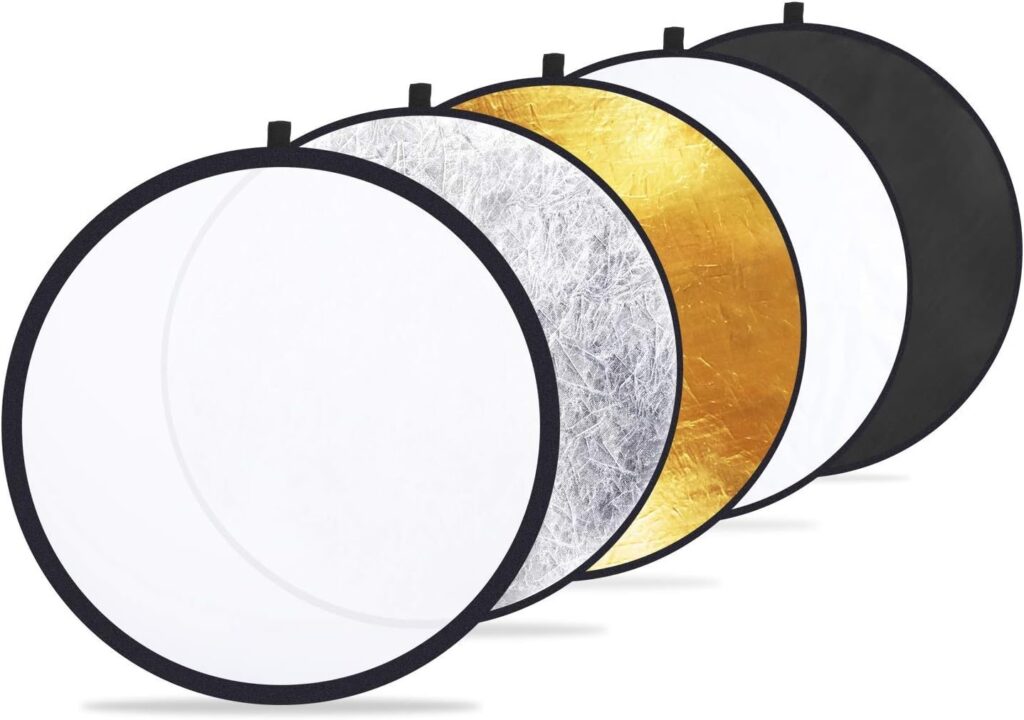
My basic setup is as follows: A cheap Neewer light stand, a pop up 24″x24″ square softbox, an S-Bracket, the Godox V1-C, and Godox XProC TTL flash controller. That’s it. Just one light. I also bought a 22″ 5-in-1 reflector and a couple of white foam core boards to bounce light back into the scene. Total price: $416. (You can get a cheaper speed light and achieve the same results for less money).

Placement
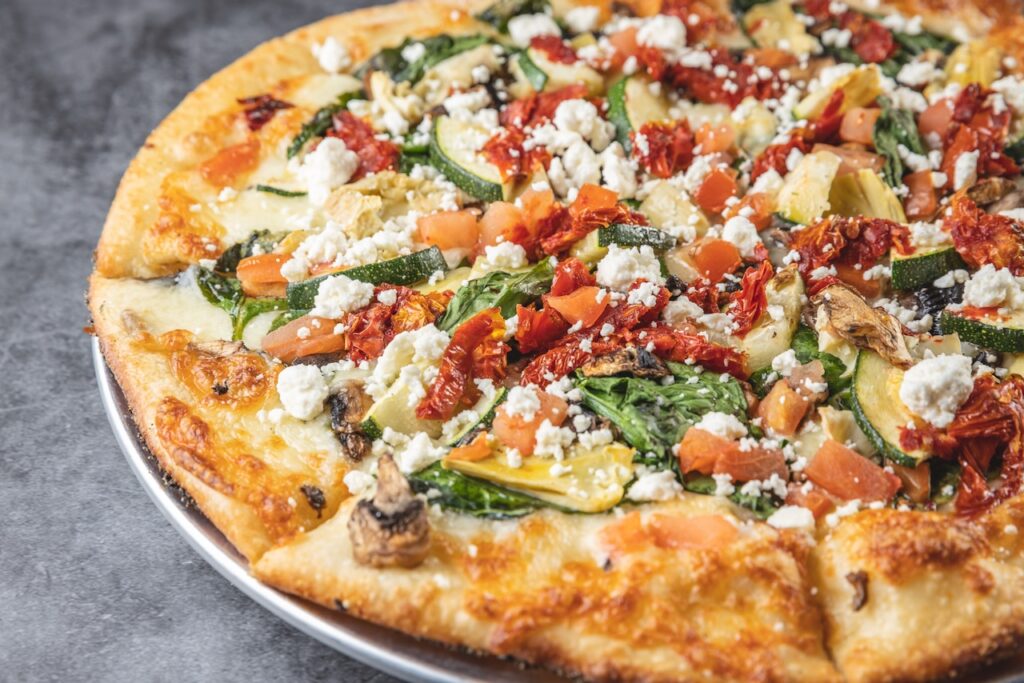
I position my light to the left and slightly behind my subject so the light to comes from the left or upper left of the frame. I love how the light sweeps across the subject, showcases textures, adds specular highlights, and shows off the glistening parts of food. When shadow areas are too dark, I put a white foam core board or pop up reflector opposite the flash.
Bright crisp flash light does something else too: It brings the subject to “life”. I know that sounds strange, but hear me out. Natural light photos look fine. But a pop of bright flash almost seems to make them more colorful, and “pop” more. If you haven’t tried flash photography yet, get some kit and have a go. Once you get the hang of it, you’ll love the results.
Camera
Don’t get hung up on which camera to use. Honestly, any DSLR made in the last 10 years or so will deliver amazing photos. Just take your time and learn your camera’s settings. Then, when you’re on location, you’ll get great results.
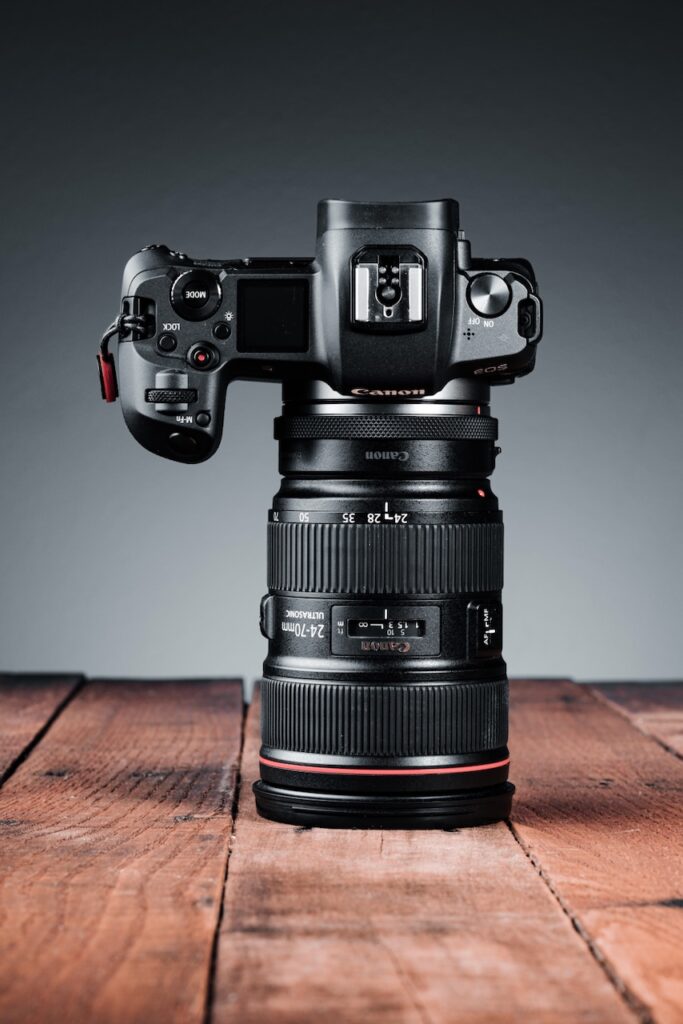
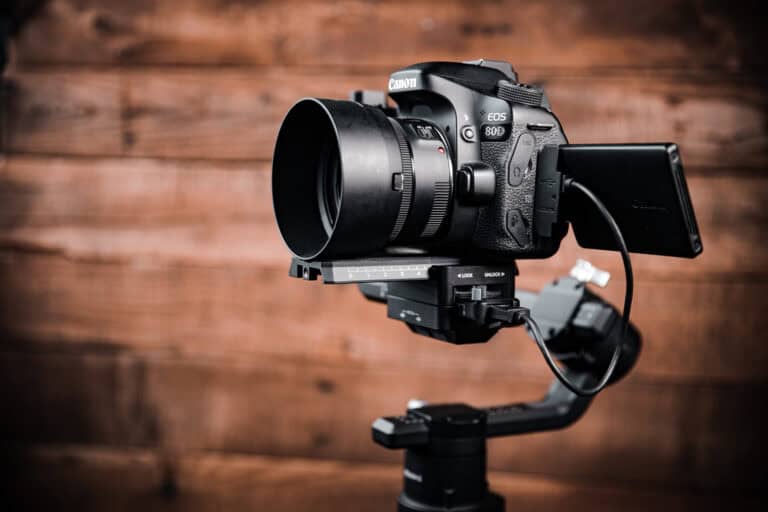
My main camera is the Canon EOS R. Not the R6. Not the R5. Marketing teams work hard to make you believe you need the newest kit. But trust me: when it comes to food and product photography, the Canon EOS R is phenomenal–maybe even overkill.
Settings
My max flash sync speed is 1/200–so that’s where I set my shutter speed. I need all the food to be in focus, so I start with an aperture of f/8 and fire a test shot or two. If I need more light, I raise the flash energy. If the photo is still dark, I bump up the ISO. That’s it. No rocket science required.
Lens
I saved up and bought a used 24-70mm f/2.8 L lens. Famous YouTube food photographers say you “need” a 100mm macro. The 100mm is a great lens, but back when I started out capturing DoorDash menus, the 24-70mm was my tool of choice–with its zoom in/out capability.
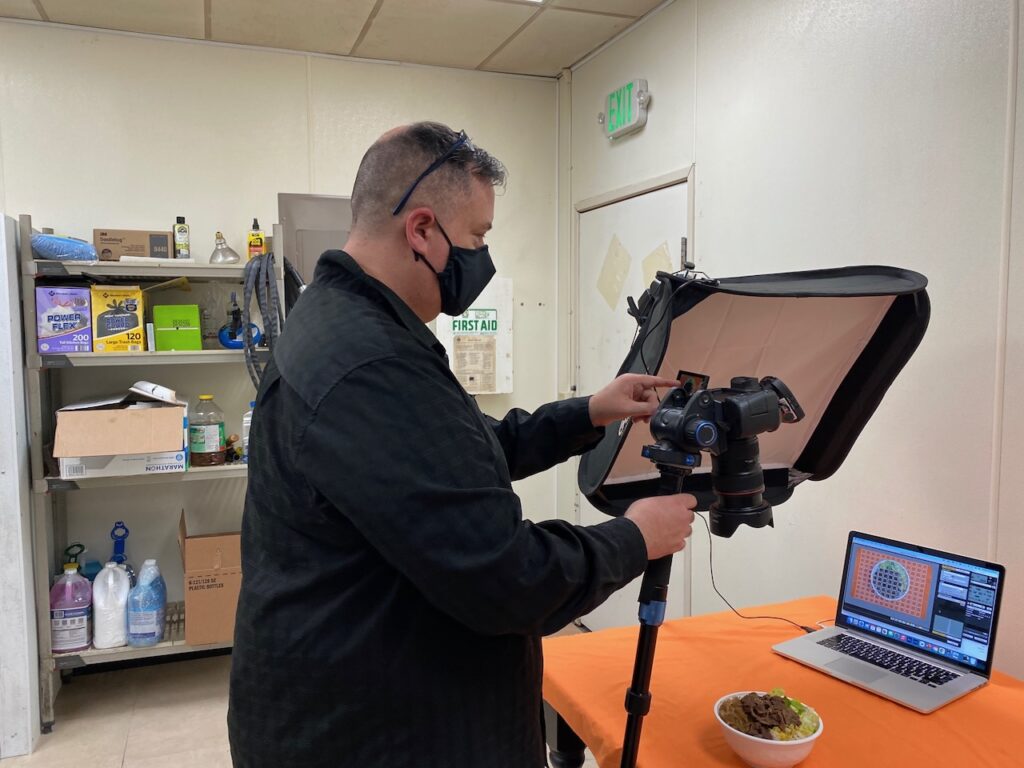
Tripod, Monopod, or Handheld?
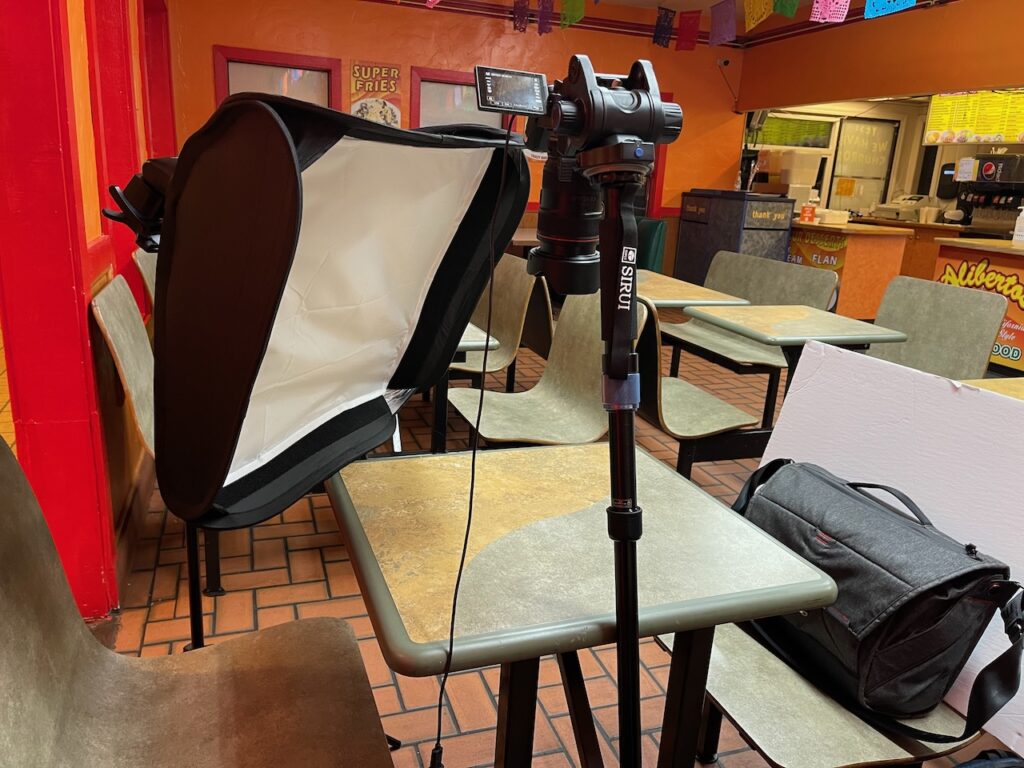
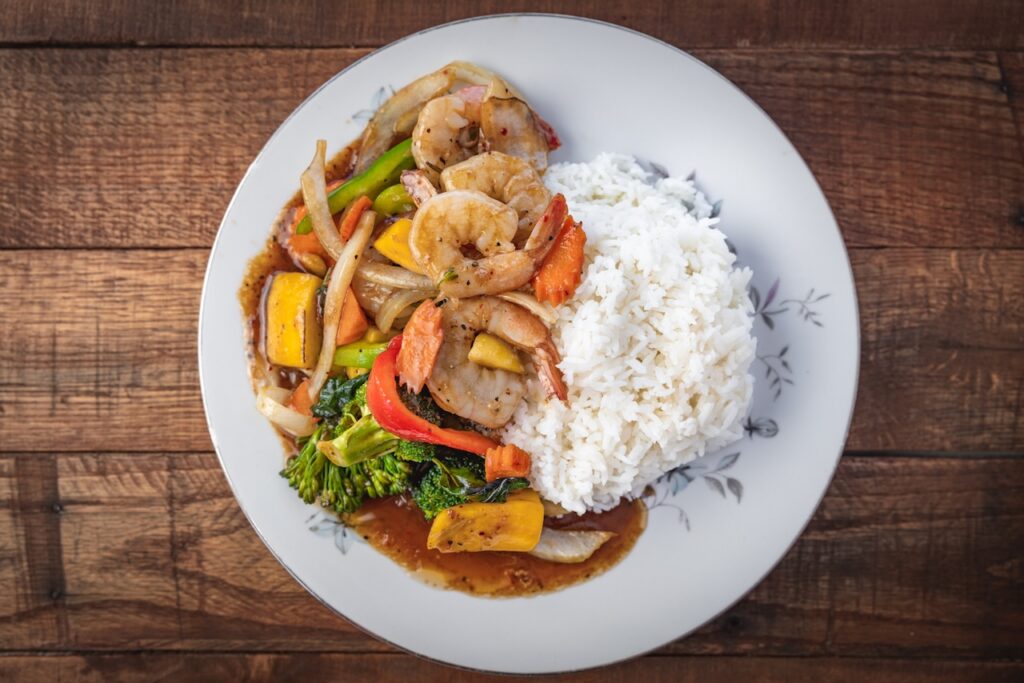
My tripod didn’t have a lateral arm to suspend my camera over the table and take photos straight down, so I had to figure out a way to get the camera over the food. I used a monopod with fold-out feet and a swivel base that let me tilt it a few degrees. I leaned my monopod against the table at an angle so my camera aimed straight down over a plate of food. To keep things from falling over, I put a sandbag on the monopod’s feet. It was stable and stayed put–safe and sound.

Sometimes, I shot handheld. Ignore anyone who says you’re doing it “wrong” if you don’t use a tripod or a certain piece of kit. Do what works best for you.
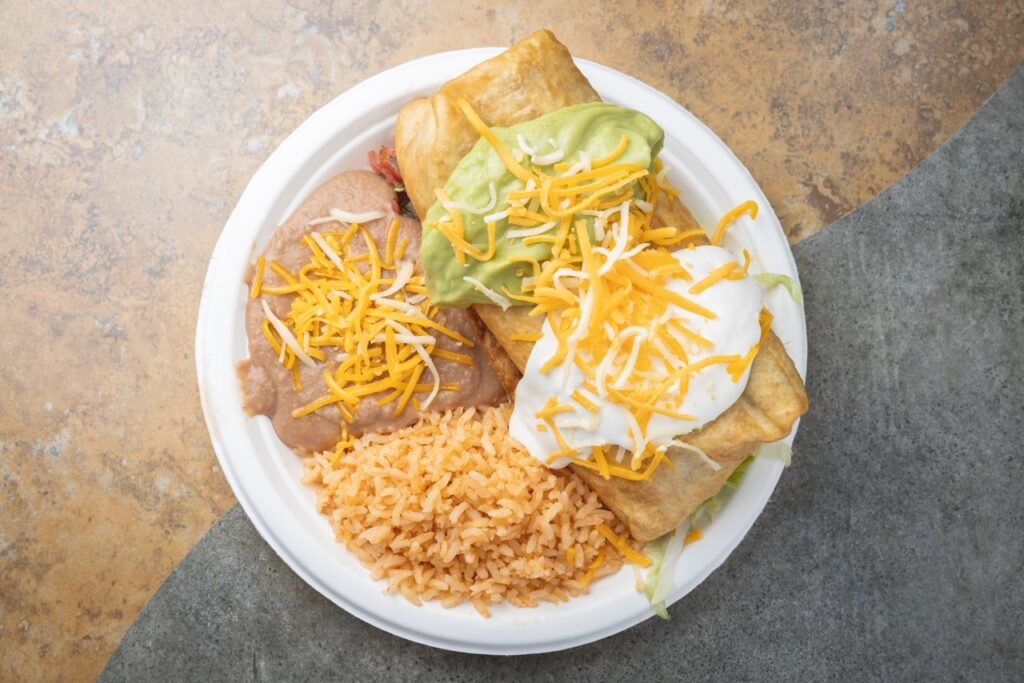
DoorDash used to require overhead photos–never “head-on” or 45° angle shots. Period. No props, utensils, or anything else. Just the food on a plate (or basket, or platter, or whatever). If the food looked particularly appetizing, I’d snap off a few handheld shots at 45° or head-on while I waited for them to bring out the next dish. You know–for practice (and for my personal portfolio). 😉

Tethered Capture
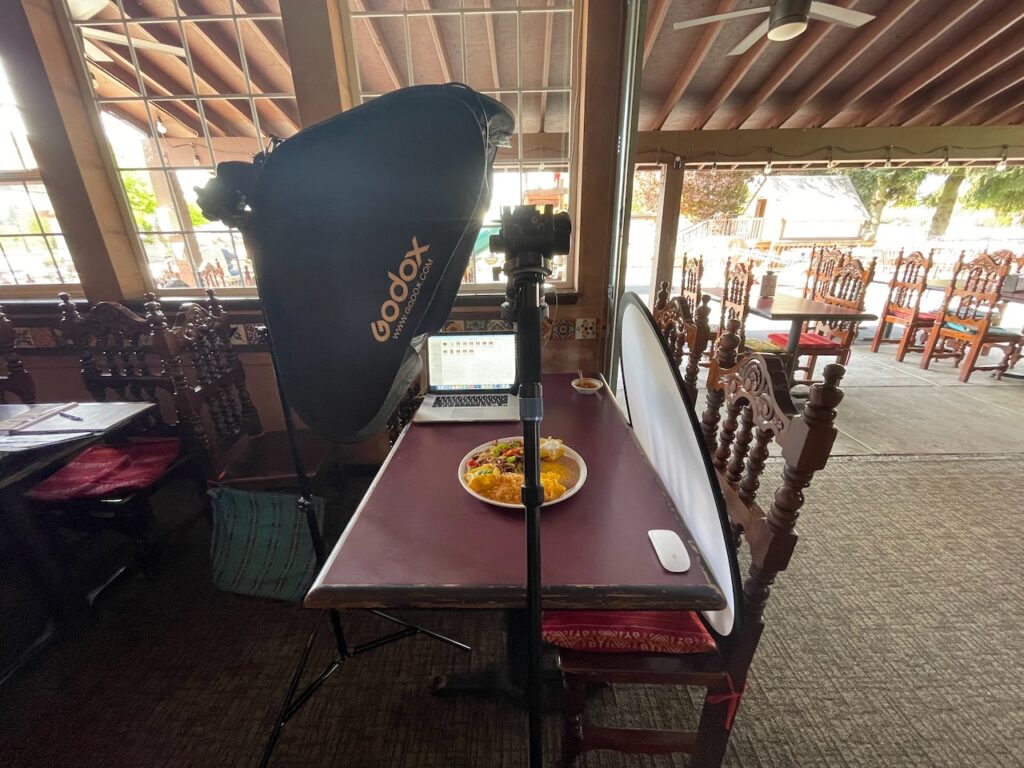
This isn’t a requirement, but once I tried it, I never looked back. Tethered capture means you “tether” your camera to your computer with a USB cable. On your computer, open some tether-capable photo software, and start capturing photos. From your computer, you can control the shutter, change camera settings, and see real-time images on your computer screen. Photos are saved directly to your computer.
The Big Picture
The best part of tethered capture is that you get to see the “big picture” on the laptop screen. Literally. With a large screen, you can easily see details you might miss on your camera’s small screen. Splatter on the edge of the plate? Subject not centered? Harsh reflection? With a large screen to check those details, you can make on-the-spot adjustments, and confidently get through your shotlist. Trust me–if you’ve got a laptop, a USB cable, and some photography software that enables tethered capture–use it. You won’t regret it.
Software
What software do I use? I used to use Adobe Lightroom. It wasn’t perfect, but it did the job. Today I use Capture One. If you have Lightroom, just connect the camera to the computer via USB cable, and open Lightroom. Click File > Tethered Capture > Start Tethered Capture. Way back in the beginning, I used to use Canon’s EOS Utility (that’s what’s running in the above photo). The Canon software was clunky–but hey–it was free and it worked. There’s lots of other software available–some free, some not. Use what works best for you.
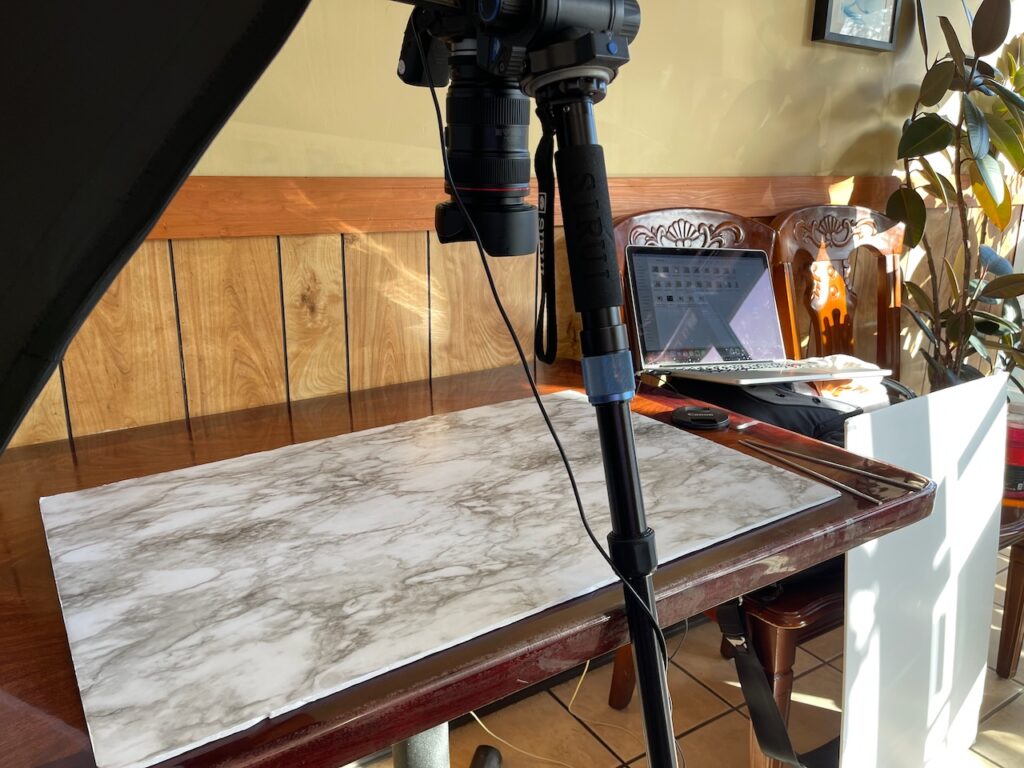
Surfaces
We all know the food is the star of the show, but there’s another important element in every photo: the surface. Remember, this is only 5 food photography BASICS. I won’t dive in too deep here–but surfaces are worth mentioning.
The wrong table surface can ruin a beautiful food photo–especially for top down photos. Look at the colors, reflections, and designs on a given table. Will it distract from the food? Most restaurants have clean, polished, shiny tables (harsh glare and reflections), or oddly colored laminated tables (distracting). Not long after I started, I decided to control the surfaces myself. I spent a couple bucks and bought a few roll-up surfaces for tabletop photography. Later, I made my own surfaces.
Surfaces (DIY and Commercial)
Here’s how I made my own: I bought a few $3 white foam core boards, and a some rolls of peel-and-stick “EasyLiner Adhesive Surface” that look like wood, marble, granite, etc. The EasyLiner stuff is just a big sticker. Peel and stick it to the foam core–and boom–instant marble countertop.
I also took apart a wood pallet, cut the boards to size, and screwed them together to make a 2’x3′ wood surface. On one side I stained the wood a rustic brown, and on the other I used blue and white paint to make it look weathered. Here’s two photos I took with the old pallet wood surface:
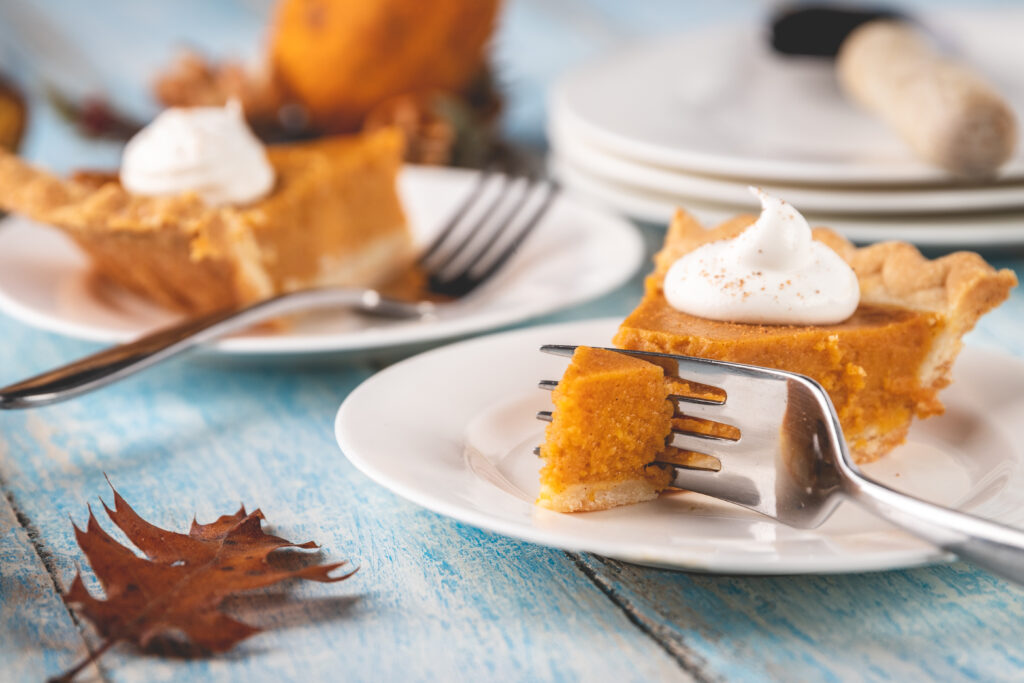
During sessions, I pick surfaces I think compliment the food. For the longest time, my favorite surface was the old wooden pallet. It was (still is) very heavy, but the photos come out really nice. These days I have a collection of VFlat World Duo Boards. I went a little crazy, and bought quite a few of them. They are made of PVC (I think), and the images they print on them are hyper-realistic. They’re water resistant–meaning I can blob wet stuff on them with zero worries–then wipe up later. If you’ve got the budget, Duo Boards are the way to go.
Bonus Tip
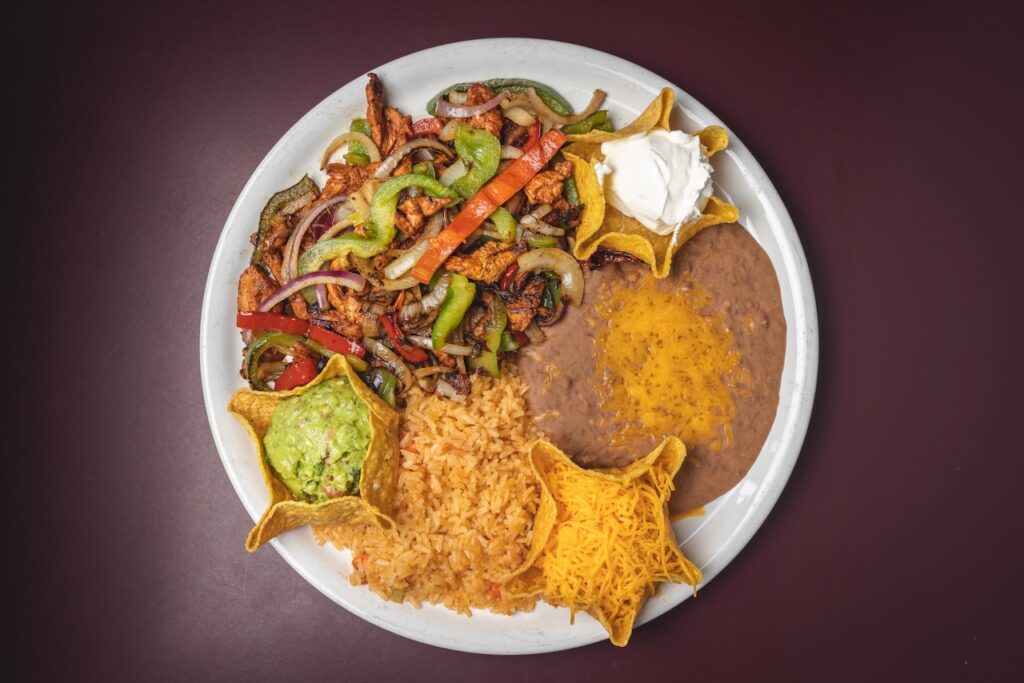
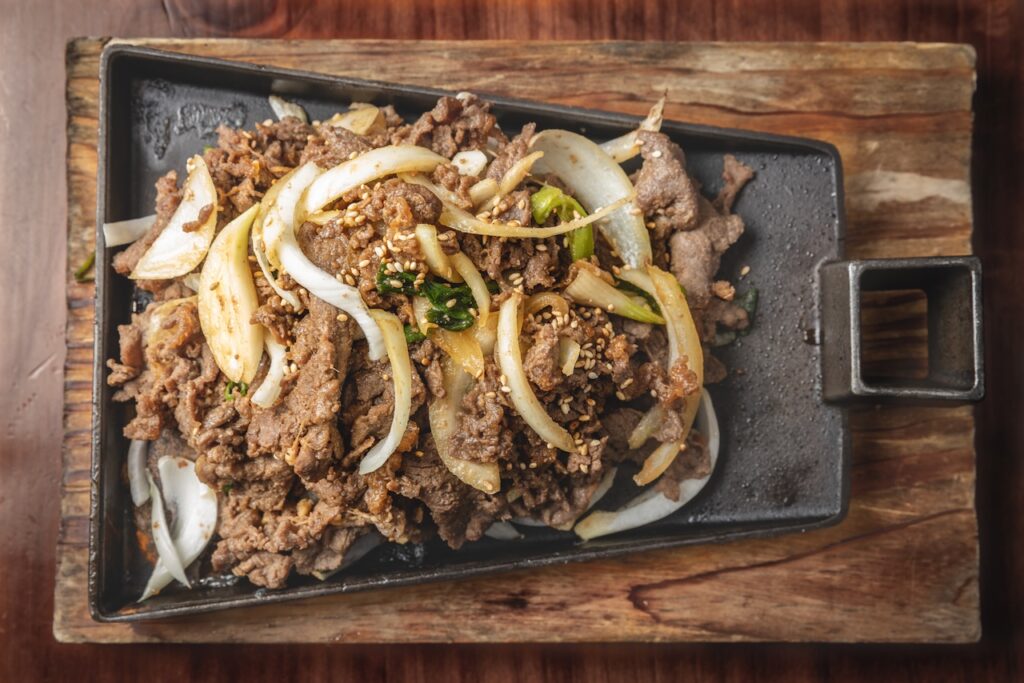
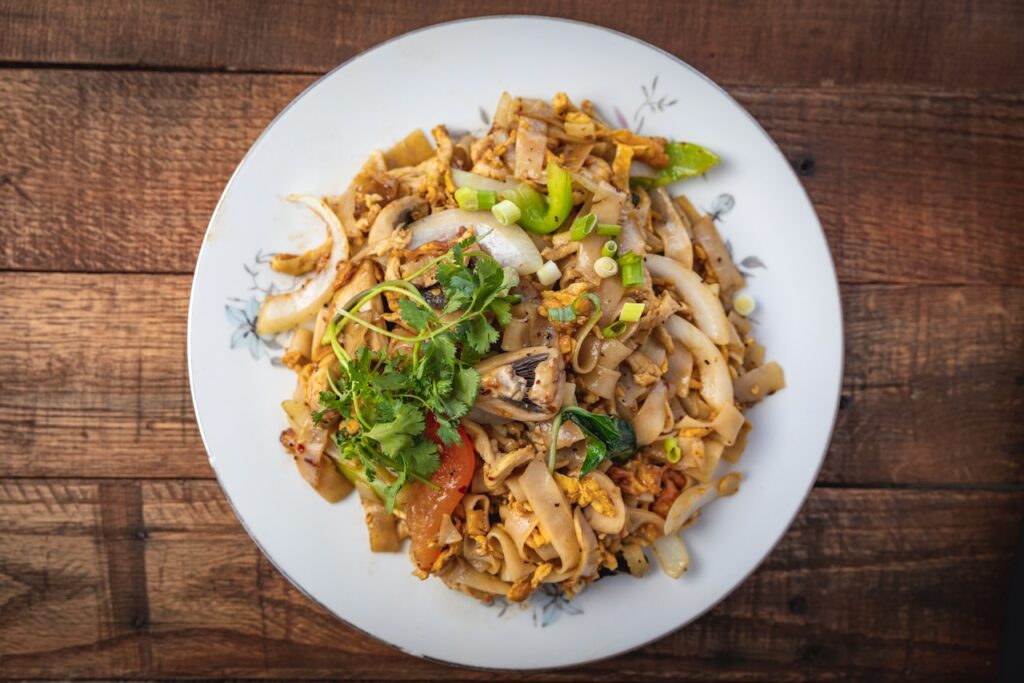
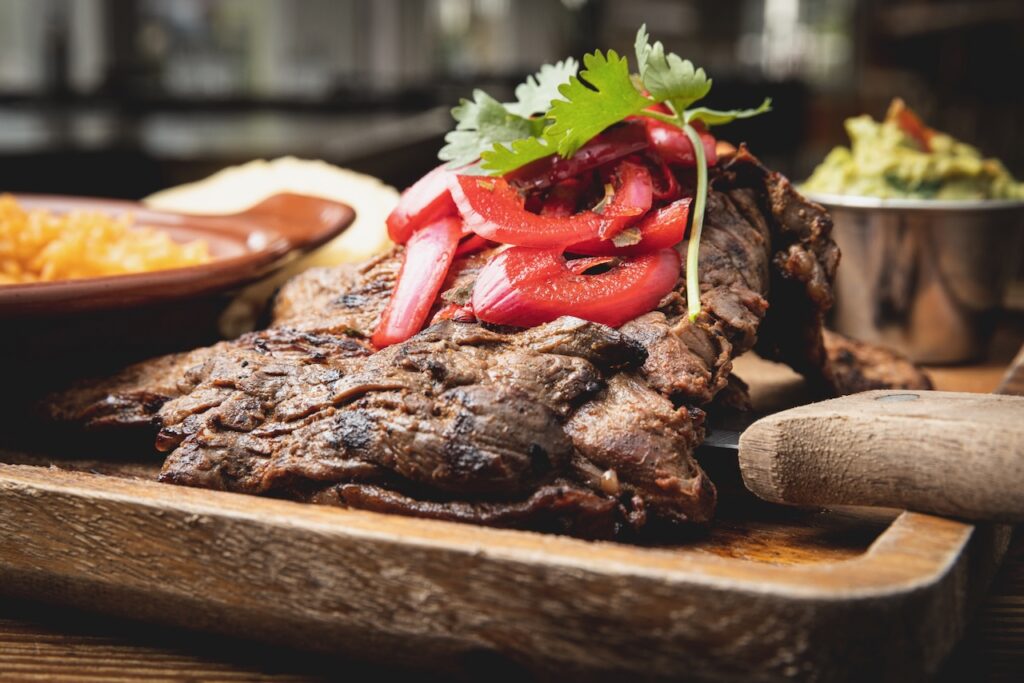
If you plan to photograph food, make sure you EAT FIRST! When you’re on-location, and the staff brings out a dish of sizzling carne asada, or drunken noodles, or some other amazing food, I promise you’ll regret it if you haven’t eaten first. It’s pure torture to have that amazing food in front of you and not be able to have a nibble!
Summary
Photographing DoorDash and UberEats menus isn’t glamorous, and might not pay the best. But it helps you get to know restaurant owners in your area, and who knows? They might love your work and call you back for continuing work! (It’s awesome when that happens–trust me). Anyway, these 5 food photography basics should help you get started. Use artificial lighting. Use a DSLR with a good lens. If you have to capture overhead shots, secure your camera with a tripod or similar to take consistent photos. Bring a laptop, and use tethered capture software. Finally, use your own surfaces, because most restaurant tables don’t photograph well, and are usually glossy (makes them easier to clean)–so there can be glare in your photos.