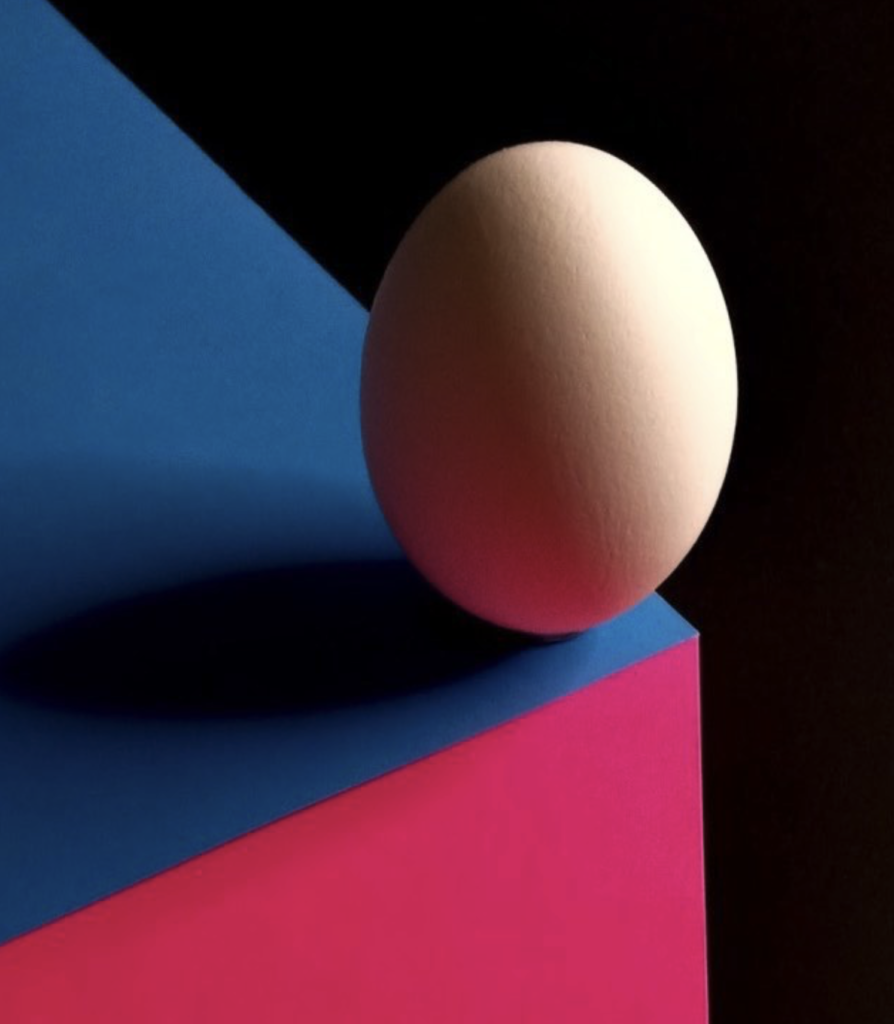
This Trick Lets You Create a 3D Illusion Photograph

This post is a simple and fun practice exercise on how to create a 3D illusion photograph with basic props.

Materials
- Three pieces of poster card, each a different color. (I used black, blue, and light blue)
- Blu Tack (if you need to prop up an egg like I did)
- A subject — I used an egg, but you can use any small items or props
- Camera (obviously)
- Light (to create a shadow and reinforce the illusion of depth)
Setup
First, start with an empty table–or floor space. I placed my cards like this: First the black card. Second, the light blue card. Finally, the darker blue card at a 45° angle. I was careful to ensure the corners of the lighter and darker colored cards lined up at the point.
In this “behind the scenes” photo, you can see the set doesn’t really look all that impressive… My poster card flopped over the edge of the table, but it ended up being fine. The camera didn’t “see” the raised part of the card.
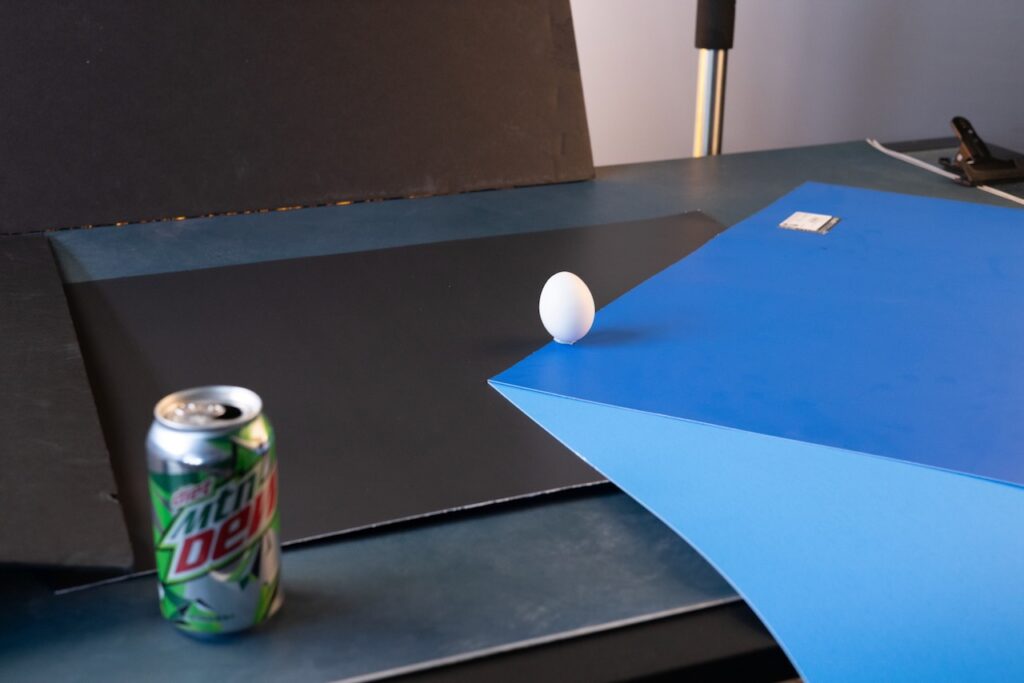
I took a small bit of Blu Tack and smushed it under the egg to keep it upright. If you look closely, you can see it under the egg in the behind-the-scenes photo. I made sure the Blu Tack wasn’t visible from the camera’s point of view.
The Shot
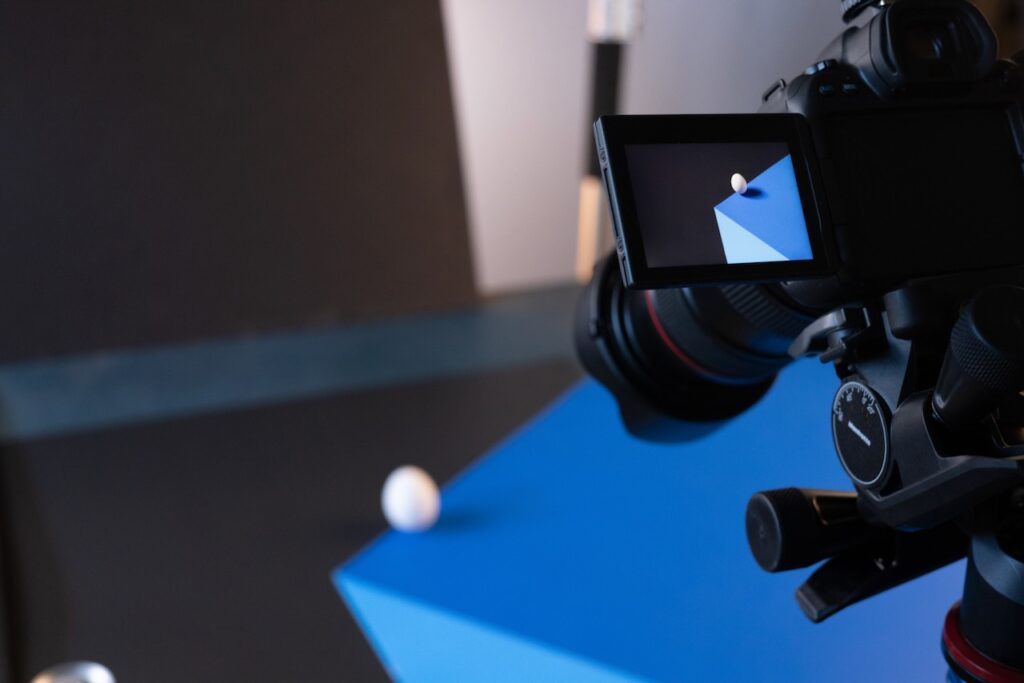
Once my little scene was all put together, I grabbed my camera and positioned it in a way that looked good in the viewfinder. My camera was on a tripod, looking down at roughly 45° towards the subject.
I positioned my light just above, and to the left of the scene so the egg’s shadow would fall to the right. If you’re wondering, I used a Flashpoint XPLOR 300 Pro (a.k.a., the Godox AD300 Pro).
I took several photos and made small adjustments to the scene until I ended up with my final image.
Now you know how to create a 3D illusion photograph! Remember, the idea is to PLAY with this technique, and see what you can come up with! Experiment with different colors and subjects. Try out different lighting (hard, soft, angles, etc.). You can even flip the scene so the cards are on the left instead of the right.
Other Photographers’ Work
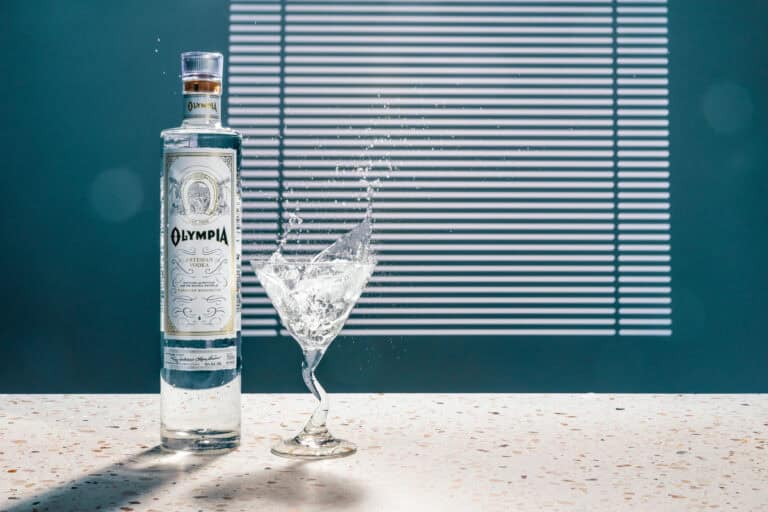
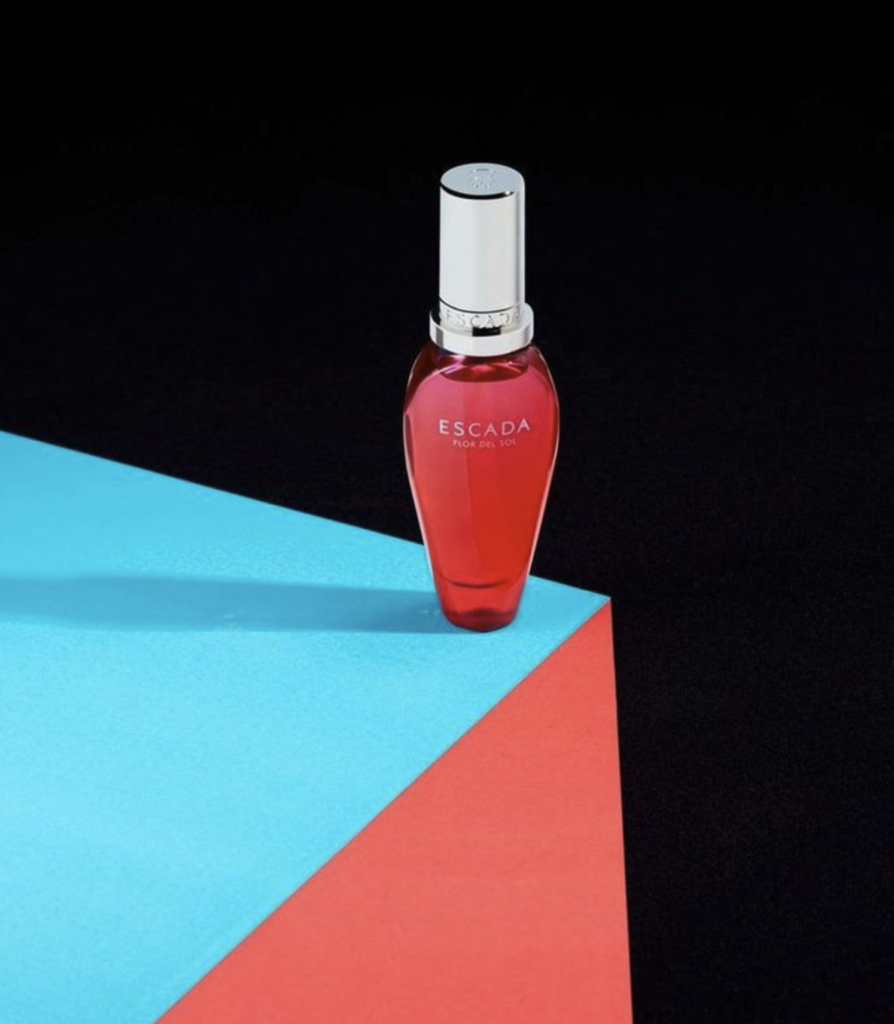
“Playing” is the key to creativity! Try out different ideas, and see what works for you!!! Here are more examples showing how other photographers use this fun technique. Click their names to check out their Instagram profiles!


![How to Photograph Waterfalls [And Get That “Misty” Look]](https://kewltekphotography.net/wp-content/uploads/2020/04/IMG_0388-1-768x512.jpg)