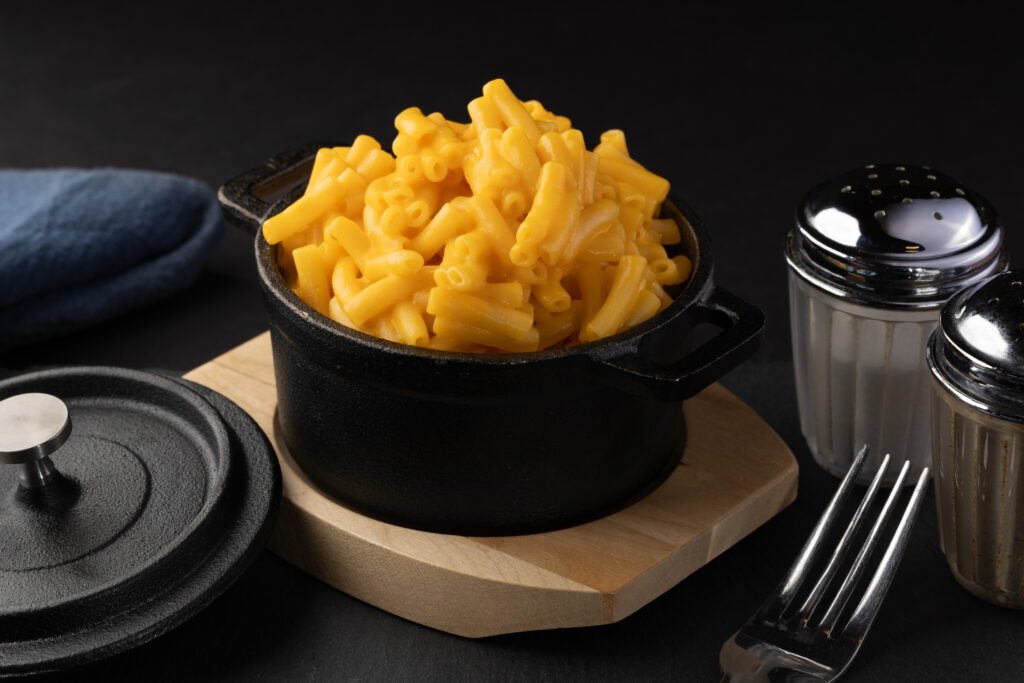
When you scroll through your social media feed, the glint of a perfectly roasted chicken or the vibrant red of a freshly sliced tomato can bring an immediate rumble to your stomach. That’s the power of food photography—a culinary seduction that owes as much to the mise-en-scène as it does to the dish itself. However, the heroes of these visual feasts are often unsung: props, surfaces, backgrounds, and many other elements that don’t have anything to do with your camera. Let’s embark on a journey through these unexpected essentials that transform simple meals into works of art.
Crafting the Narrative: Props with Purpose
The magic of food photography lies in storytelling. Props are the silent narrators of the story. They whisper secrets about the dish’s origin or suggest the season when it’s best enjoyed. But the choice of props goes beyond the conventional.
Imagine a block of aged Parmesan resting on an ancient book, suggesting a lineage of Italian cooking, or a rustic loaf of bread wrapped in an old newspaper, invoking a bygone era. These unexpected items, when juxtaposed with food, create a context that can transport the viewer to another place or time.
**Props also include utensils that might not have anything to do with the eating experience but everything to do with the visual one. A paintbrush lightly dusting icing sugar over a cake can be a far more evocative image than a standard sifter. Vintage syringes, usually an oddity, can be repurposed for artfully adding sauces or dressings, creating perfect droplets that hint at precision and care.
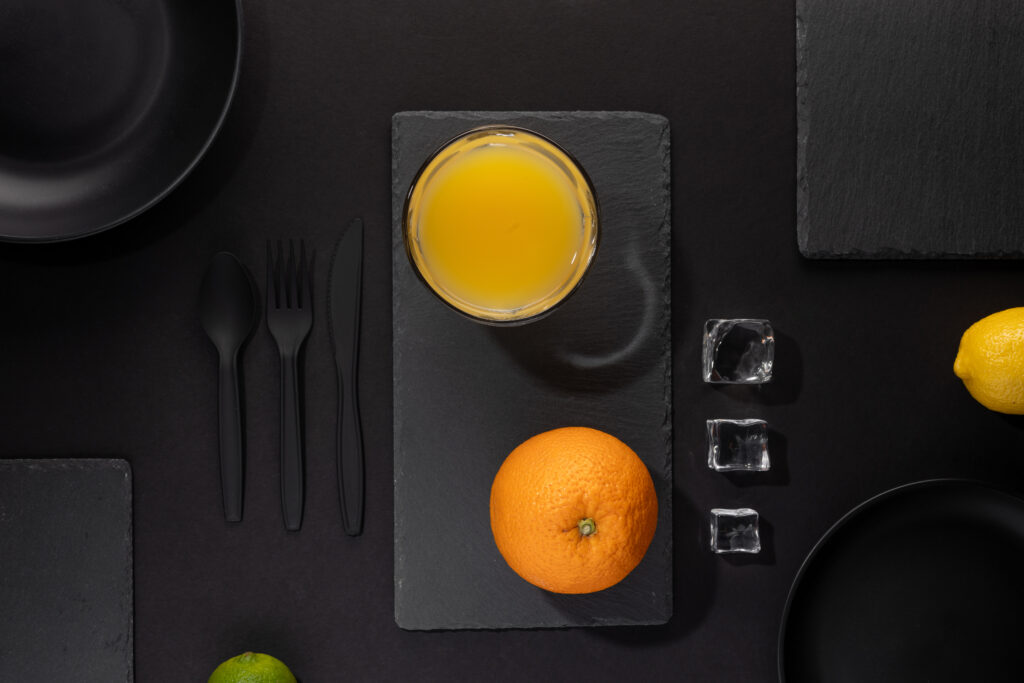
Sometimes props can just be fun to play with. For this photo I used a simple black foam board as the main surface. I spray painted some plasticware flat black. I used some slate tiles for geometry, and even tossed in some fake ice cubes for visual interest. The plastic plates were already black, and added to the geometry of the image.
Amazon links for the slate tiles: 12″x8″ – https://amzn.to/46ImURV 11″x6″ – https://amzn.to/3Nbvamu
Amazon link for the plates: https://amzn.to/3T4YRJL
Amazon link for fake ice: https://amzn.to/3T6UI7Z
Surfaces with a Story
The surface on which food rests is as vital as the plate it’s served on. Surfaces are the canvases of food photography, and their selection can elevate a photograph from good to unforgettable. While marble and wood are the quintessential choices, non-traditional surfaces like worn metal sheets can introduce an industrial chic vibe, reflecting a modern, urban culinary scene. Likewise, fabrics offer a diverse palette of textures and patterns. A piece of velvet can add a rich, luxurious feel, while burlap can bring a rustic charm.
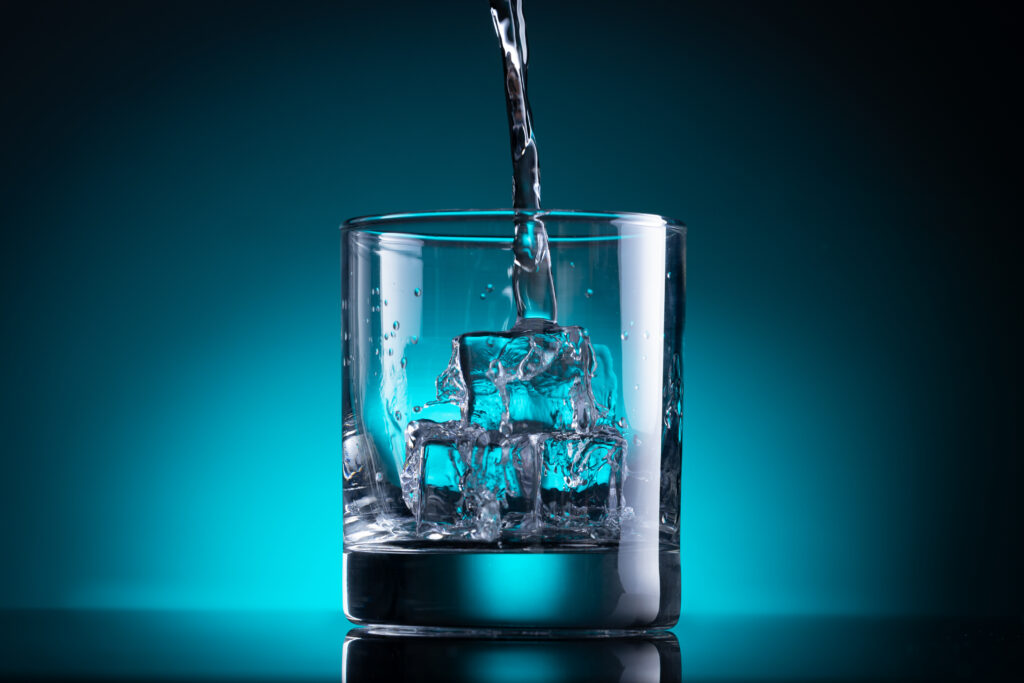
The unexpected choice of a mirror as a surface can create a reflective drama, doubling the impact of the food’s color and light. For this water pour photo, I didn’t use a mirror, but I did use a small, highly reflective piece of black plexiglass (or perspex). I don’t recommend using mirrors, because they typically generate double reflections. Here’s the Amazon link to the surface I used: https://amzn.to/3uHgtkS
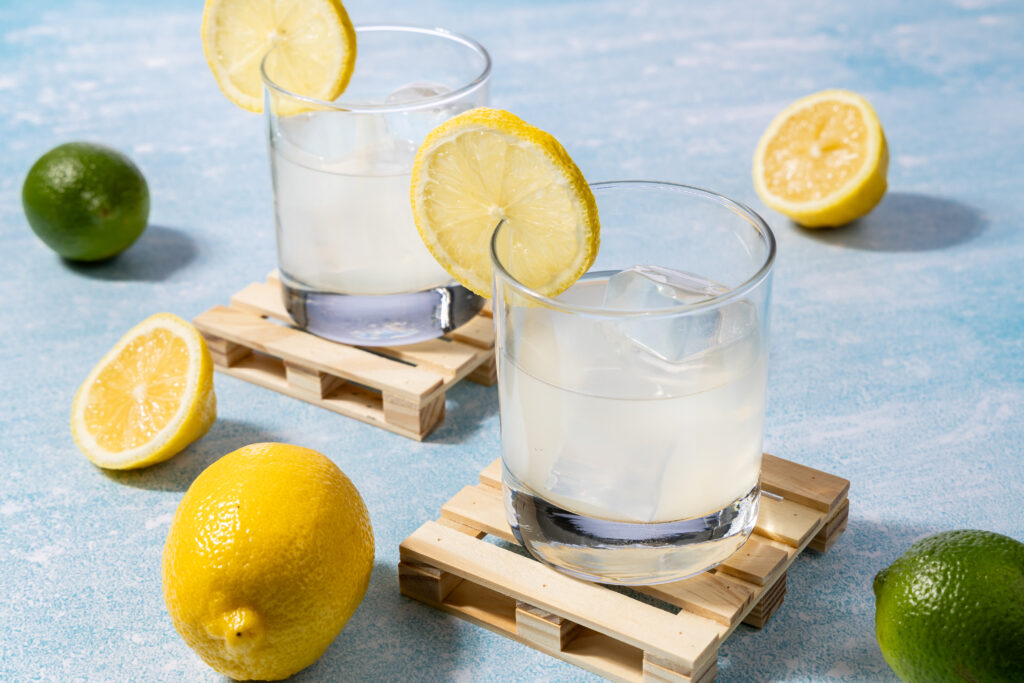
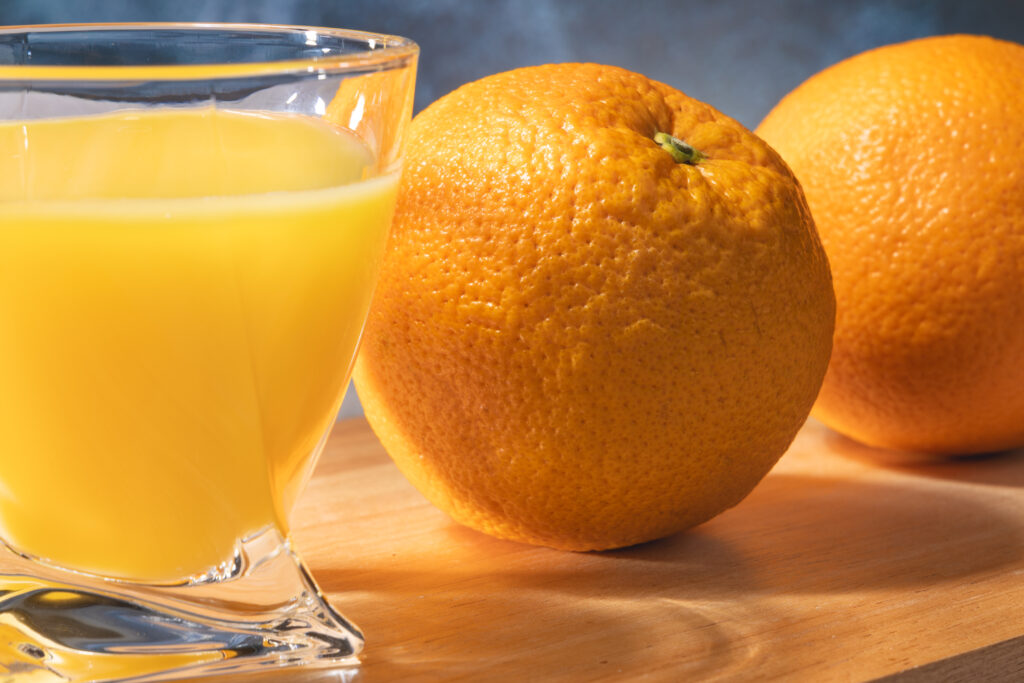
For these next photos, I used an inexpensive double-sided printed background set from Amazon. In the lemonade photo, I used the light blue side as a surface. For the orange juice photo, I used the darker side as a backdrop. The set of backgrounds I bought came with six sheets, and each sheet has an image printed on both sides–so there’s 12 patterns in the set. Here’s the Amazon link: https://amzn.to/3NdSEHx

Backgrounds That Whisper
The background is the subconscious of food photography. It’s not meant to be stared at but felt. It sets the tone and emotion. While many photographers use plain backgrounds, there’s lots of unusual options that can tell a deeper story. For instance, a weathered door can suggest heritage, while a graffitied wall might align the dish with urban street food culture.
Even items like old baking sheets, with their patina of use, can become backgrounds that speak of history and authenticity. Don’t shy away from using bold patterns, either. A vibrant, geometric print could frame a minimalist, monochromatic dish, providing a striking contrast that makes the food pop.
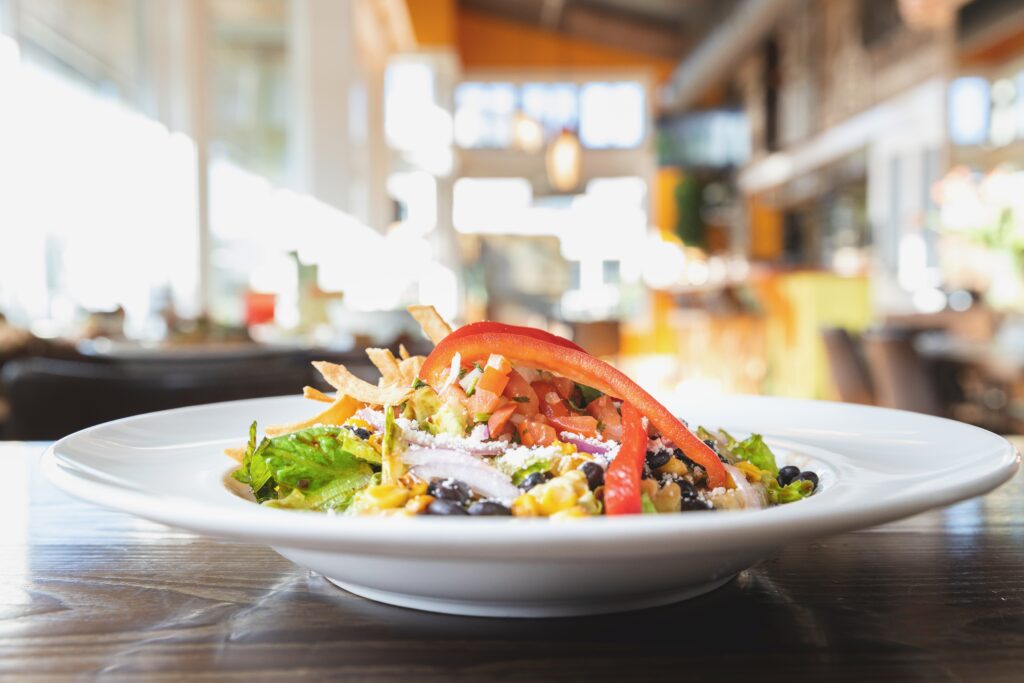
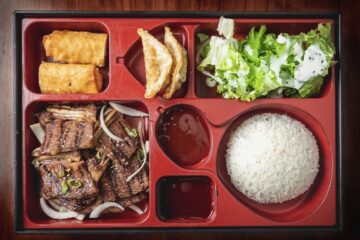
Sometimes you can include the environment where the food was prepared. For example, I photographed this tasty chopped salad on location at Koko’s restaurant in Seabrook, WA.
Light Manipulators: Reflectors, Diffusers, and More
Light is the paint of food photography, and how it’s manipulated is key to creating mood. Reflectors made from simple materials like aluminum foil or a car sunshade. The material doesn’t matter. The goal is to bounce light back onto the dish, to highlight textures and details. Diffusers can be made from tracing paper or white fabric. You don’t need expensive photography branded stuff if your object is to soften harsh shadows and give food a gentle, inviting look. I keep a ream of silver and gold card on hand to bounce light back onto my subject and create the right “feel”. I also have an arsenal of cheap white foam boards for the same purpose.

Gold cardstock 8.5″x11″ Amazon Link: https://amzn.to/3T5QkGv

Silver cardstock 8.5″x11″ Amazon Link: https://amzn.to/4a6rtrX

White and black foam boards Walmart Link ($0.98 cents)
Blocking light can be just as important. Sometimes an old piece of cardboard, with its ability to cast a strategic shadow, becomes as crucial as any light source. It can sculpt the light, and add depth and dimension. Like the white foam boards mentioned earlier, I also keep several black foam boards within reach to help block light spill, and shape the light on my subject.
The Alchemy of Angles: Stands and Supports
In food photography, the angle of the shot can make or break the final image. In addition to choosing the right camera angle, you can also elevate or support the food to get the perfect shot. I’ve used books and a flipped-over bowl to give height to a plate and create a more dynamic angle. A pile of salt can prop up an asparagus spear to give it the perfect tilt towards the camera.

One of my “must-haves” are foam makeup wedges. These soft little doorstops are essential for propping up food items, and even other props. You can get 100 of these little things for $10 bucks on Amazon.
Amazon Link: https://amzn.to/3RrFitT
I also use popsicle sticks, wooden skewers, and toothpicks to help position food exactly where I need it to get the right shot.
Temperature and Texture: Ice, Smoke, and Steam
Capturing the temperature and texture of food can be a challenge, but the right tools can make a drink look ice-cold or a dish appear steaming hot. I personally use artificial ice cubes because they don’t melt, and help me convey the idea of a chilled beverage. I create “condensation” using a small spray bottle with a 50/50 mixture of glycerin and water.
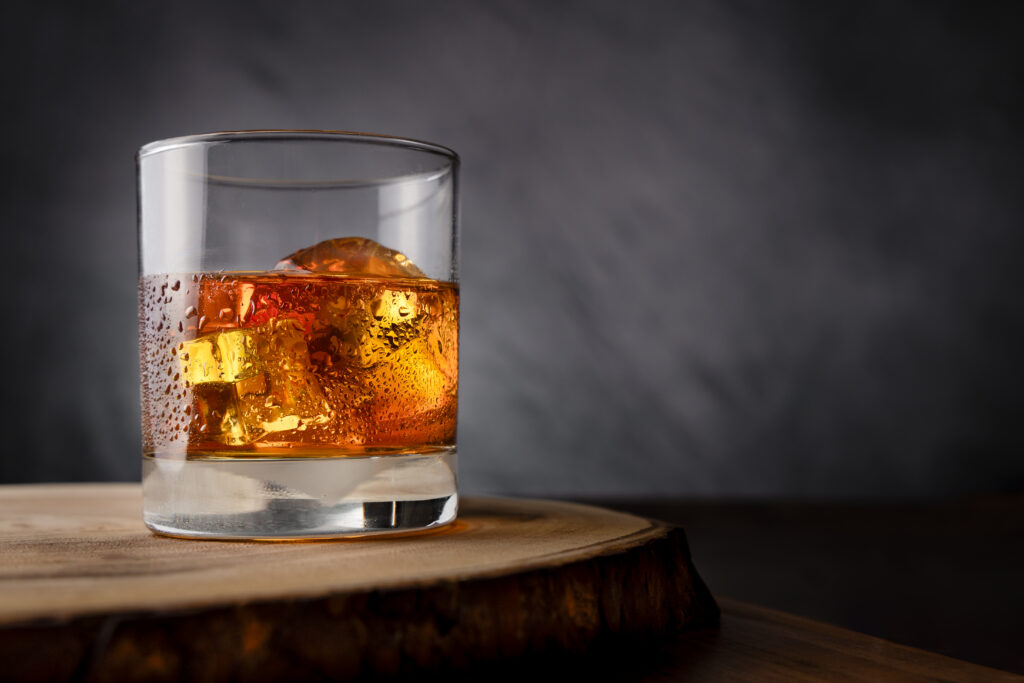
The beads of condensation the glycerin/water combo helps my drink photography get that perfect icy cold feel. Here’s a simple test photo I took of a glass of “whiskey on the rocks” (it’s actually iced tea, and fake ice cubes). I sprayed on the condensation with a small spritz bottle filled with a 50/50 mixture of water and glucose. Once it dried, I was able to handle the glass without fear of wiping off the moisture beads. To clean, all I have to do is toss it in the dish machine.
Some photographers use a clothes steamer to add a wisp of steam to a bowl of soup and make it look piping hot, even if it’s actually cold. Alternatively, you could do what I did, and get a handheld smoke machine, like the Smoke Genie (Amazon Link: https://amzn.to/3uRMXZt). The smoke it creates hangs around much longer than real steam, and can help you create a wide range of visuals.
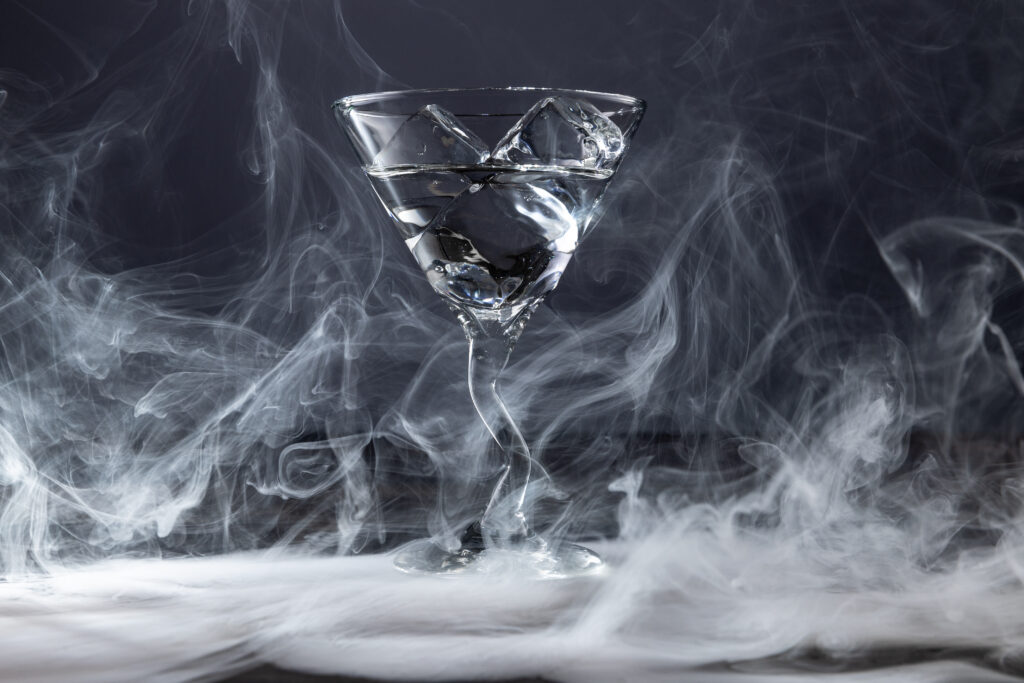
This test shot was created with water, fake ice cubes, a martini glass, and my handheld smoke machine.
Dynamic Droplets: Spritzers and Atomizers
The sheen on fresh produce can be the difference between an image that’s flat and one that’s alive. I use cheap little spritz bottles filled with glycerin and water to mist fruits and vegetables, creating droplets that imply freshness. But beyond water, I sometimes brush on a little olive oil to add a glisten to cooked foods, and make them tantalizingly irresistible.
The Small Details: Brushes, Tweezers, and Pipettes
Food styling often requires a delicate touch—repositioning a sesame seed, adjusting an herb leaf, or adding a tiny highlight of sauce. Tools like tweezers, fine brushes, and pipettes allow for this precision. These instruments aren’t typical in a kitchen, but they’re indispensable in the world of food photography and food styling.
Unexpected Edibles: Food as Props
Sometimes the most compelling props are edible. Dry ice can create a mystifying fog around a dish, invoking a sense of mystery. Powdered sugar or flour can add a textural landscape for the main subject to sit on. Even the act of grating a citrus zest directly above the dish, capturing the motion and the fine spray of oils, can add a dynamic element to the photograph.

I sometimes add visual interest to the main dish by purposely including some of the ingredients. These little bits aren’t the “star of the show”, but they help support the main character. For example, when I photographed these chocolate chunk cookies, I tossed in a few chocolate chunks to help tell the story.
Wrapping It Up
In the dance of light, shadow, texture, and context, the non-camera elements of food photography are the choreographers. They set the stage, define the ambiance, and ultimately, tell the story that helps the image resonate with viewers.
From unusual props to innovative surfaces and backgrounds, food photography is an art form that relies on much more than just a camera and a subject. It’s about creating an atmosphere, evoking emotions, and sparking the imagination. It’s about crafting a sensory experience that extends beyond taste to the realms of sight and sometimes even implied touch and smell.
The next time you’re captivated by a stunning food photograph, try and look for the unseen stars—the props, surfaces, backgrounds, and other tools of the trade. They may not always be in the limelight, but without them, the world of food photography would be far less appetizing.
0 Comments