Prime Lens Basics [An Introduction For Beginners]
Want to improve your photography, but don’t know where to start? Picking up a quality prime lens is a quick way to dramatically improve your shots. You’ll surprise yourself with how “pro” your photos look! In this post, we’ll cover the prime lens basics you need to know to level up your photography.
Prime lenses (lenses with a fixed focal length) may seem outdated in an era of image-stabilized zoom lenses and high-ISO capable Canon DSLR and mirrorless cameras. But once you see the results that prime lenses produce, you’ll want one (or several) in your camera bag.
Why Do You Need a Prime Lens?
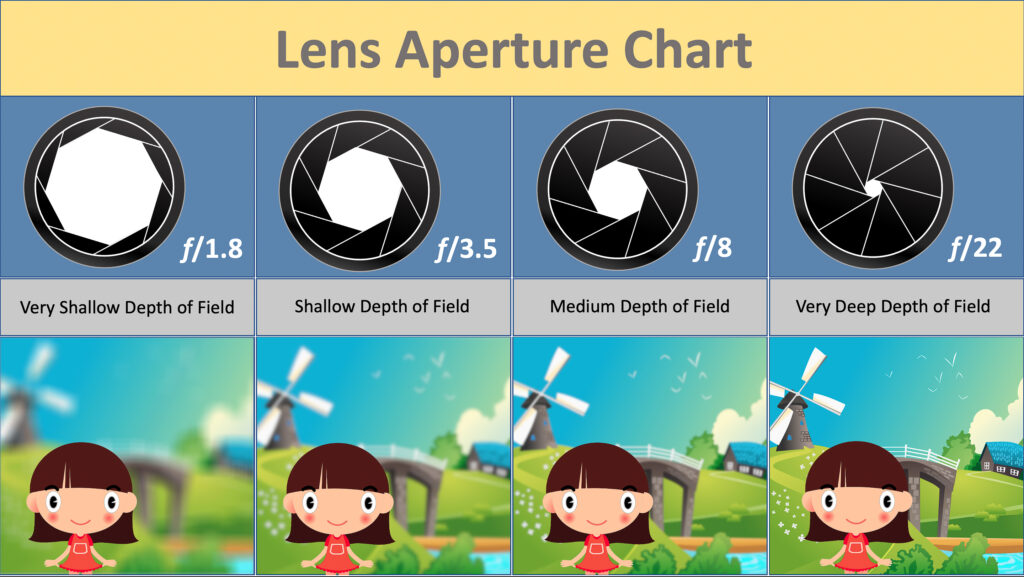
The main advantage that prime lenses have over common zooms is their wider maximum apertures (e.g. f/1.8 compared to f/3.5). Wide apertures let you use faster shutter speeds and lower ISOs in low light conditions without risk of blurry images from camera shake.
Wide apertures also give you a shallow depth of field, which results in creamy blurred backgrounds:

Which Lens Should You Get?
There are lots of prime lenses to choose from, and each one has strengths in various scenarios. The trick is knowing which lens to use in different scenarios.

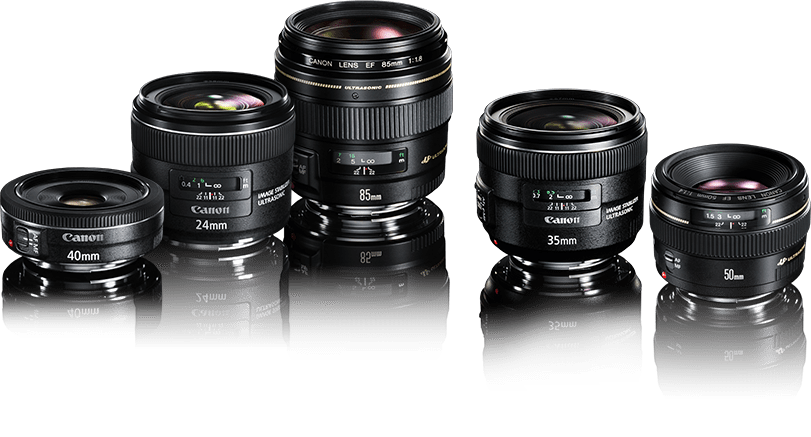
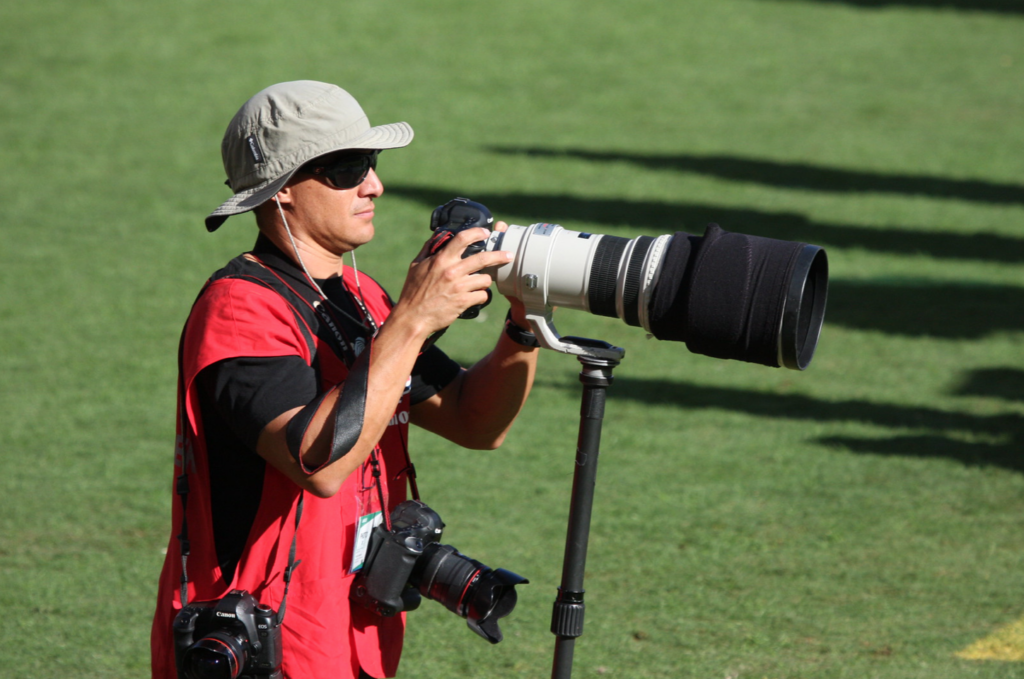
Real estate and landscape photographers enjoy using wide angle primes. Landscape and street photographers as well as photo journalists reach for their 24mm or 35mm standard and medium telephoto lenses. Portrait photographers almost certainly have a 50mm or 85mm on hand, and food and product photographers swear by the 100mm macro. Sports and wildlife shooters use telephoto and super-telephoto lenses. Ever see the guys on the sidelines at football games with their giant bazooka lenses?

Yeah…those lenses let them see all the way into the soul of the players on the field.
So which prime lens do you need? The following Canon prime lens chart doesn’t have all the answers, but it gives you a general idea of what’s available, and reasons to own each one.
Wide-Angle | |
| EF 14mm f/2.8L II USM (2007) | Landscape, Real Estate |
| EF 24mm f/2.8 IS USM (2012) | Landscape, Real Estate |
| EF 35mm f/2 IS USM (2012) | Portrait, Street, Event, Photojournalism |
Standard & Medium Telephoto | |
| EF 50mm f/1.8 STM (2015) | Portrait, Street, Event, Product |
| EF 85mm f/1.4L IS USM (2017) | Portrait, Product |
| EF 100mm f/2.8L Macro (2009) | Portrait, Product, Food, Macro |
Telephoto | |
| EF 200mm f/2L IS USM (2008) | Portrait, Sports, Wildlife |
| EF 300mm f/4L IS USM (1997) | Sports, Wildlife |
Super Telephoto | |
| EF 400mm f/4 DO IS II USM (2014) | Sports, Wildlife |
| EF 500mm f/4L IS II USM (2012) | Sports, Wildlife |
| EF 600mm f/4L IS II USM (2012) | Sports, Wildlife |
Price
The prices of high-end prime lenses might make you feel like you have to win the lottery to afford one. But there are nicely priced options like the Canon EF 50mm f/1.8 ($125), and Canon EF-S 24mm f/2.8 ($149). In fact, the 50mm prime is Canon’s most affordable lens, and an excellent “first lens” to buy when moving up from your kit lens.
Change Your Point of View
Zoom lenses are convenient, but that convenience has drawbacks. A zoom lens can make you lazy when composing your shots. You just stand there, and simply zoom in and out. However, with a prime lens, the only way to change how you frame your subject is to physically move. You’ve got to “zoom with your feet”, which gives you some pretty cool compositions!
Experiment with Depth of Field
When you shoot with a wide open aperture, you might notice your results aren’t always razor sharp. Even the best quality prime lenses don’t give their sharpest results at the maximum aperture. You will notice however, that the limited depth of field helps the in-focus areas really pop! Lack of sharpness usually only shows up at the edges of your pictures, so keep your subjects closer to the central areas of your composition.
Background Blur
As you begin to experiment with aperture and depth of field, you’ll surprise yourself with how “pro” your photos look! Your subjects will stay crisp and in focus, and the backgrounds will fall off into beautiful blur.


Focus Separation
Prime lenses are perfect for exploring different ways to see things. They can produce striking images of familiar subjects, like flowers or car details.

The focus separation you get with a shallow depth of field can be dramatic, and draws viewer’s eyes to important the details in your photo that you want them to focus on (pun intended)!

Pro Tip: Always focus on the eyes
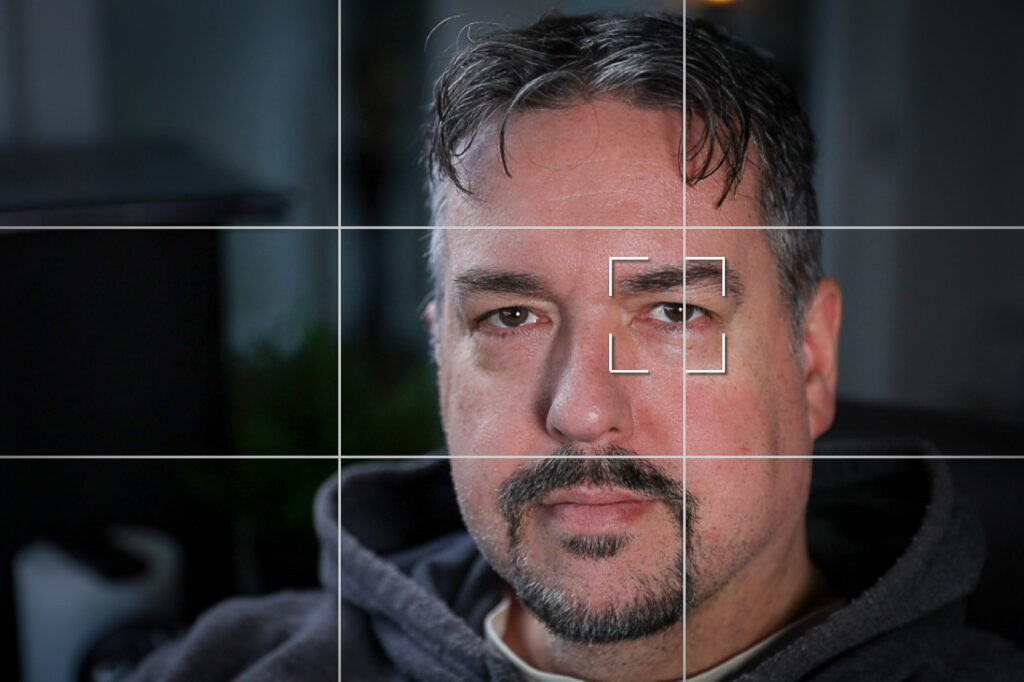
Working with a shallow depth of field makes accurate focusing very difficult. When shooting portraits, the general rule of thumb is to make sure your subject’s eyes are sharp and in focus.

As humans, we automatically look at people’s eyes, so eye focus is important. It’s so important in fact, that modern camera systems come equipped with eye detection autofocus that detects people’s (and animal’s) eyes, and focuses on them automatically. If your camera isn’t equipped with eye-detect autofocus, be sure to use a single AF point, and position it over the closest eye of your subject.
Conclusion
Do you own any prime lenses? Which ones? If you use your prime lens to take epic photos, I want to see them!
Drop a comment below with a link to your social media pages so we can see the awesome photos you created with your prime lens!

