
How To Make a Time-Lapse with the Canon 80D
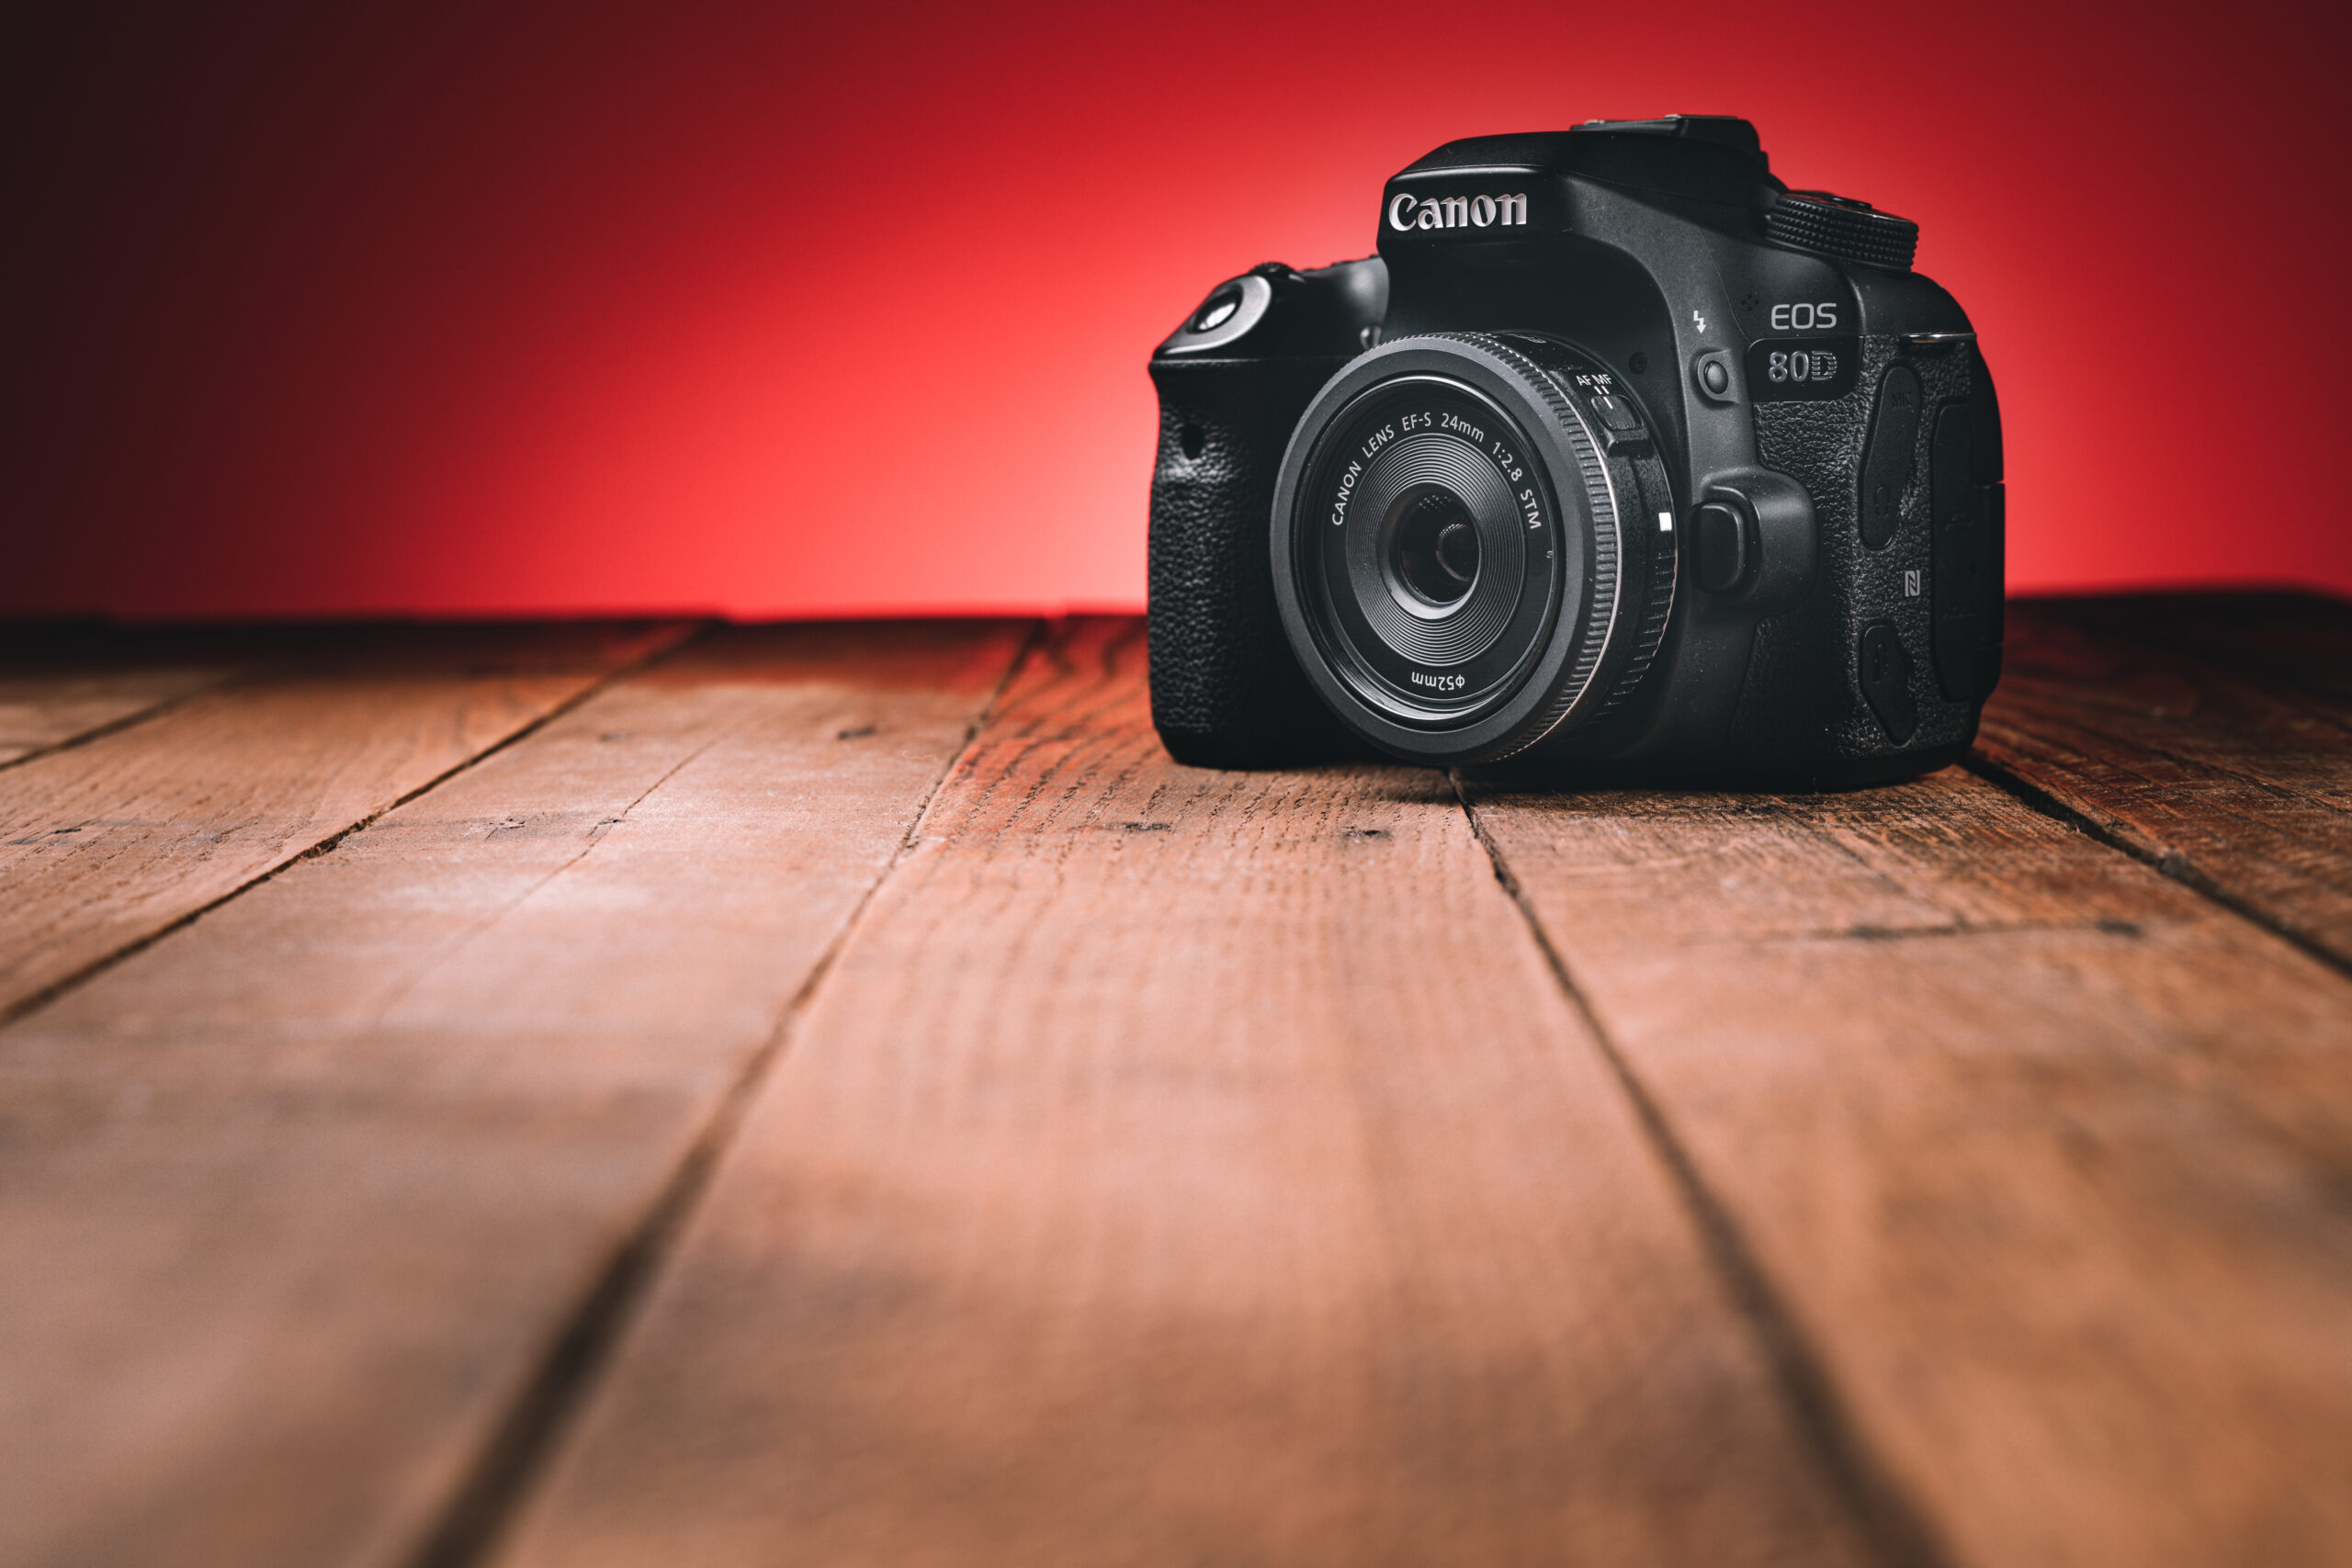
This post walks you through how to make a time-lapse with the Canon 80D camera, step by step. We’ll also discuss why people create time-lapses, typical settings, how to plan, and more.
Canon 80D Time-Lapse Movies
The Canon 80D can take photos at specified intervals, stitch them together automatically, and generate a time-lapse movie. They’re produced at full-HD (1080p) in either 30fps or 24fps, using the MOV (ALL-i) format.
How to do it
- Switch the mode dial to anything other than “Creative Filters” mode. (That’s the mode that looks like two overlapping circles). For a quick refresher on what each mode is, be sure to read, “10 Canon Camera Modes (and why you need them)
- Press the [MENU] button
- On the red camera menu, go to tab 5 (or tab 3, if you’re in a basic zone mode)
- Tap “Time-lapse movie“
- Tap “Enable“
- Press the [INFO] button
- Adjust the interval and number of shots (see below for details on how to do that)
- Tap “OK“
- Exit the Menu
- Frame your shot, and dial in your exposure
- Fully press the shutter button to take a test shot
- Make adjustments as needed for your exposure
- Once you’re happy with your framing and exposure, press the [START/STOP] movie record button to get ready to create the time-lapse movie
- To start recording your time-lapse, press the shutter button
When you make a time-lapse with the Canon 80D, the rear LCD screen goes dark during recording to conserve battery.
As soon as the recording finishes, the camera automatically stitches the time-lapse movie together for you, and disables “Time-lapse movie” mode in the menu.
Time-Lapse Interval and Duration
One of the most common time-lapse questions goes like this: “How long do I need to record to get a 30 second time-lapse movie?” There’s two ways to answer that: The convoluted way, and the easy way.
The convoluted way:
If you want a 30 second time-lapse movie shot at 30fps (frames per second), with 5 second intervals between captures, you’ll need to record for 75 minutes. Here’s the formula:
- First, multiply your frames per second (fps) by your desired movie length
- 30fps multiplied by 30 seconds — equals 900 frames in total
- Next, multiply the number of frames by the interval
- 900 frames multiplied by 5 second intervals — equals 4,500 seconds of record time
- That means it will take 75 minutes (4500 divided by 60 = 75) of actual record time to create a 30 second time-lapse movie
Better make sure your battery is charged, or use a BG-E14 compatible battery grip!
The easy way:
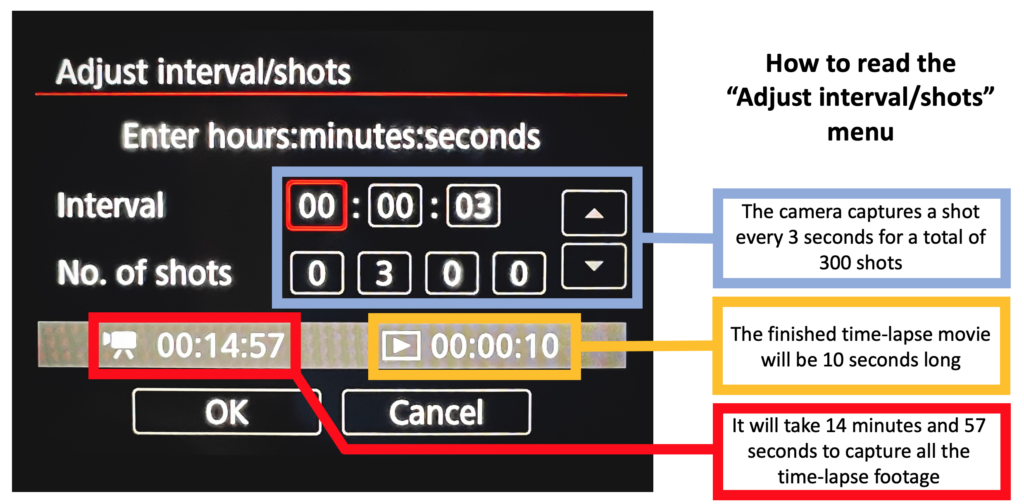
In step #6 above, you set the interval and number of shots. As you make adjustments to those settings, the camera automatically calculates two things:
- How long you’ll need to record
- How long your finished time-lapse movie will be
Here’s an example of that screen:
Interval Guidelines for Time-Lapse
Now that you know how long you need to record, you probably have a new question: “What interval should I use?“
Here’s a handy reference chart you can use to help guide your decisions on intervals for time-lapses when you’re just starting out. Eventually, you’ll learn which settings work best for you in certain situations.
Generally speaking, the faster your scene changes, the shorter your interval should be. You’ll get “smoother” results in your finished video.
| Subject | Interval |
| Fast moving traffic | 1 second |
| Fast moving clouds | 1 second |
| Sunsets | 1-3 seconds |
| Sunrises | 1-3 seconds |
| Slower moving clouds | 1-3 seconds |
| Crowds | 1-3 seconds |
| Sun and moon near horizon | 1-3 seconds |
| Moving Shadows | 15-30+ seconds |
| Sun moving across sky (no clouds – wide angle) | 15-30+ seconds |
| Stars | 15-60 seconds |
| Construction Projects | 5-15 minutes |
Why make time-lapse movies?
Simply put, people make time-lapses to show the passage of time at high speed. Videographers use them as transitions between scenes in video productions. For those of us not working on the next Netflix Original motion picture, quality time-lapses are just plain cool!
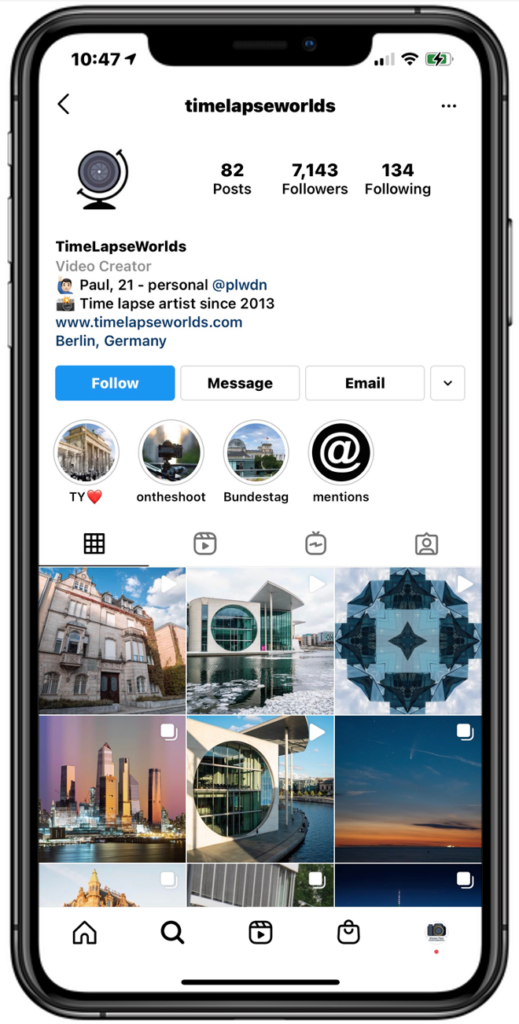
There’s entire Instagram pages dedicated to time-lapses. Check out @timelapseworlds for examples of amazing time-lapse clips.
Back in the day, you needed fancy cameras, complex equipment, and intervalometers to create time-lapses. Photographers manually stitched together photos that were captured every 1 to 5 seconds, and played them back at 24fps to create magical movies. These days creating a time-lapse is lots simpler.
Difference Between Time-Lapse, Motion-Lapse, and Hyper-Lapse
What’s the difference between time-lapse, hyper-lapse, and motion-lapse? For that matter, what are hyper-lapses and motion-lapses anyway? This section defines what each one is, with example videos.
What is a Time-Lapse?
In a time-lapse, the camera is “static”–meaning it doesn’t move during the recording. It’s usually mounted to a tripod. Frames are captured at slow intervals over a long period of time. When played back at 24fps, time appears to move very fast.
What is a Motion-lapse?
The camera is mounted to a gimbal, or motorized slider with programmable waypoints. You record the time-lapse as normal, and the gimbal or slider introduces small amounts of pan, tilt, or tracking movements during the recording. The result is a time-lapse with a pan, tilt, or tracking motion elements — hence the “motion” in motion-lapse.
What is a Hyper-Lapse?
The camera records a time-lapse, but instead of a static shot, the camera moves long distances during the recording. The results are dramatic, and gives your viewers the effect of traveling through the scene while the world around them moves at high speed.
What are good time-lapse subjects?
The best time-lapse subjects fall into two categories. First are subjects that will noticeably change during your recording. Something that will have a distinct “before” and “after”. Second, are subjects with lots of movement. Busy scenes with moving elements.
Here’s some examples of common subjects:
- Sun and stars as they move through the sky
- Sunrises and sunsets
- Busy city streets
- Clouds drifting overhead
- Cleaning out a garage
- Painting a room
- City skyline transitioning from day to night
- Traffic
Plan your time-lapse
A little bit of prior planning goes a long way. Before pressing “record” on your time-lapse, here’s a few things to check:
- Composition
- Frame your shot, and use basic composition techniques like the rule of thirds, simplified framing, straight horizon, etc
- Light
- Will the sun arc across the sky and possibly blow your exposure? Position your camera carefully, or use a lens hood
- Will areas in your frame end up draped in shadow later on in your movie? Make sure you set your exposure to account for it
- SHHHHH! Be Quiet! (Just kidding)
- The Canon 80D doesn’t record sound during a time-lapse. Feel free to chit-chat while your camera does its thing
- Tripod
- Ensure your camera is firmly planted on a stable surface or a nice sturdy tripod, so it doesn’t move. You don’t want your camera to get bumped during recording
- Space on your memory card?
- Don’t fill up your memory card half way through your recording! If possible, try to use a fresh memory card, just to be safe
- Check the forecast
- If there’s rain in the forecast, bring a rain jacket for your camera like the Altura Rain Cover. Position your camera (or use a lens hood) so rain doesn’t spatter the lens.
- Get comfortable
- You may be recording a while, so bring a folding chair and get comfortable. Catch up on your favorite social media feeds, or read a good book
- Battery charged?
- You definitely don’t want to run out of juice during your recording! To add a level of confidence, get a battery grip like Canon’s BG-E14 for your Canon 80D. With an extra battery, your camera will last twice as long
Conclusion
Alright! Now that you know make a time-lapse with the Canon 80D, we want to see them!
Drop a comment below, and let me know what kinds of epic time-lapses you plan to film, and post links to your social media pages, so we can go check them out!


![How to Photograph Waterfalls [And Get That “Misty” Look]](https://kewltekphotography.net/wp-content/uploads/2020/04/IMG_0388-1-768x512.jpg)
One Comment