How to Blur the Background in Photos (3 Easy Camera Settings for Beautiful Bokeh)
Do you want to create photos with sharp crisp subjects, and beautiful, blurry backgrounds? You can! In this post, I’ll show you how to take pictures with blurred backgrounds. By the end, you’ll be a bokeh master!

How to Blur the Background in Your Photos (The Easy Way)
If you’ve ever wondered how photographers get those beautiful portrait photos with a creamy, blurred background, the secret is surprisingly simple. You don’t need expensive gear, special lenses, or expert skills—you just need to understand three settings that dramatically increase background blur.
In this guide, I’ll show you exactly how to blur the background in your photos using the camera you already own (DSLR, mirrorless, or even a smartphone). Once you learn these three techniques, you’ll be able to create professional-looking bokeh anywhere.
What is Bokeh?
Wikipedia: “In photography, bokeh (/ˈboʊkeɪ/ BOH-kay; Japanese: [boke]) is the aesthetic quality of the blur produced in the out-of-focus parts of an image produced by a lens. Bokeh has been defined as “the way the lens renders out-of-focus points of light”.”
TL;DR: “Pictures with blurred backgrounds.”
The best part is, you don’t need an expensive camera. I took this photo of a shell on a rocky beach using a Nikon D5600:

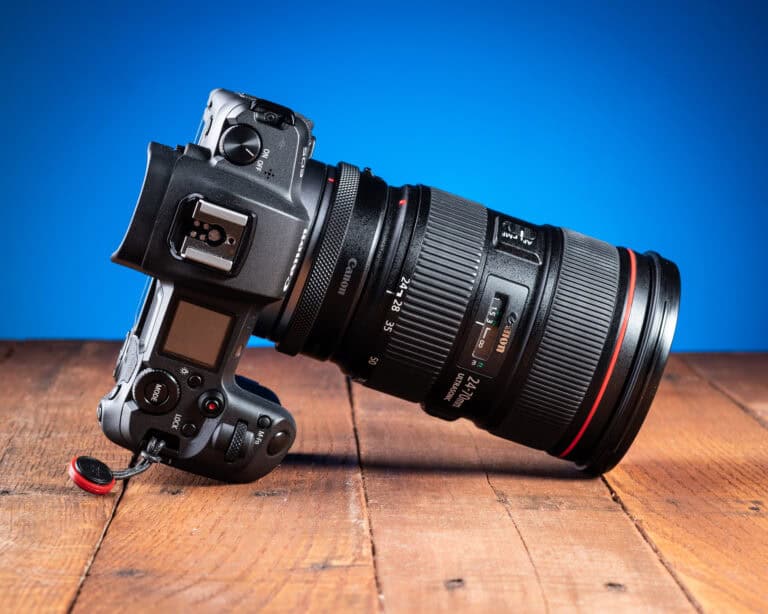
1. Use a Wide Aperture (This is the #1 Way to Blur the Background)
An open lens aperture helps create nicely blurred backgrounds in your photos. The more closed the aperture, the more “in focus” the background becomes. Want a blurred background? Switch your camera to aperture priority mode, open up your lens’s aperture, and watch the magic happen!
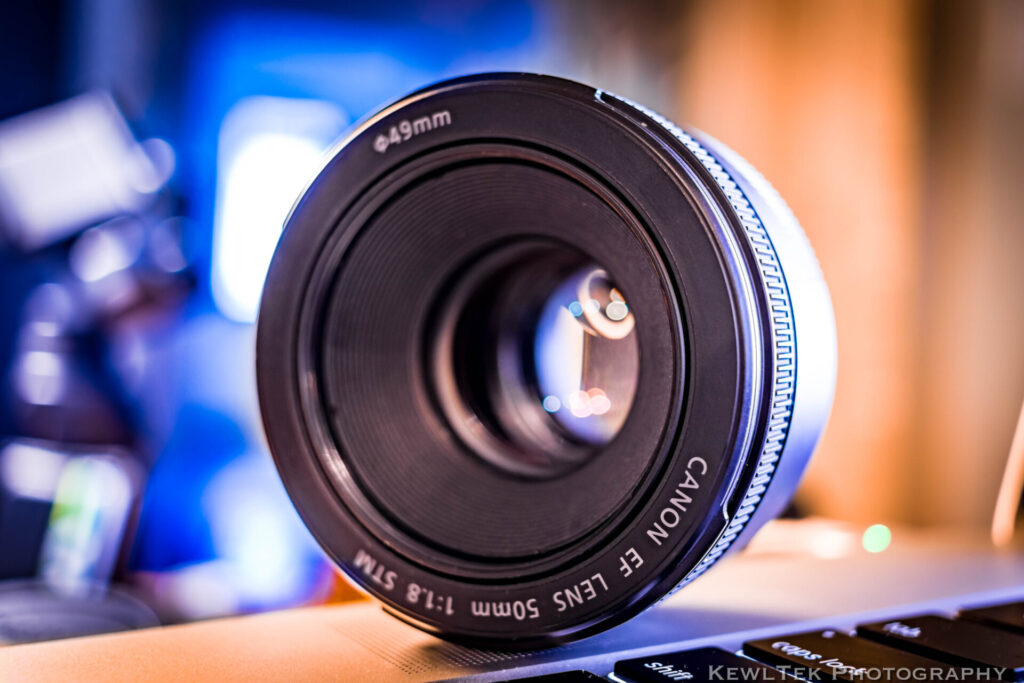
Some apertures open wider than others. Aperture is expressed by f/number. The lower the f/number, the wider the aperture. Kit lenses typically open to f/3.5. While that’s not “bad”, it’s not as wide as the apertures of other lenses. An inexpensive 50mm prime lens opens to f/1.8 and creates stunning background blur!
If you’re interested in learning more about prime lenses, be sure to check out my post called, “Prime Lens Basics [An Introduction For Beginners]“.
Sony, Canon, and Nikon all make affordable 50mm prime lenses with wide apertures. If you don’t already have one, I recommend picking one up. A lens with a wide aperture is the fastest way to start taking pictures with beautiful bokeh.
2. Increase the Distance Between Your Subject and Background
Make sure there’s lots of empty space behind your subject. If possible, position your subject, or ask them to move so there’s open space behind them.

3. Zoom In to Compress the Scene (Instant Blur Boost)
If you have a zoom lens, then zoom in! You might need to back up a little bit, but you’ll “compress” the background, and increase the beautiful bokeh in your pictures!

Combine The Secrets
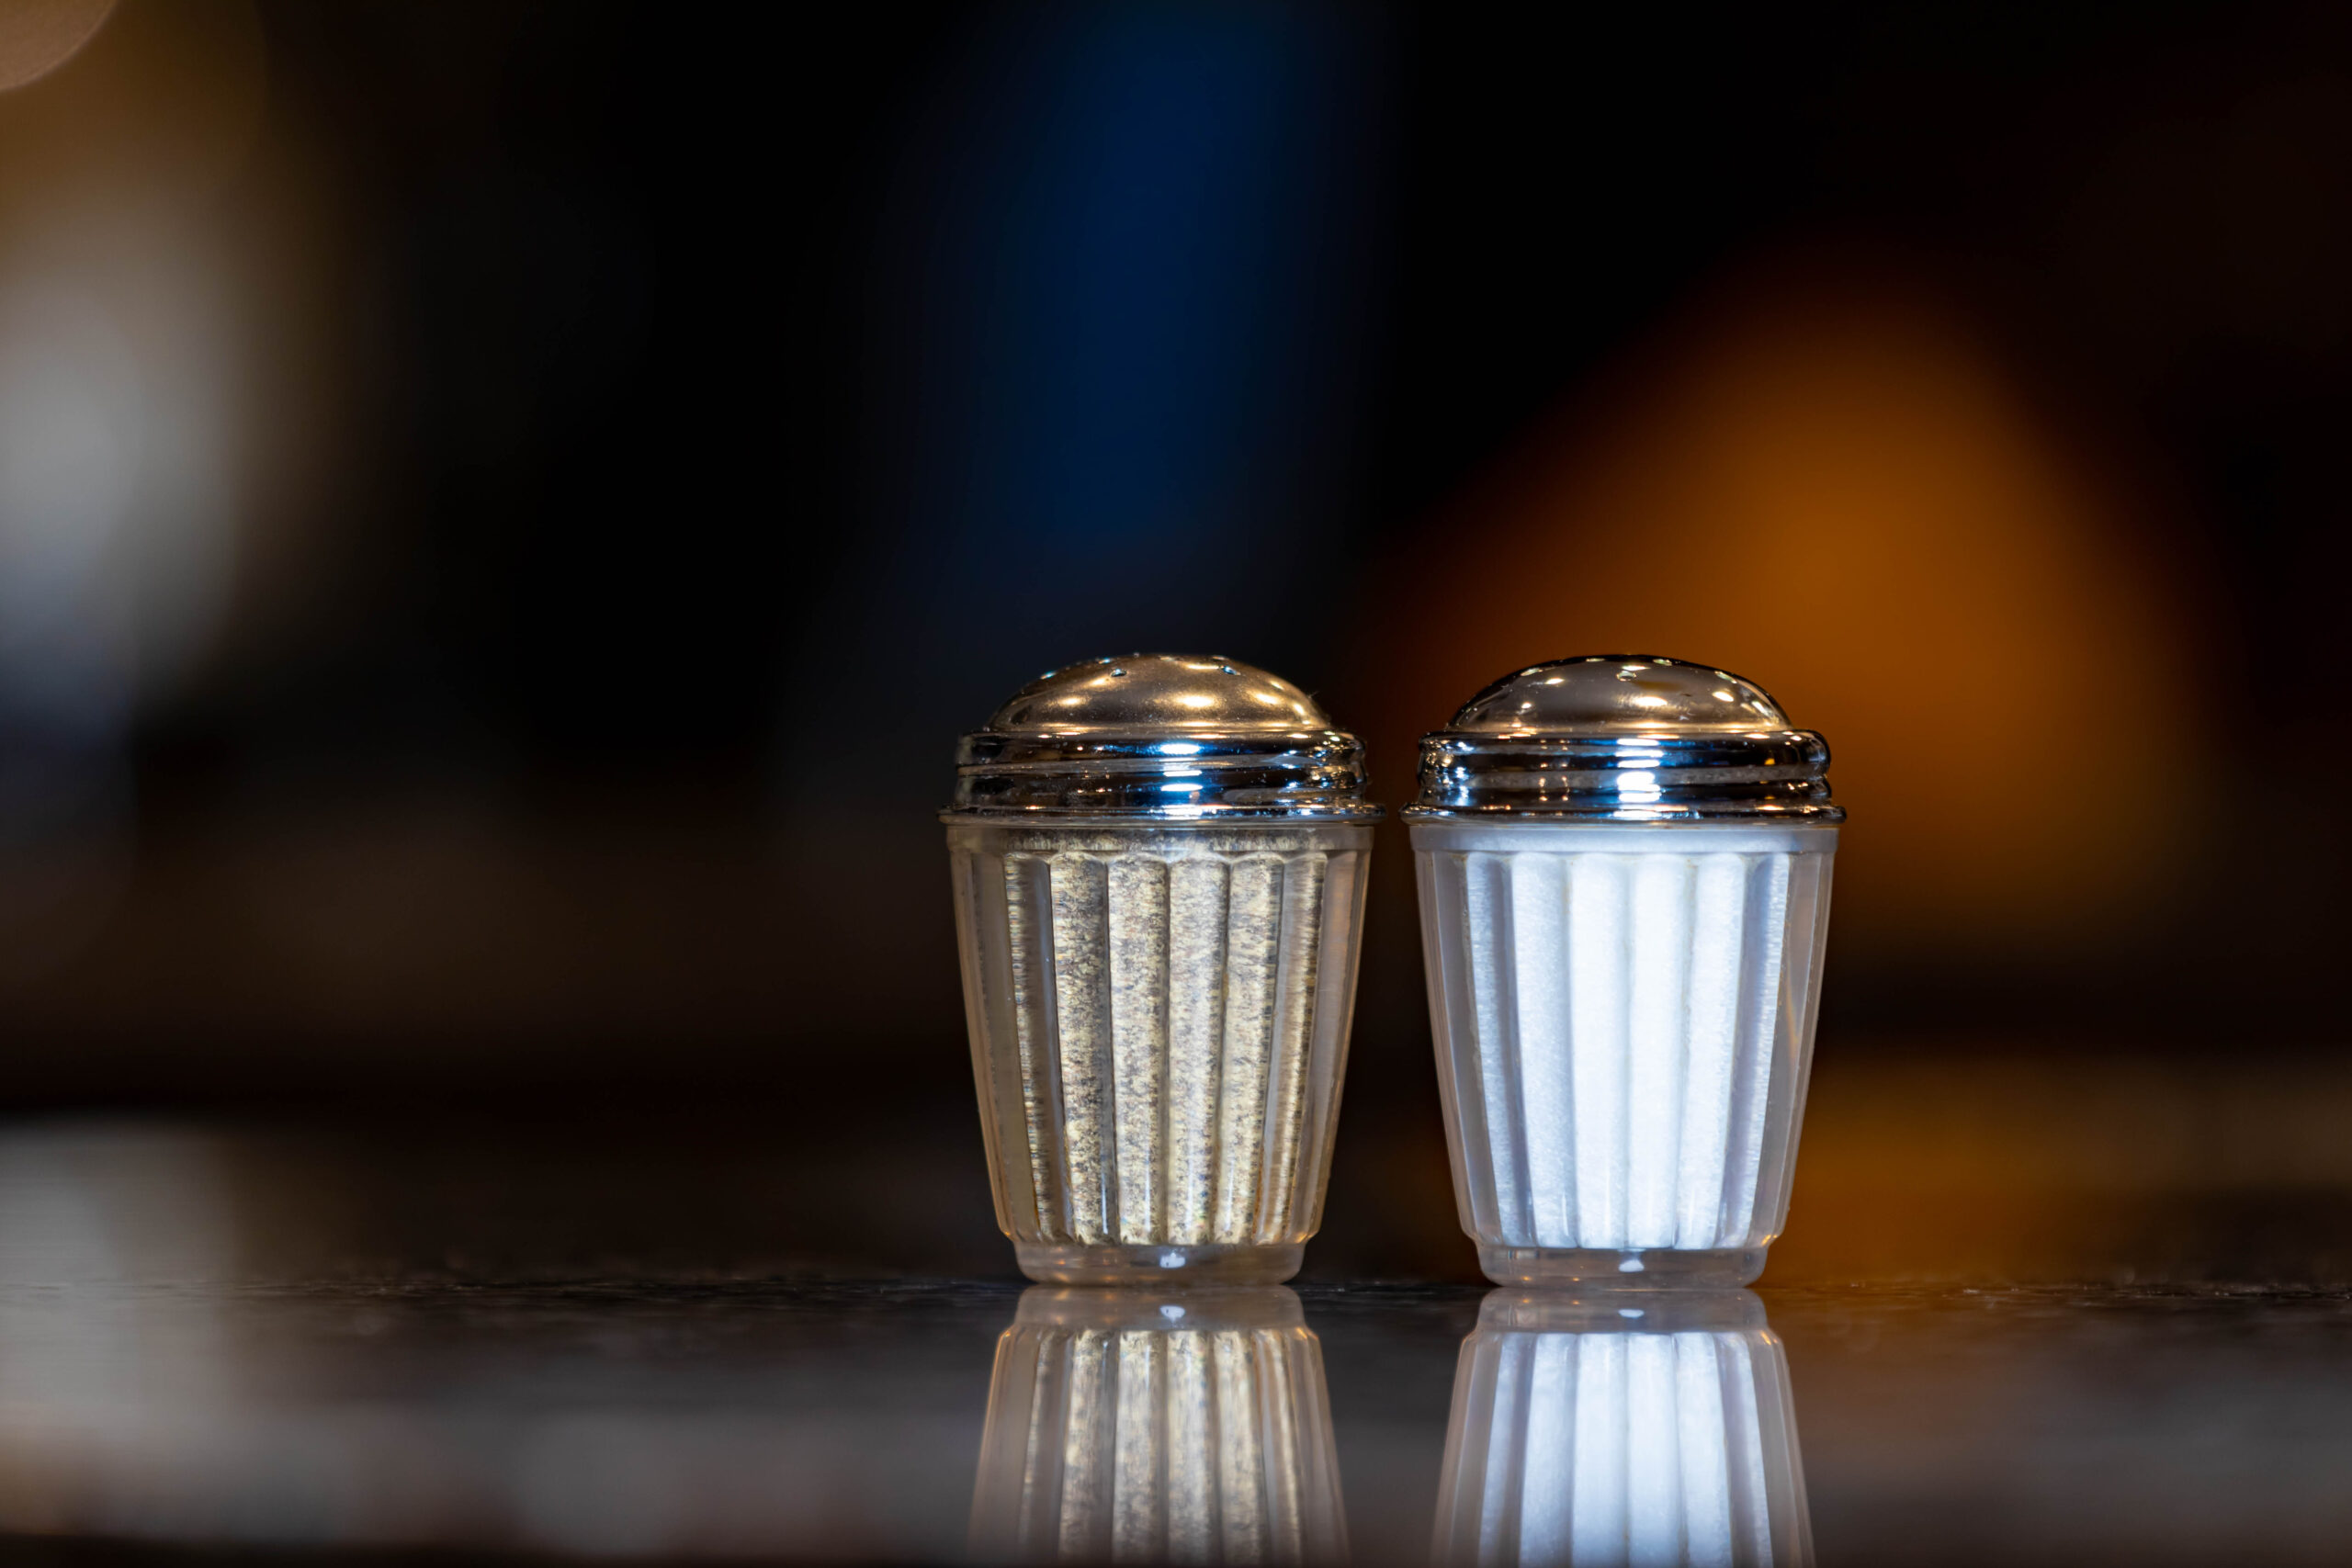
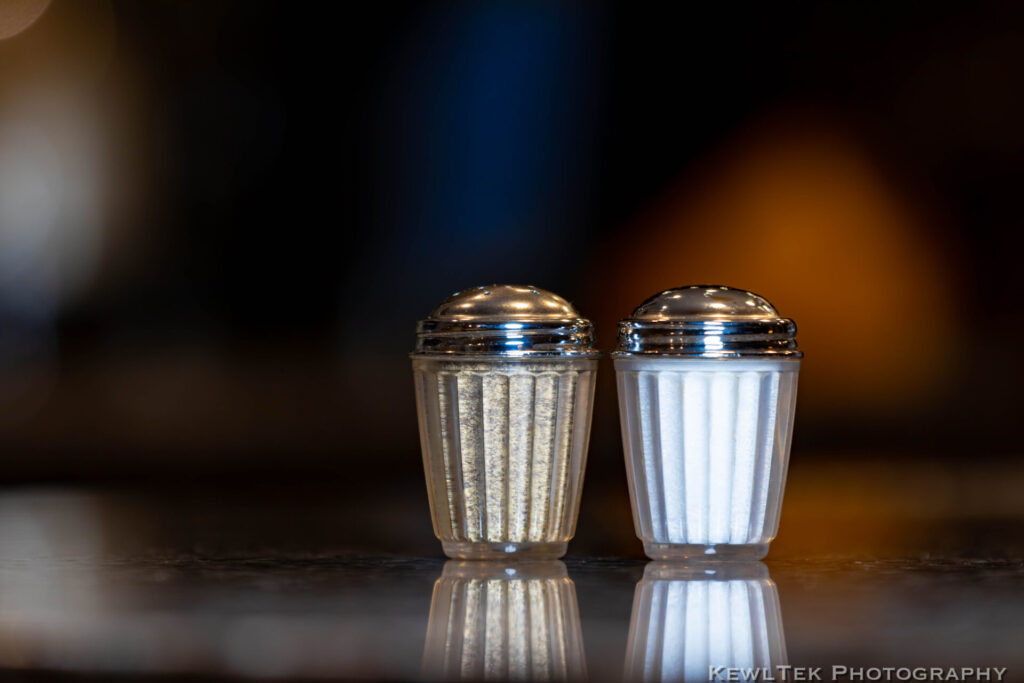
Now that you know how to take pictures with blurred backgrounds, put the 3 secrets together and create some stunning images! For practice, photograph something simple like salt and pepper shakers in your kitchen. Check it out:
Another Bonus Tip – Full-Frame Camera
If you’re really serious about photography, and want to take things to the next level, then consider getting a full-frame camera! Larger, full frame sensors add to the bokeh effect. If a full frame camera is something you want to look into, try and pick up a certified pre-owned camera body like a Canon 6D Mark II to save some money.
You don’t need a full-frame camera to practice the 3 secrets to take pictures with blurred backgrounds. In fact, all the photos in this post were taken with a cropped sensor camera. I zoomed in, made sure there was lots of space between the subjects and backgrounds, and opened the aperture all the way up. Bokeh!

FAQ: Common Questions About Blurring Backgrounds
Why is my background not blurry?
Your aperture may be too narrow (high f-number), or your subject is too close to the background.
Can you blur the background with a kit lens?
Yes, using distance and zoom techniques—just step back and zoom in.
Does smartphone portrait mode count as “bokeh”?
It simulates optical blur using software. The effect is improving every year.
Conclusion
Now you know how to take pictures with blurred backgrounds!
Do your pictures have blurred backgrounds or is everything in sharp focus? Let us know in the comments below!


![How to Photograph Waterfalls [And Get That “Misty” Look]](https://kewltekphotography.net/wp-content/uploads/2020/04/IMG_0388-1-768x512.jpg)
Thank you
Of course! I hope the article helped!