10 Modes on your Canon Camera
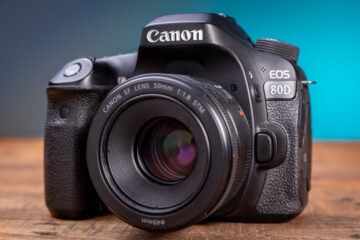
Got a Canon camera? Ever wondered why there’s 10 Canon camera modes (and why you need them)? This post is specific to the Canon 80D, but if you don’t have an 80D don’t worry–these principles apply to most DSLR cameras.
In this post, you’ll learn the 10 Canon camera modes, why you need them.
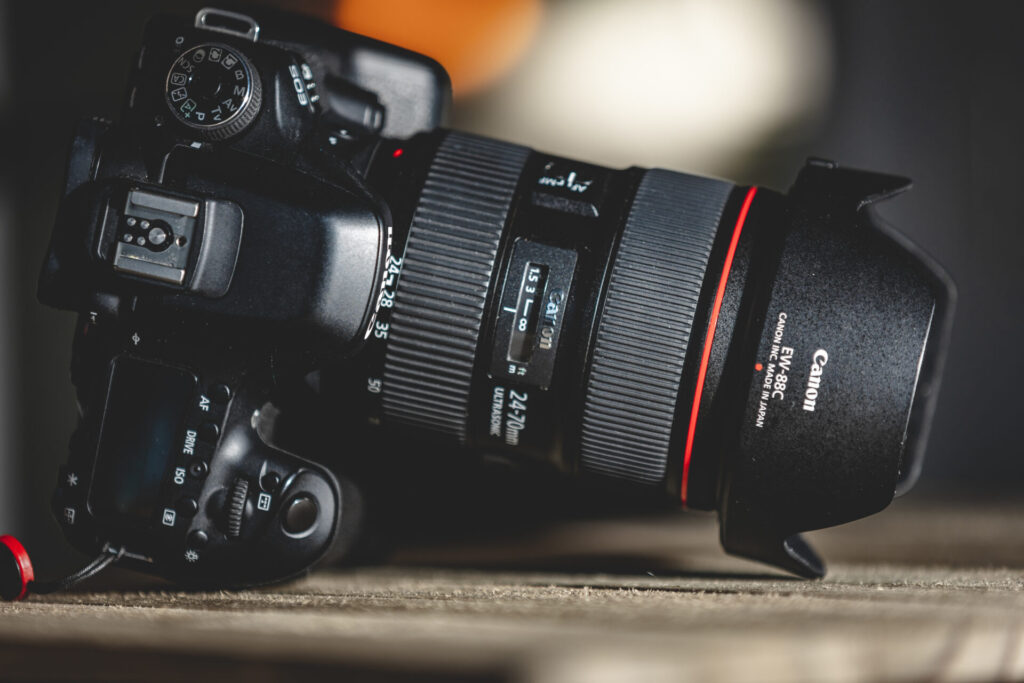
The Mode Dial
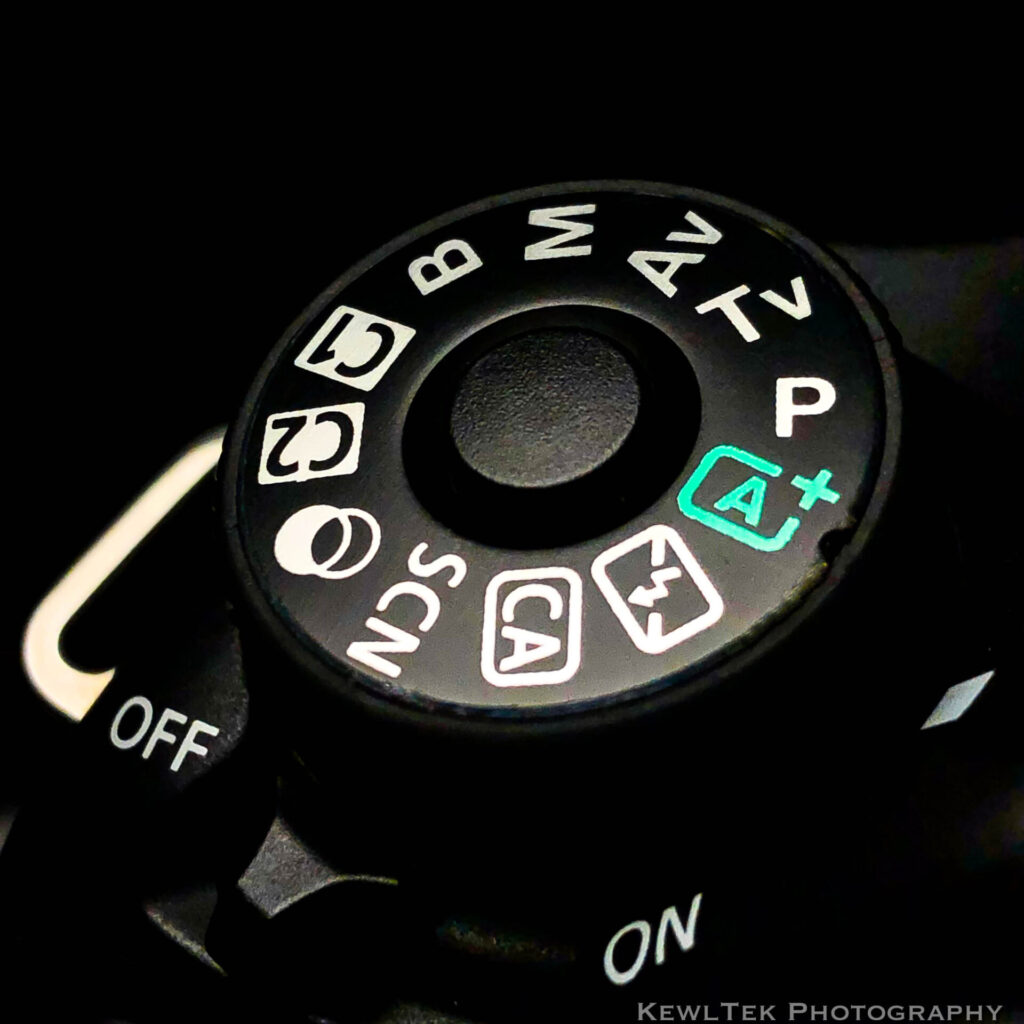
Canon camera mode dials have two “zones”: Basic and Creative
- The Basic Zone
- A+ Mode
- Flash Off Mode
- CA Mode
- SCN Mode
- Creative Filters Mode
- The Creative Zone
- P Mode
- Tv Mode
- Av Mode
- Manual Mode
- Bulb Mode
“C1” and “C2” are places where you save your own custom configurations.
A+ Mode
This is the “Scene Intelligent Auto”, more commonly referred to as plain ‘ol “Auto”. In Auto, the camera senses how much light there is. Next, it automatically sets the ISO, aperture, and shutter speed so you get a nice picture. How does it “know”? Canon engineers programmed “Auto” to make generally pleasing photos. Photos are bright, vibrant, and perfectly “adequate”, although they might not have that special “look” you wanted.
Flash Off Mode
This is the same as A+ Mode except the pop-up flash is disabled. Your camera won’t use its flash, even when shooting in low-light conditions.
CA Mode
This one stands for “Creative Auto” mode. It’s basically the same as A+ Mode, but it allows you to modify some things such as background blur.
SCN Mode
“Special Scene Mode”. Here, you have a list of possible scenes to choose from: Portrait, Landscape, Food, etc. Select the scene that matches your subject, and the camera does the rest.
Creative Filters Mode
This mode looks like two overlapping circles on the mode dial. When selected, you can pick from 10 pre-programmed filters including “Grainy”, “B/W” (black and white), “Soft Focus”, “Fish Eye”, and four HDR filters.
P Mode
Program AE (Auto Exposure) Mode. If you don’t make any changes, it’s just like Auto. The camera picks your settings. So what’s the difference? Auto won’t let you change any settings. In P Mode, you can change settings if you want to.
Tv Mode
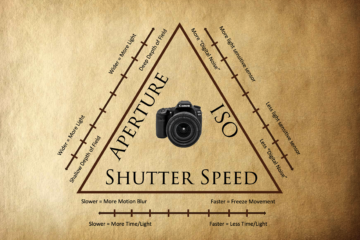
Shutter Priority (Time Value) mode. This mode lets you control how long the shutter stays open. If you’re shooting in low light, keep the shutter open longer (slower speed). In brightly lit scenes, use a faster shutter speed.
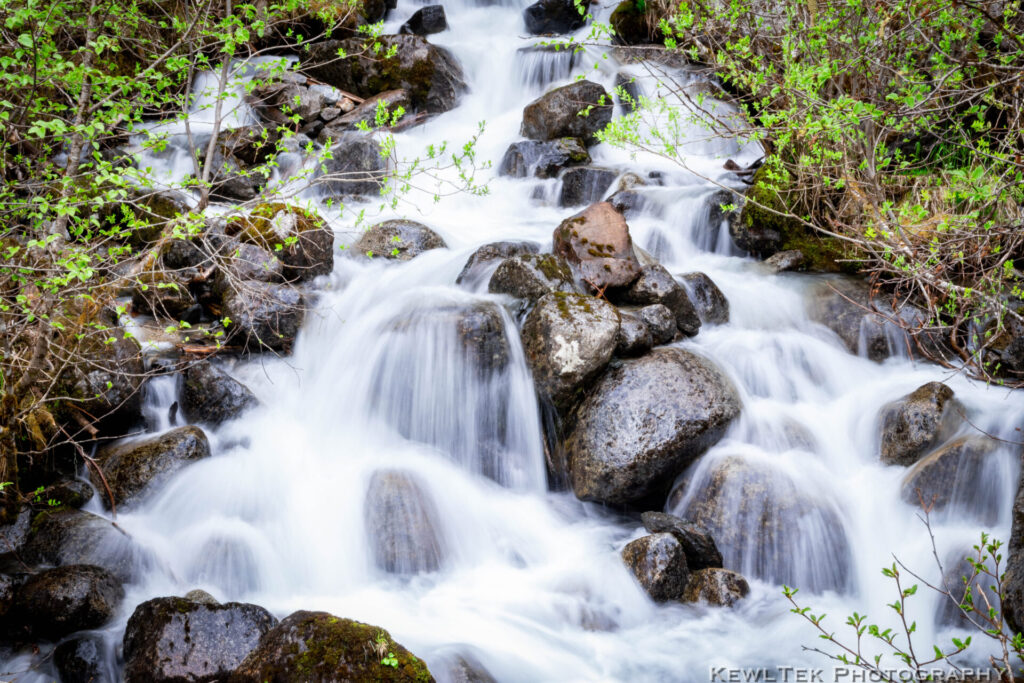
When you want to “freeze” the action (think wildlife, sports, and kids), use a fast shutter speed. When you want artistic motion blur on a waterfall or stream use a slow shutter speed to achieve that smooth silky “misty” water look. Want to know more about shooting waterfalls? Check out my post, “How to Photograph Waterfalls [And Get That “Misty” Look]“.
Bonus tip: When keeping your shutter open for longer periods of time in low-light or when shooting waterfalls, etc., use a tripod to avoid blurry shots due to camera shake.
Av Mode
Aperture Priority Value. In Av Mode, you control the lens’s aperture. The aperture is an iris in your lens that opens and closes. It controls how much light makes it to the sensor. Aperture is written with f/values. Really wide apertures open up to f/1.2 or f/1.4. A closed down aperture could be as small as f/22. It depends on the lens. Some zoom lenses have apertures that change as you zoom in and out.
Wider apertures (f/1.8, f/2.8) create more background “blur” in your images. That blur effect is called “bokeh”, and is something people really like.
Smaller apertures (f/11, f/22) make the whole image “in focus”. This is useful for landscape photography.
M Mode
Manual mode. You probably guessed that M Mode is where you pick all the settings: Shutter, Aperture, and now ISO. What’s ISO? ISO controls how sensitive the sensor is to light.
In brightly lit conditions, dial the ISO down to 100. If things are getting dark, dial it up a few notches. Don’t be afraid to experiment! Practice shooting indoors (low light) and outdoors (bright light). ISO on the Canon 80D ranges from 100 on the low end, up to 16,000 (expandable to 25,600) on the high end.
Too much of a good thing
If you crank up your ISO, you’ll get a brighter photo. But you’ll get “Digital Noise“. Your photos will look “grainy” and possibly pixelated. Photographers call that graininess, “noise”. Sometimes you might want photos with a “gritty feel”, but for the most part photographers hate digital noise. Keep your ISO as low as possible (depending on lighting conditions) to reduce “noise”, and get crisp, sharp shots.
If you want to do a deep dive (and totally nerd out) on “digital noise”, then check out this post at PhotographyLife.com.
B “Bulb” Mode
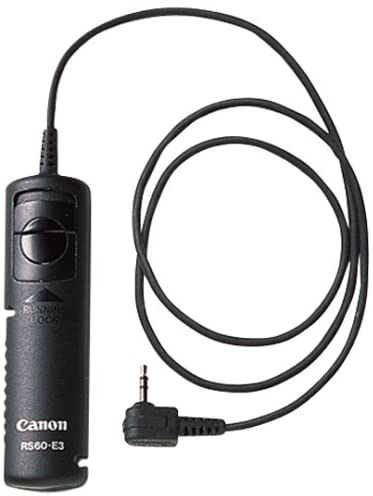
Bulb mode is used for night photography. In this mode, the shutter stays open as long as you hold down the shutter button. Ever wonder how people get those cool shots of car tail lights streaking by? Or how they do “light painting”? They use Bulb Mode. You adjust the ISO and aperture–then press and hold the shutter button. Canon recommends you use a remote in this mode to avoid camera shake–and make sure your camera is securely mounted to a tripod for extra stability. In the 80D manual, Canon specifically recommends the RS60-E3 remote.
Conclusion
There you have it! Now you know all about the 10 Canon camera modes (and why you need them)! Lots of cameras have these settings so you can use this info! Now get out and shoot–and create something awesome!
Now I’d like to hear from you!
Which camera mode do you use most often?
Let me know in the comments!

4 Comments
Dee · August 29, 2021 at 12:24 am
Thank you for the info, I normally use automatic, but I want to learn more. I need to photo a parked car but it was over exposed on automatic. It is an old black car. Time has always been an issue, but I have more time at the moment. Any advice would be appreciated. Thank you Dee
Russell Robinson · August 31, 2021 at 8:55 pm
Thanks Dee– I suggest reading my post “11 Basic Camera Settings [and when to use them]“. It has a section on “Exposure Compensation”, which explains why your camera overexposes your shots when photographing a black car. I also wrote a post about photographing cars called “Shot List for Car Sales” that might also help you! Good luck!
Eko Jerome Runyi · January 19, 2023 at 10:59 am
I love all what you have explained in this post, I am happy to have stopped by and take a good look at it.. I will bliud my world and interest around this and learn more from you. I am learning about photography and videography, I am just 2month hold in this world of photography and I hope it will be a great adventure too me😁😁🥳🥳
Russell Robinson · January 31, 2023 at 7:25 pm
Hi Eko! I’m sure you’ll have lots of fun as you learn and grow in your photography adventure!