Best Canon Camera Settings for Indoor Portraits (Soft, Natural Looking Photos)
Indoor portraits can seem like a tough thing to get right. Many people wonder what the “right” camera settings are to get natural looking indoor portraits from a DSLR or mirrorless camera. Here’s the thing though–Indoor portraits aren’t a “camera settings” problem. They’re a light problem.
Indoor light isn’t usually the greatest. It sometimes comes out looking yellow or orange when you snap a photo. If you’re under fluorescent light, your subject might look green, or devoid of any color at all. What’s worse is, you might manage to get a well-lit image, but everything in the photo is just a little bit blurry. Nothing’s crisp or sharp looking. It’s maddening.
Here’s the good news: There are camera settings that can help compensate for various lighting scenarios when photographing indoor portraits. This guide will give you:
- A reliable baseline Canon setup for indoor portraits
- Why those settings work
- How to adjust them when the light changes
Quick Answer: Canon Indoor Portrait Starter Settings
There is no one-size-fits-all answer to this question. However, here’s a starting point. Your mileage may vary, depending on your specific camera, lens, and lighting situation. Start with these settings, but adjust them as needed to get the photo you want.
| Setting | Start Here |
| Mode | Aperture Priority (Av) |
| Aperture | f/2.8 – f/4 |
| ISO | 800-1600 |
| Shutter Speed | 1/125 or faster |
| White Balance | Kelvin 3800-4500 for most indoor light |
| Focus Mode | One-Shot AF |
| AF Point | Single center point (Face or Eye Detect are better) |
| Metering | Evaluative |
| Image Format | RAW |
These settings give your camera room to handle weak indoor light without destroying skin tones, sharpness or depth.
Diagnose the Light (Before You Touch the Camera)
Look around the room and answer these three questions:
- What color is the light? Window light, warm lamps, fluorescent, mixed?
You may need to adjust white balance to account for the light color. - How much light is there? Bright window, normal room, or dim cave?
You may need to open your aperture and increase ISO if the room is dark, or vice versa if the room is brightly lit. - Is the background lit too? Or just your subject?
You may need to position your subject so light falls on them, not the background.
As you observe the light in the room, start thinking about which settings to adjust on your camera to account for the lighting conditions.
Why These Settings Work
Indoor light is weak, more color contaminated (mixed light), and often uneven between your subject and the background. As a result, you need to open up the aperture, increase ISO, and slow your shutter as low as possible while avoiding blur.
The Settings (And What They Control)
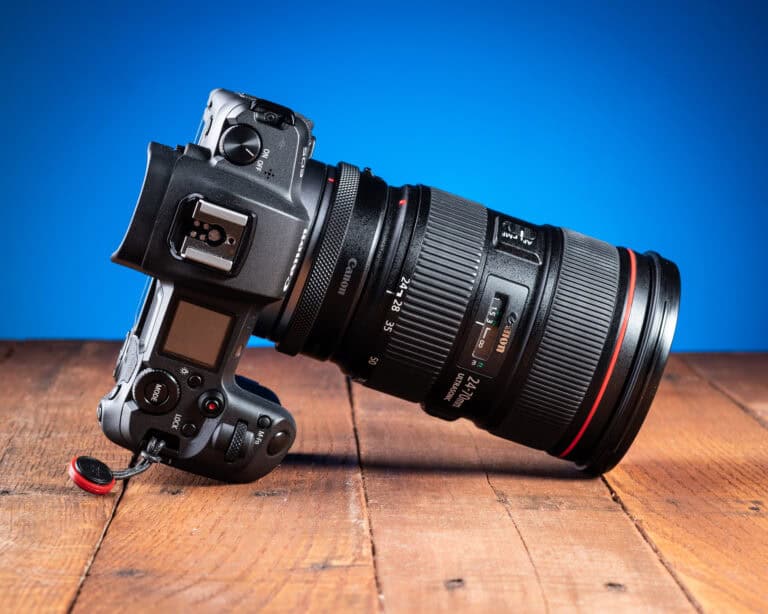
Aperture: f/2.8 – f/4
Aperture controls background blur and how much light enters the camera. Use wider apertures (smaller f/numbers) in darker rooms, or if backgrounds need to be blurry.
Lens choice plays an important role in background blur. I explain this in much more detail in my article, “Which Camera Lens Should You Use?“
ISO: 800-1600
ISO controls the sensor’s sensitivity to light. Each camera is different. Generally, you want to use ISO sparingly. Cranking it up to a high number will improve the light in the scene, but it will introduce grainy, digital artifacts into the shadow areas of the image–known as “noise”. You’ll need to experiment with your camera to see how high you can go and still achieve acceptable levels of crispness vs digital noise.

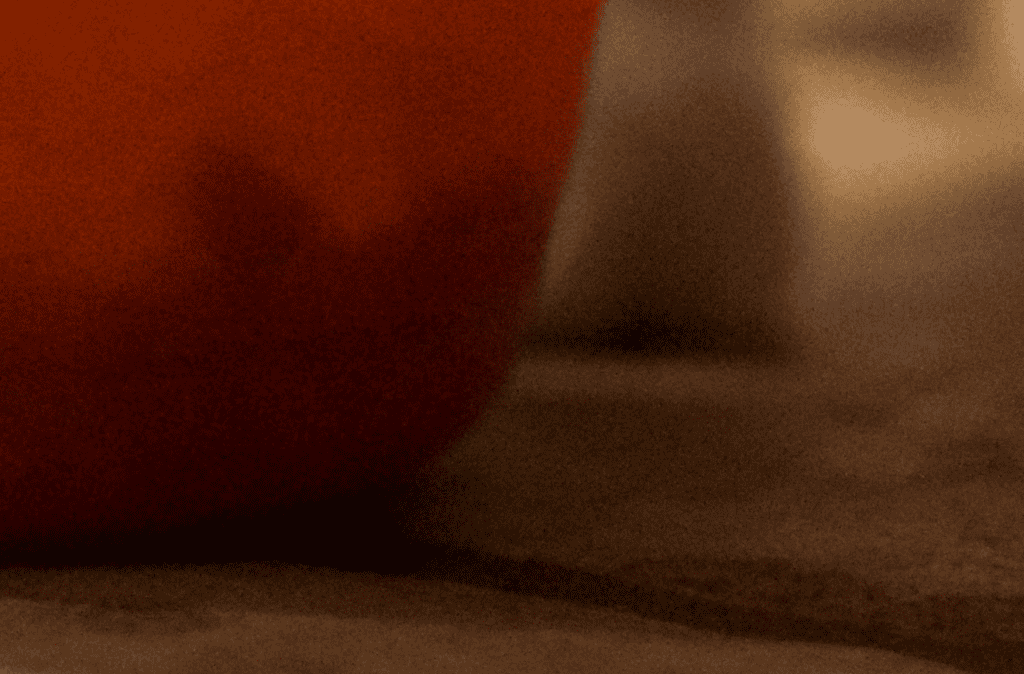
This photo of my cat horking down his food looks kind of OK at first. But if we zoom in to a shadow area, we see all kinds of digital noise. This photo was taken using an ISO of 3200. Again, you may get different results with your camera and lens setup–just remember that the higher ISO you use, the more risk of digital noise there is.
Shutter Speed: 1/125 or Faster
This setting will prevent motion blur from hand shake and subject movement. The general rule of thumb here is this: Double the number of your focal length to determine your minimum shutter speed. For example, if you’ve got a 50mm prime lens attached, then don’t go slower than 1/100th shutter speed. If you’ve got a 100mm lens attached, then don’t go slower than 1/200th shutter speed. This isn’t a hard and fast rule or anything, but it’s generally a good idea.
Rule of Thumb: Make sure your shutter speed is double your focal length.
If you have a 50mm lens attached, and your shutter is 1/50th, odds are you’ll introduce blur into your photos just pressing the shutter button. The photo might look “ok” on the little LCD screen on the back of your camera, but once you pop your memory card into your computer and look closer, your photos won’t be tack sharp. Also, if you use a slower shutter speed (like 1/50th), if your subject moves, that movement will come out as a blur in the photo.
Another way to overcome this whole “blur” thing is to mount your camera on a tripod. Additionally you could set your camera on a stable surface such as a table, or you could lean against a wall and brace your camera in such a way that the wall helps it to not move. Simply hand holding your camera when using a slower shutter speed is likely going to net you blurry images. Bracing your camera or setting it on a solid surface (like a table or tripod) will improve your chances of capturing crisp images even with a slower shutter speed.
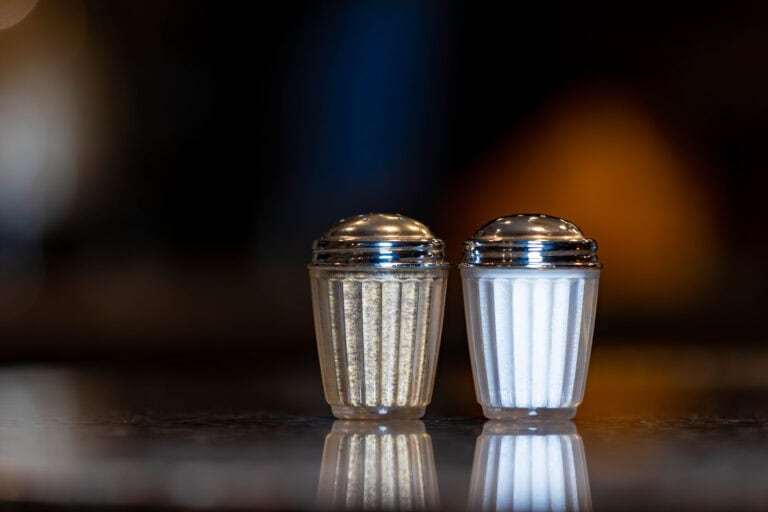
White Balance: Auto or Kelvin 3800-4500
Auto white balance does a pretty good job in most situations. However, if you notice your indoor photos are coming out “yellow” or “orange” (lamps or overhead lights) or “green” (fluorescent lights), then switch your camera’s white balance from “Auto” over to “Kelvin”, and adjust it up or down until the environment looks more natural and not so yellow/orange/green.
|
Kelvin |
Result |
|
3000K |
Much bluer/cooler |
|
6000K |
Much warmer / more orange |
Think of Kelvin as, “how much orange you are adding.” The higher you go, the more orange warmth you inject.

In this example photo, I should have set my white balance to around 4000 Kelvin, and fired a test image. If it’s still “yellow/orange” looking, drop it down to around 3400, and test again. If it starts looking blue, dial it up to 3800 and test again. Remember, there is no “right setting” here. Adjust the number until the image looks “right” to your eye–then lock it in, and take your shot.
When These Settings Fail
We adjust camera settings to account for various types of lighting scenarios. Here are some common issues and their fixes:
| Problem | Fix |
| Subject bright, background black | Add background light or lower the contrast |
| Yellow/orange skin | Switch away from Auto White Balance and use Kelvin. Then adjust until scene looks natural |
| Grainy Photos | Add light to the scene and reduce the ISO |
| Blurry Shots | Raise the shutter speed, or use a tripod |
Common Indoor Portrait Mistakes
- Forgetting to check shutter speed
You capture something in low light on a tripod at 1/15th shutter speed. Then later, you grab your camera, take a picture handheld, and wonder why your subject is a blurred mess. Your camera didn’t betray you–your muscle memory did. Indoor photography means you have to be aware of your camera’s settings–especially shutter speed. - Trusting Automatic White Balance (AWB) Indoors
AWB does great outdoors. Indoors? Not so much… Mixed LEDs, tungsten bulbs, window spill, and overhead cans confuse your camera, and you can end up with orange skin, green shadows, or gray cabinets. Switch White Balance from AWB to Kelvin, and set it manually. Your colors will immediately look “pro.” - Raising ISO when you should be opening the aperture
Some beginners jack up their ISO to 6400+, then wonder why everything is so grainy. The camera isn’t grainy, it’s just that there’s not that much light being allowed in through the lens. Open the aperture all the way, and turn down the ISO a smidge to reduce the digital noise. - Believing the “rule” about ISO 100
Some people worship “ISO 100” like it’s a religion or something. Modern cameras can handle ISO 1600-3200 really well. Blur can’t be fixed. Digital noise can (mostly). Keep your shutter speed at around double your focal length–don’t compromise on that. Then gently turn up the ISO until the exposure looks good. Win/Win. - Lighting only the subject–not the room
You expose for faces–great. But then the background falls into a black hole. Your subjects almost feel “fake”, “Photoshopped”, or “cut out.” A more interesting photo has ambient depth. Make sure the space behind your subject has some sort of light, to ensure realism.
Recommended Gear for Indoor Portraits (Buyer’s Guide)
The products below are optional recommendations that make indoor portrait photography easier. They aren’t required to use the Canon settings discussed in this article.
- Small LED Panel (Neewer NL660)
A compact, adjustable light that adds clean, consistent illumination on your subject.
–Improves skin tones
–Lowers required ISO
–Reduces blur - Simple Softbox (Neewer softbox for the NL660)
A softbox is a fabric diffuser that spreads light out and softens shadows. When used with a continuous LED light, or flash, it turns harsh light into broad, flattering light that wraps gently around faces, creating beautiful skin tones, softer transitions, and more natural-looking portraits. - Reflector (5-in-1 or White Foam Board)
This is simply a reflector placed near a window opposite your subject, that bounces light back onto your subject’s shadow side. This softens the shadows, evens skin tones, and dramatically improves portraits without adding noise or harsh highlights. - Light Stand (basic light stand)
A light stand holds your light at the correct height and angle, freeing you from having to balance lights on chairs, shelves, or tripods. You can position the light where it actually needs to be–just slightly above eye level, and angled down–which is the key to natural face shaping and catchlights. - Bounce Card (Small White Card / Foam Board)
This is a smaller white card placed below or beside your subject to gently fill eye sockets, nose shadows, and chin shadows for more dimensional, flattering faces.
Sometimes a $40 light or a $5 dollar foam board can fix more problems than a $2,000 camera.


![How to Photograph Waterfalls [And Get That “Misty” Look]](https://kewltekphotography.net/wp-content/uploads/2020/04/IMG_0388-1-768x512.jpg)