How to Know You’re Ready for Artificial Lighting

Are you a “natural light photographer”?
So was I.
In the beginning, simply learning your camera—buttons, dials, menus, modes—feels like enough of a mountain to climb. The last thing you want is another learning curve. So you stick with the light you already have: the sun, the window, the desk lamp, the cloudy sky. It works well enough. And honestly, your photos look pretty good… so why complicate things?
That’s exactly how I felt.
But eventually, every photographer reaches a point where natural light becomes limiting. Not because you’re doing anything wrong—but because you’re ready for something more.
This post will help you recognize that moment.

Why Natural Light Eventually Isn’t Enough
Natural light is beautiful, but it’s also unpredictable. As you grow as a photographer, the cracks start to show:
- You can’t control the brightness of the sun.
- Indoor lighting is dim, yellow, noisy, and inconsistent.
- Weather changes everything from shot to shot.
- Shadows fall wherever they want—not where you want.
- You have to wait for the right light instead of creating it.
- You can’t reliably recreate your results.
The more photos you capture, the more you notice:
“My camera can’t overcome the limitations of my lighting.”
That’s the moment artificial lighting starts to matter.
When Everything Changed for Me
During COVID, I (like millions of others) had to use Zoom. As a photographer, I wanted my Zoom presence to look as good as possible, so I decided to use my DSLR as a webcam. But the window light was less than flattering. I knew I needed a light (or two).
My First Artificial Lights
I bought:
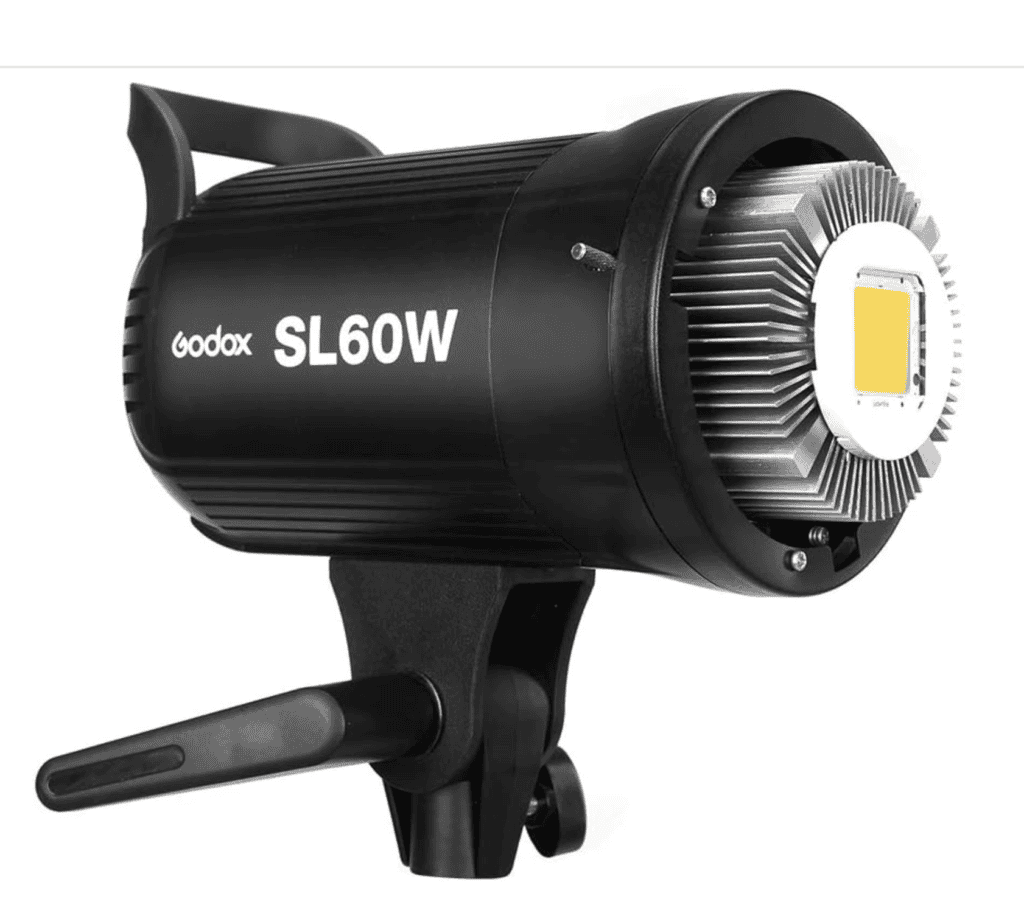
- A Godox SL60W
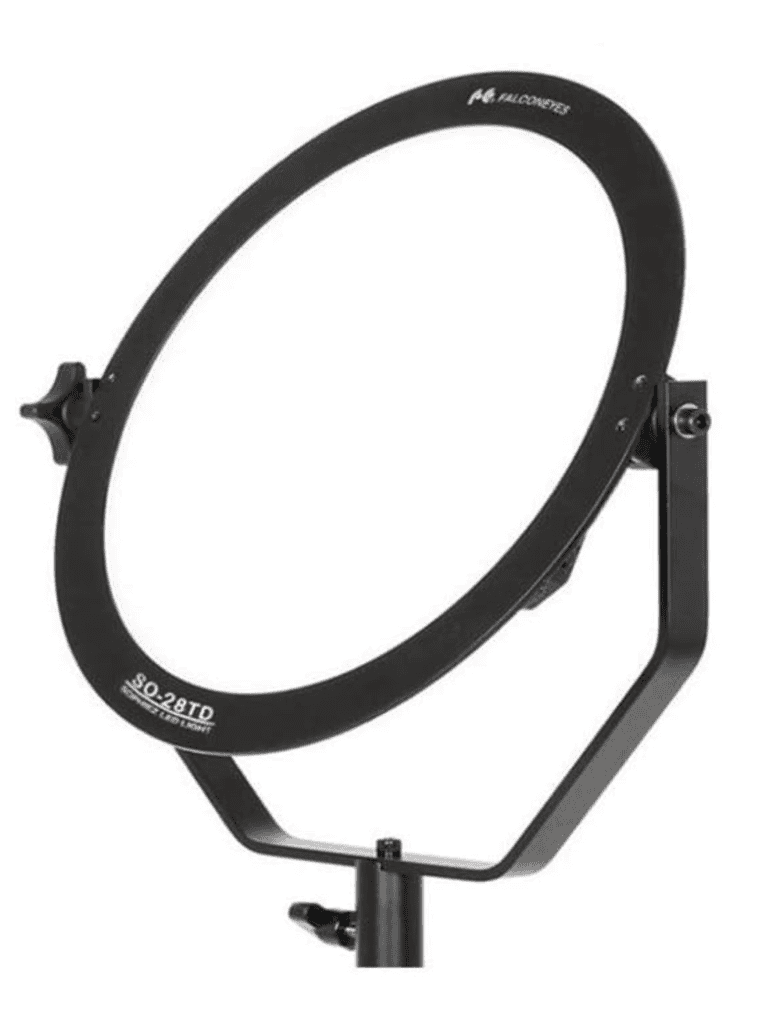
- A Falcon Eyes SO28TD
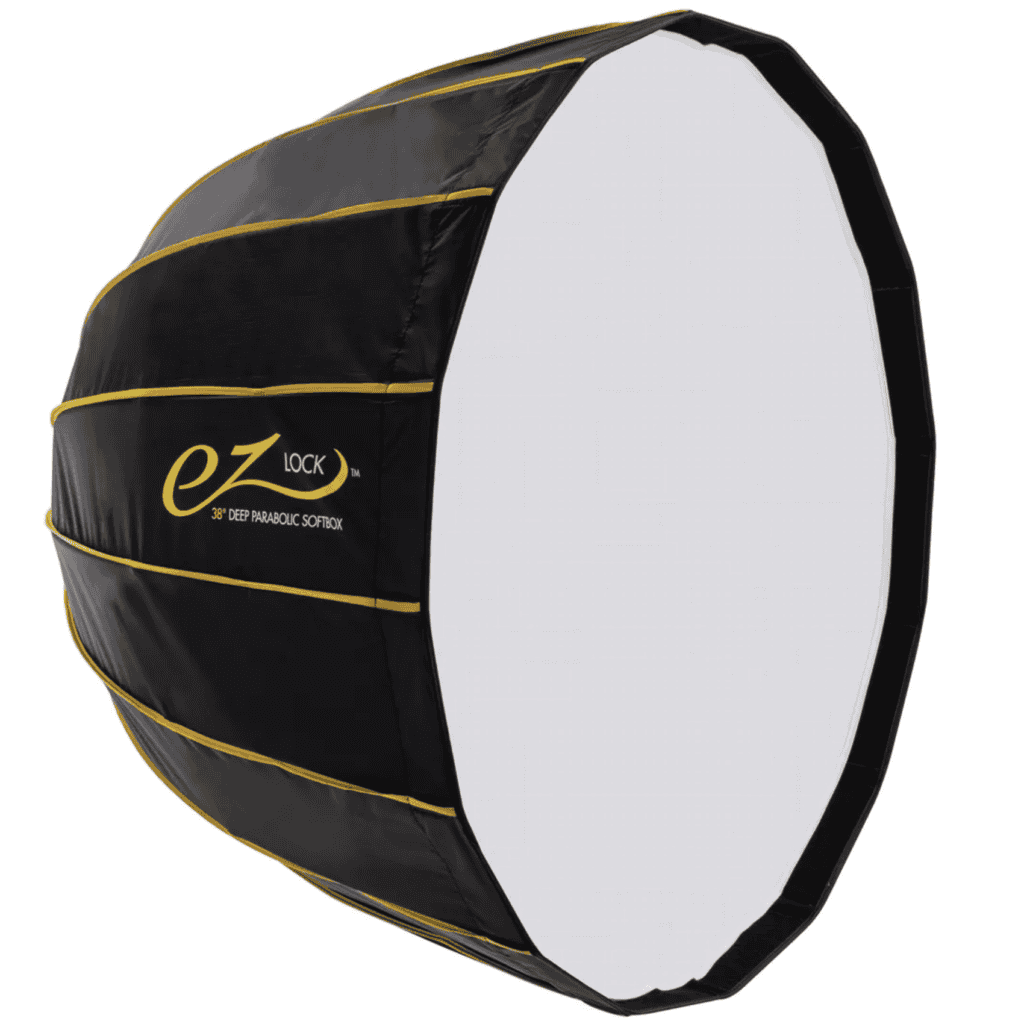
- A giant 38” deep parabolic softbox (which I probably didn’t need)
Once I had my new artificial lights set up, my Zoom presence looked amazing. People thought I was a YouTuber. Meeting after meeting, someone asked what lighting setup I was using. That curiosity led me somewhere unexpected.
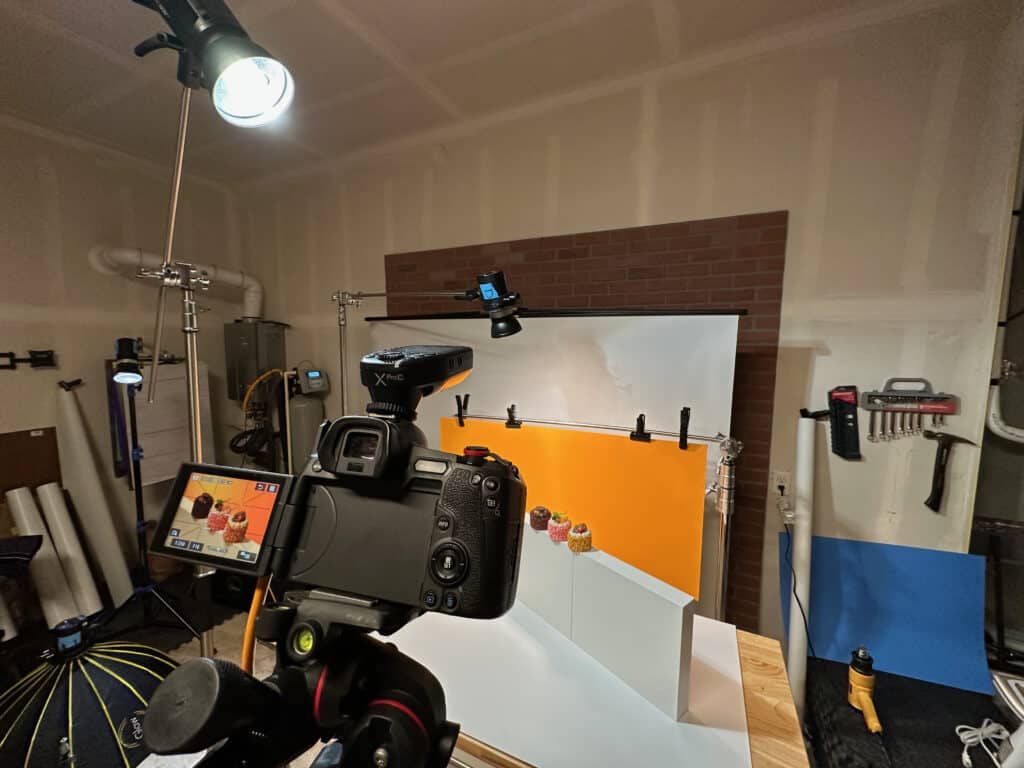
Experimenting With Product Photography at My Desk
With the lights already set up, I started photographing:
- bottles
- food
- products
- random items
- anything small I could put on my desk

I photographed lots of little stuff just to see what would happen. I discovered something: Continuous lights, even good ones, were still too dim for the results I wanted. I needed more power.
The First Flash That Changed Everything
So I bought my first speedlight: the Godox V1-C, and a Godox XProC flash trigger. When I finally figured out how to make them talk to each other? Mind. Blown.

Suddenly my photos had:
- crispness
- shape
- depth
- separation
- control

I started photographing restaurant items for UberEats and DoorDash. I practiced photographing drinks, bottles, and desserts. I even landed several gigs photographing senior portraits. I tried to use the little V1-C as a fill light outdoors, but that’s when I realized my trusty little speedlight wasn’t powerful enough to compete with the sun. So I stepped up again.
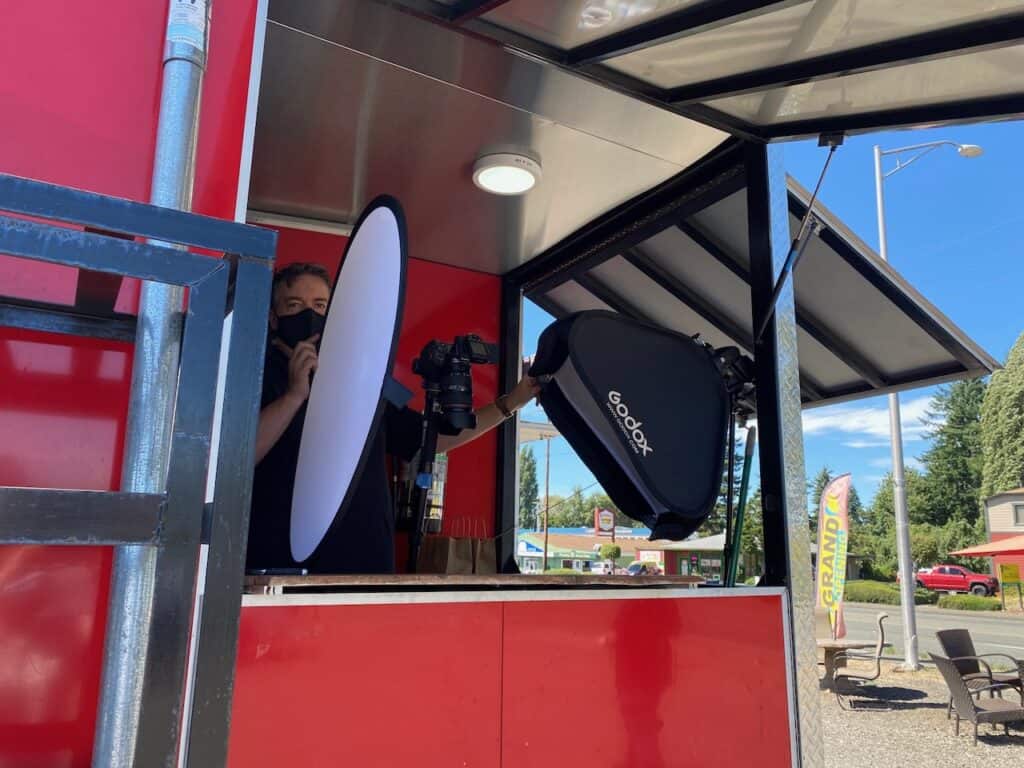
Enter the Flashpoint XPLOR 300 Pro II
This was another game changer. This flash is smaller than my 70-200mm lens. It’s portable, powerful, and consistent. The 300 Pro was capable of lighting everything I wanted to photograph–and it worked so much better as a fill light outdoors. I loved the 300 Pro so much, I bought two more.

If I wanted to capture this kind of look using natural light, I’m not sure I’d even know how. But with these portable strobes, I can achieve lighting and looks that were previously impossible.
Signs You’re Actually Ready for Artificial Lighting
If any of these feel true, you’re more ready than you think:
- You want your photos to “pop” the way YouTubers’ and Instagrammers’ do.
You can’t get that look in natural light alone. - You take photos indoors and everything looks dim or yellow.
Flash fixes this instantly. - You want consistency, not luck.
Lighting you can repeat is the foundation of professional work. - You want better results when you photograph products, food, or portraits.
Controlled light–light that you control–is key here. - You’re frustrated that your camera can’t overcome bad light.
It never will. That’s where flash steps in.
If you found yourself nodding and agreeing with even one of these points: You are ready.
Why Flash Is So Intimidating (It’s Not Your Fault)
The flash trigger is confusing. Menus are cryptic. In my case, nothing behaved the way I expected. I genuinely thought one of my lights was broken, and I almost returned it.
It’s not like I’m unfamiliar with technology. I am an IT solutions architect, and before that, an IT systems engineer (for decades). My website is literally named KewlTek (cool tech). I love tech stuff. No, it wasn’t me. And if you’re stuck, know that it isn’t you. It’s the system.
1. The manuals are awful
They read like something translated from early Sumerian heiroglyphics.
2. YouTube videos skip the real beginner steps
Creators like Gavin Hoey, Daniel Norton, Manny Ortiz are excellent teachers—but they assume you already know how to configure your lights.
They never start with:
- “Here’s how to pair your trigger and flash.”
- “Here’s how groups and channels actually work.”
- “Here’s what to check if the flash doesn’t fire.”
- “Here’s how to control multiple lights from one trigger.”
3. Flash menus read like a foreign language
Beginners think they’re doing something wrong. The numbers, fractions, icons, and settings indicators all mean something–but you have no idea what any of it means, or if it’s important at all.
4. Everyone feels stuck here at first
You are NOT alone. And you are not doing anything wrong. This really is confusing for beginners.
Where This Leads Next
This post is the first part of a foundational artificial lighting series I’m building based on exactly what I wish someone had told me when I was starting out.
Part 1 — How to Know You’re Ready for Artificial Lighting
(You are here.)
Part 2 — How to Set Up Your First Godox Flash and Trigger
(Coming next.)
Part 3 — How to Control Multiple Godox Flashes From One Trigger
(Coming later, once the basics click.)
Final Thought: Yes, You Really Are Ready
If you’ve read this far, the truth is obvious:
You are ready for artificial lighting.
You don’t need to master everything today.
You don’t need to understand every button or menu.
You just need to take the next step.
In the next post I’ll walk through how to set up one flash and one trigger—slowly, clearly, and without the frustration I went through.
Once you understand that first setup, everything else unlocks.