Food Photography Lighting for Beginners
How to Take Bright, Appetizing Food Photos That Actually Look Professional
Why Your Food Photos Look “Off”
You carefully plate the food. You clean the counter. You grab your phone or camera. You take the shot. And somehow…
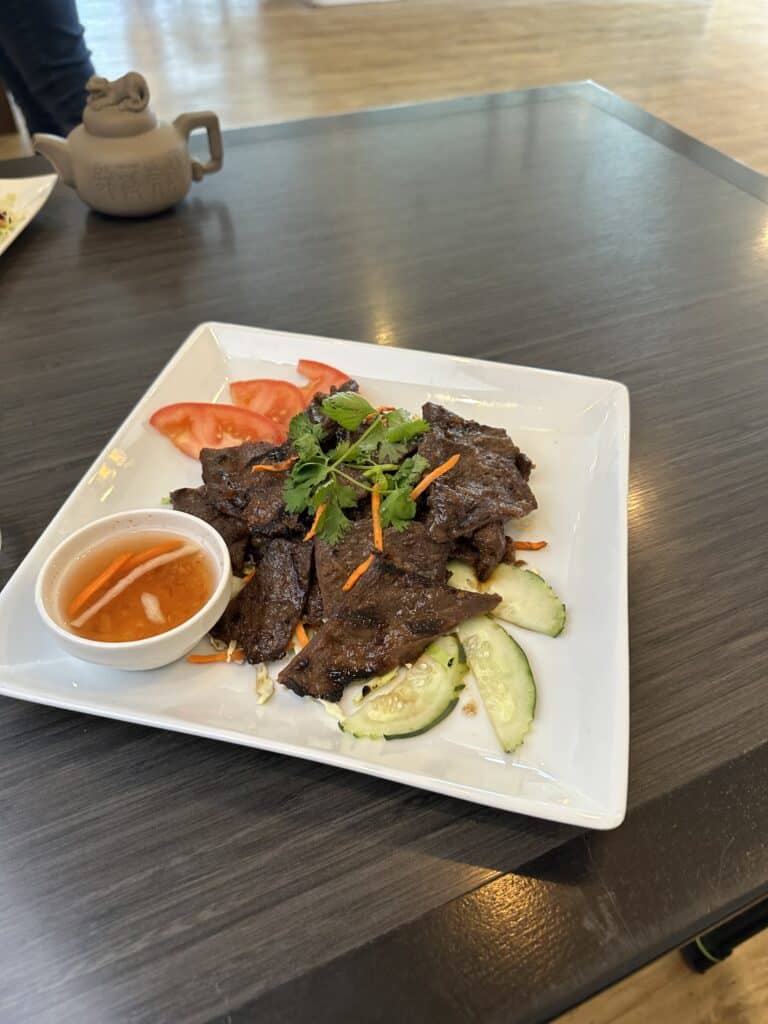
Your food looks flat. The colors look dull. The photo feels “meh.” It doesn’t look like the menu photos you admire. It doesn’t make you feel like you want to immediately taste that deliciousness. Which means people scroll right past it instead of ordering. The photo is just…bland.
At this point, most people assume this means they need a better camera.
They don’t.
What’s Actually Happening (The Real Problem)
Food photos usually look bad for one reason:
The light is wrong.
Not weak.
Not dim.
Not dark.
It’s just plain “wrong.”
Bad food photos come from light that:
- hits everything evenly
- creates no shape
- omits highlights
- lacks shadow separation
- doesn’t have “texture”
- washes out color

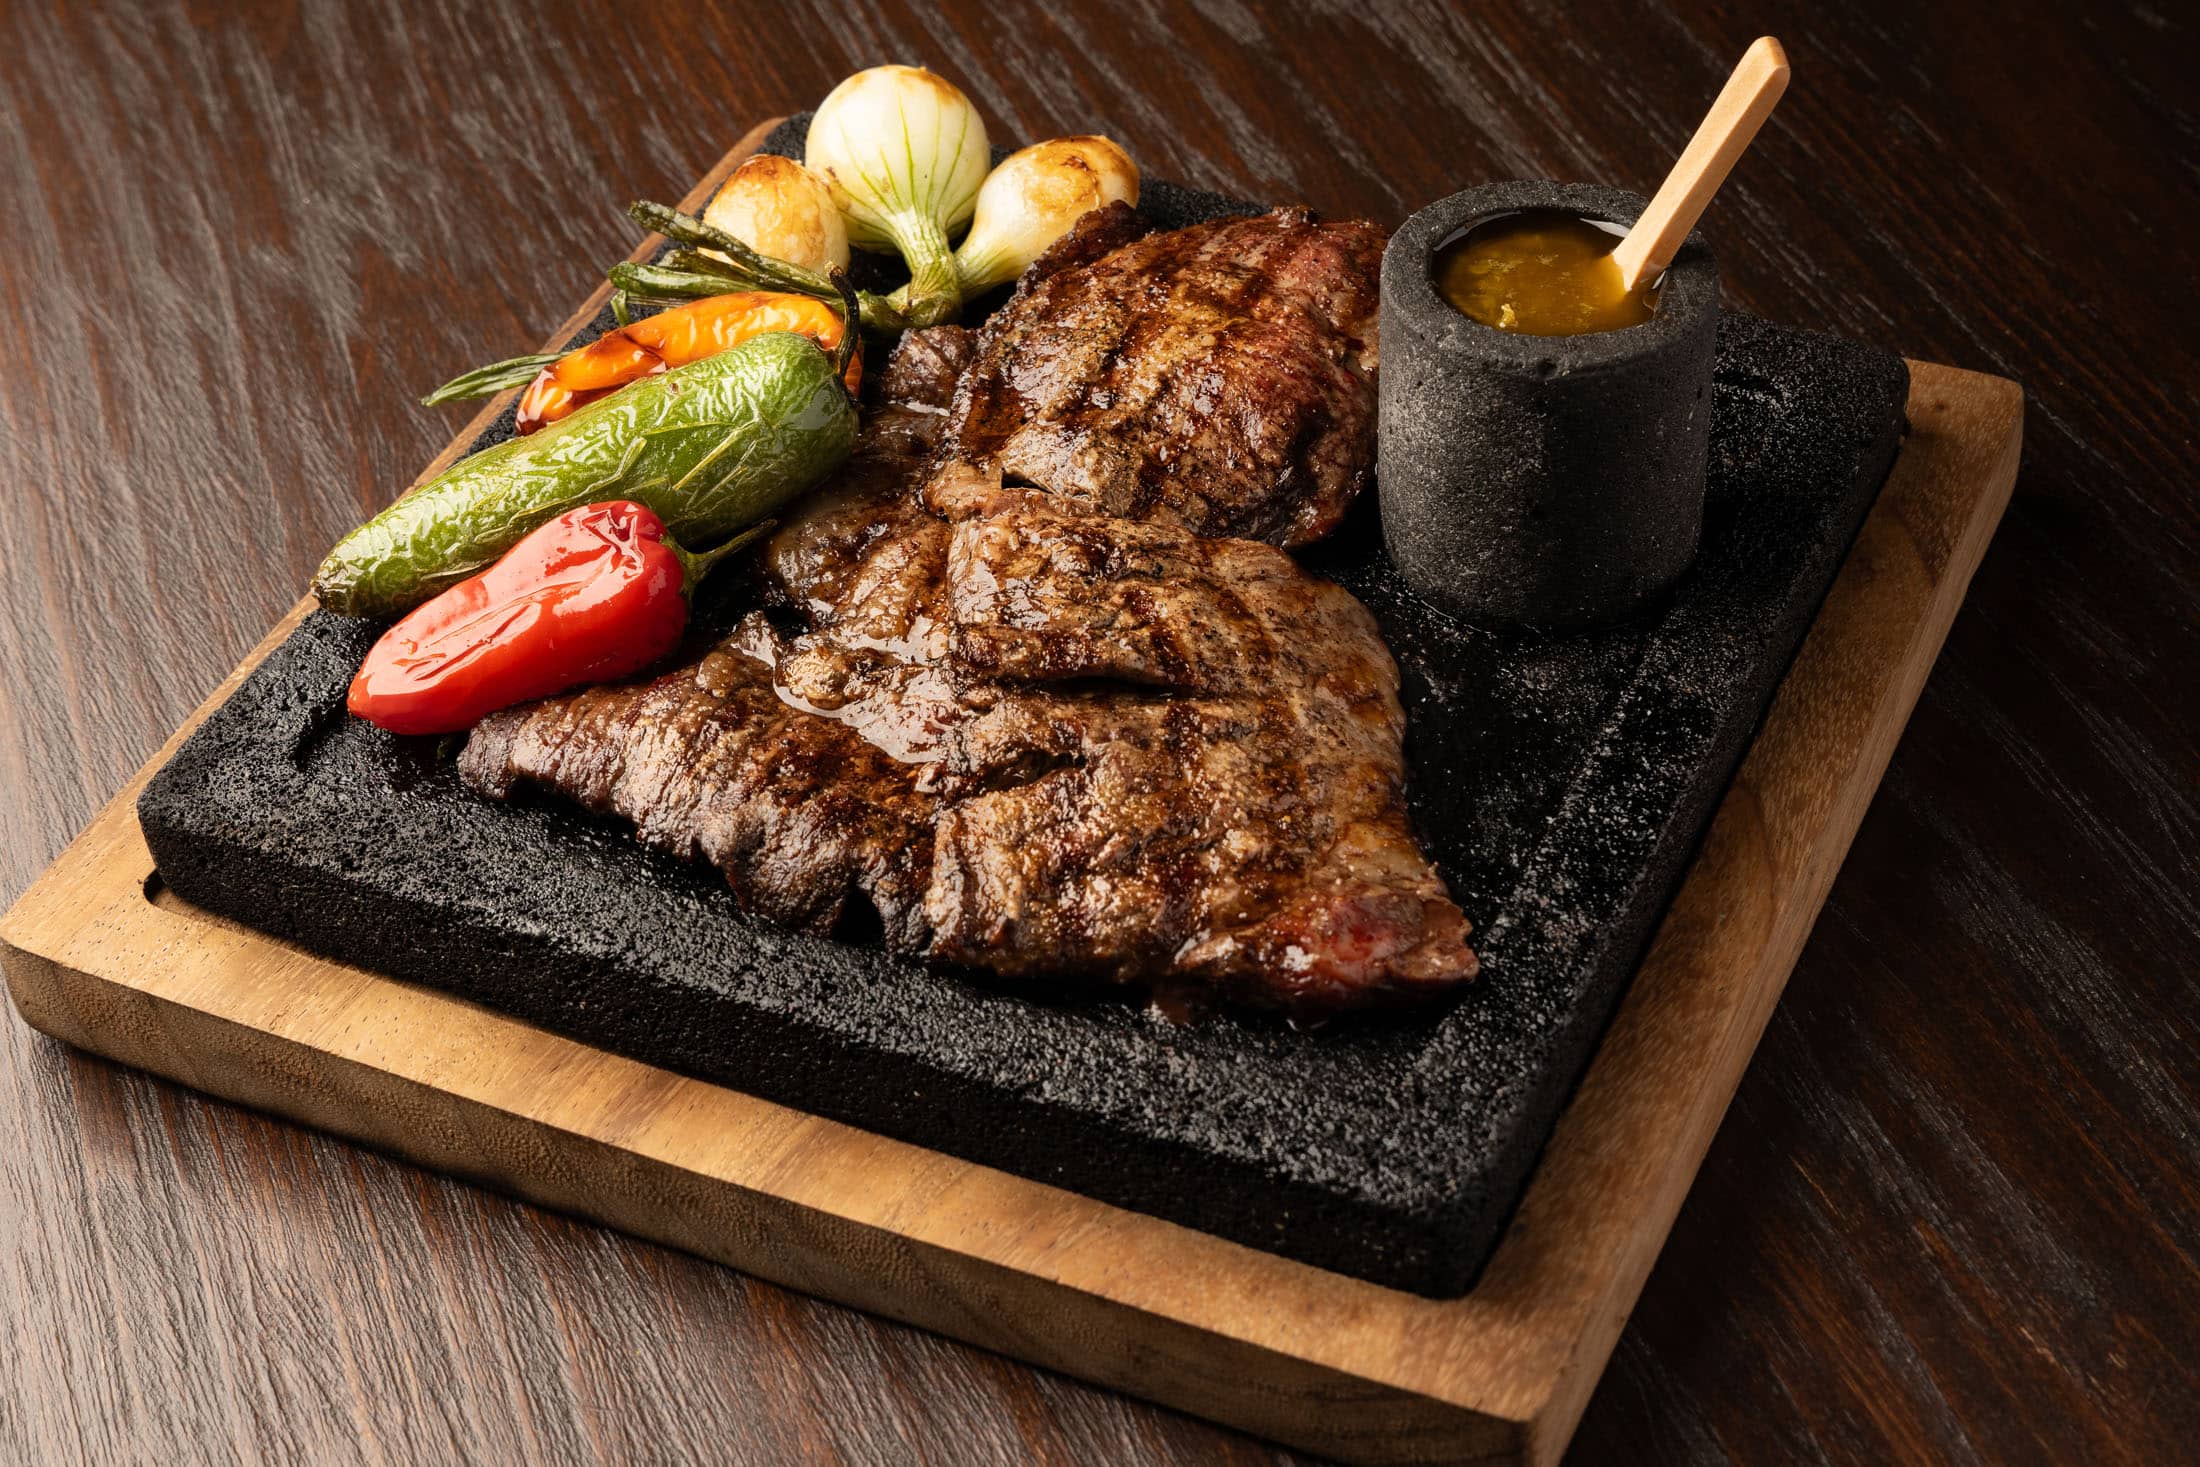
The camera isn’t the problem. Light is what gives the food its color and three dimensional shape in photos. Bad light flattens color and three dimensionality, so it looks boring.

The Fix
Professional food photos are built around directional light.
Directional light means:
- light comes from one side
- shadows fall naturally
- highlights are visible on glossy (moist and juicy) surfaces
- texture becomes visible
- colors pop vibrantly, and look richer
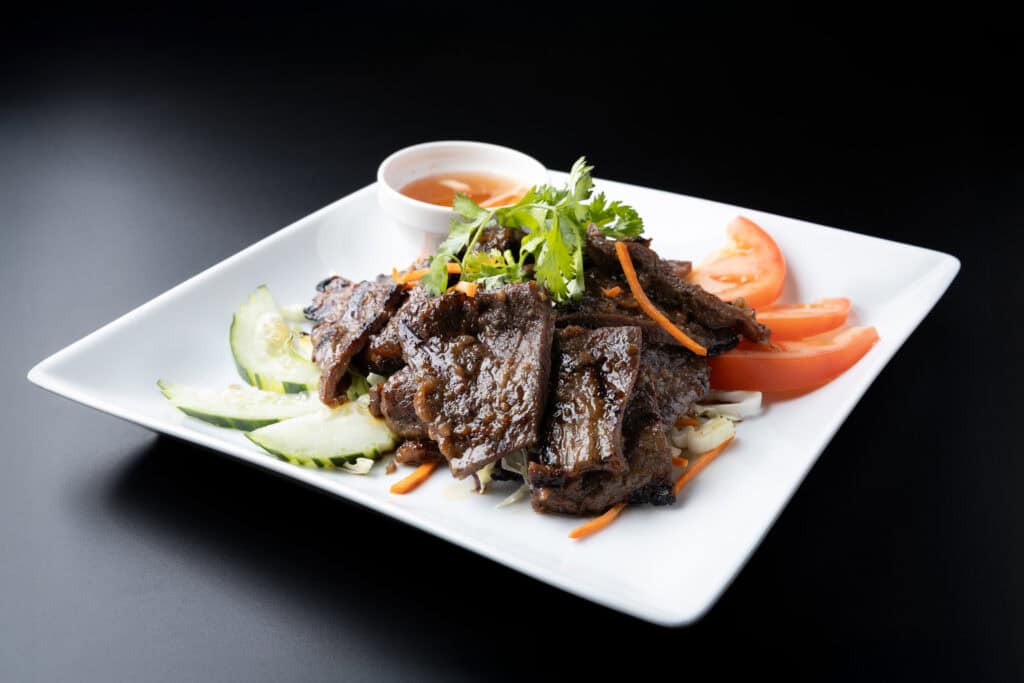
When you employ light effectively, you’re no longer “taking a picture.” You’re sculpting the food with light. This is the entire game–the big secret behind photos that either pop, or end up being “meh.”
Your First Real Food Photography Lighting Setup
To create directional light, you don’t need a studio.
You need your first real lighting setup. Once you have these tools, your food photography will stop feeling random, and start being repeatable. Here’s what that first real setup actually looks like:
- one controlled light source
- a diffuser or softbox
- a light stand
- and one reflector
With these pieces in place, you will advance from bland photos to “Oh my gawd! I didn’t know I could do that!” Your photos won’t depend on luck or the time of day. They’ll stop depending on where your windows are. Once you have these tools, your photos will begin to take on a professional look.
 Your First Food Photography Lighting Starter Kit
- Speedlight with Trigger: Godox TT600 + X2T-C Trigger
- Softbox: Godox 32″x32″ Foldable Softbox
- S-Bracket: Godox S2 S-Bracket
- Stand: Neewer Light Stand
- Reflector: 18″x24″ White Tri-Fold Foam Board
This small tabletop softbox kit costs in the neighborhood of $200 dollars, but it changes everything — because now you’re no longer chasing light.
You’re shaping it.
FYI: I personally use the Godox XProC Trigger with my setup, because the physical buttons let me change my flash power by “feel” when my camera is mounted in awkward positions and I can’t see the LCD screen.
If you think you’ll be photographing a lot of tabletop food, this is a worthwhile upgrade.
Visual Walkthrough (What I Would Do)
Here’s the basic setup:
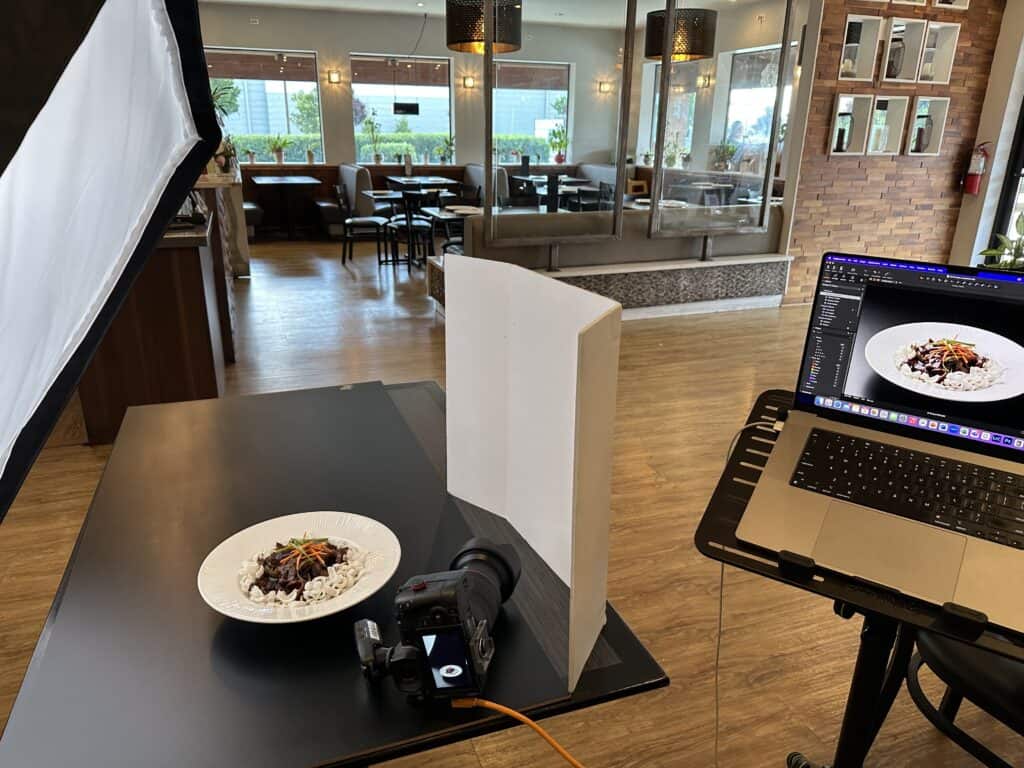
- Place your food on a table (wall or backdrop is optional, depending on your needs and style).
- Position your light at camera left, and slightly behind the food, aiming down at a slight angle towards the food.
- Raise the light slightly above the plate.
- Add a reflector on the opposite side of the plate to bounce light back onto the scene and soften shadows.
- Position your camera so you see the plate from slightly above or straight on (depends on the height of the food).
- Lock your camera in place (with a tripod).
- Now you can make small adjustments to the scene or refine the plate, and take photos after each adjustment.
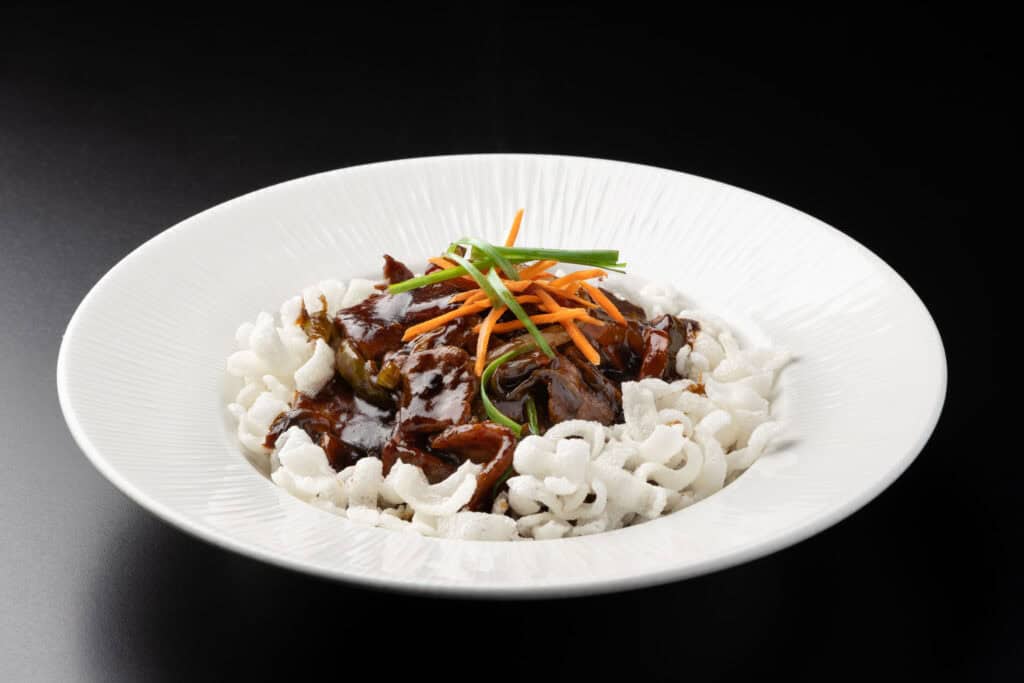
You will instantly see:
- better color
- visible texture
- more contrast
- and a much more “professional” look
Common Beginner Mistakes
Here are some common mistakes beginners (myself included) make when starting out.
- Lighting the food with “house lights” (photographing with the overhead lights only)
- Capturing images straight down with no light directionality (no shadows)
- Using multiple lights from opposite angles (which kills shadows and shape)
- Photographing the food too close with a wide lens (this distorts the food)
- Placing the plate of food in a cluttered environment or with a cluttered background
- Ignoring reflections and glare
All of these flatten the food photo, making it look dull and boring, and killing appetite appeal.
Who This Is For
This setup is perfect if you:
- run a food blog
- post recipes online
- manage a restaurant’s social media
- sell food on delivery apps
- want your food to look “menu ready”
- plan to monetize your photos or content
If you’re only taking casual phone snaps for social media or friends, then this is more than you need.
What To Do Next
Once you see what controlled light does, you’ll never want to go back. Now that you understand that light is the key, you’re ready to build your first real food photography lighting setup.
Over the next few weeks, I’ll be publishing step-by-step guides that walk you through:
Bookmark this page. It will be the front door to the entire food photography series.
That’s where real food photography begins.